| Author | Message | ||
Ezblast |
LOL - I did the last touch ups this morning, then lunch with a friend then pt, then choir practice and dog walking, finally home - pics tommorrow as I assemble stuff, tear forks apart to check oil - lol, then adjust clutch and put on rear-sets, take off shock, take picture, put on shock, adjust handlebars how I want them - cut off ends and add mirrors, do up dash, swap rear wheel, do up breaks front and rear. Then prep to attack motor by tearing down original Vader motor - with the Blast stage 2 head, B70 cam, Millinium 515cc kit - lol - and the SE ignition that is already set up to plug right in - lol - then - attack and drop the stocker and proceed with the rebuild - with new piston and rings, ratio rockers, Jims lifters and thinner gaskets - then dial it all in - get it to start, then wire in new gauges - lol EZ | ||
Ezblast |
Taking a salad and meat break - wife calls it lunch - lol - right now taking shocks off, but this is what I got done - the camera angle makes it uneven looking right now - it's not really - shadows, it will look fine by the time it is put on the bike - rear light installed - besides the ratio rockers - the most expensive part of the bike - and chrome trim ring successfully painted, as well as frame and swing arm. 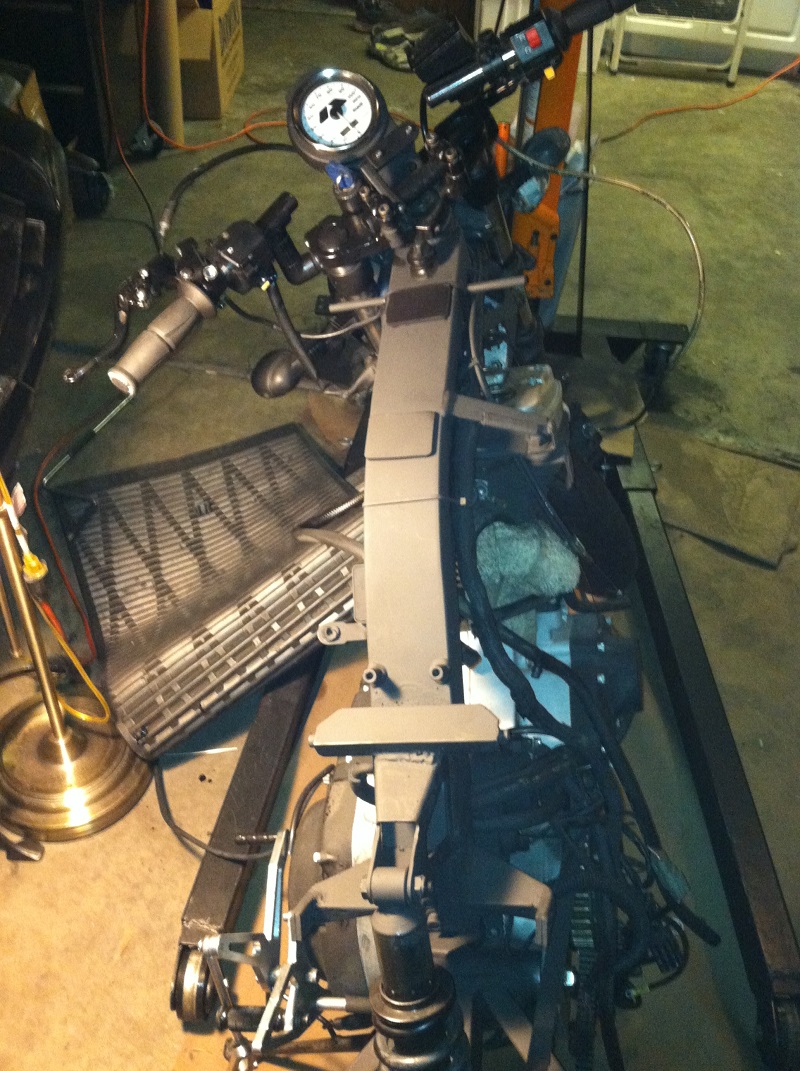 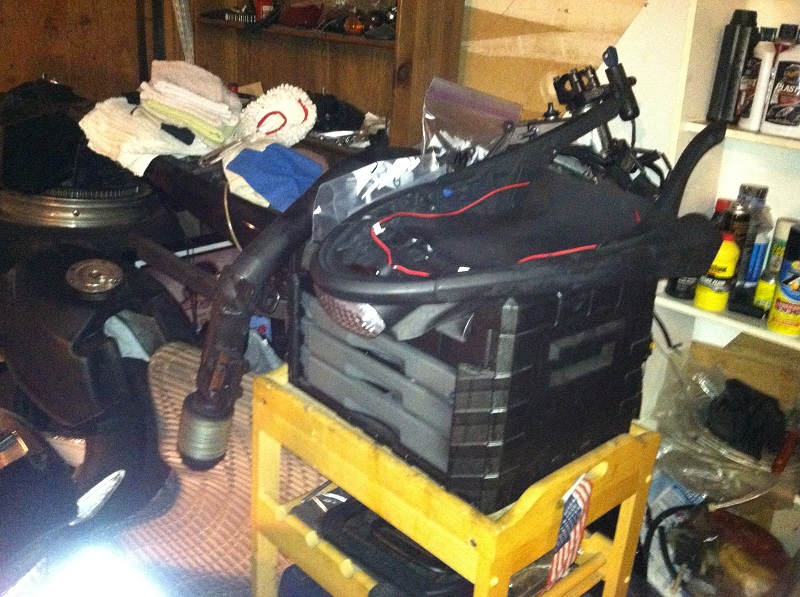 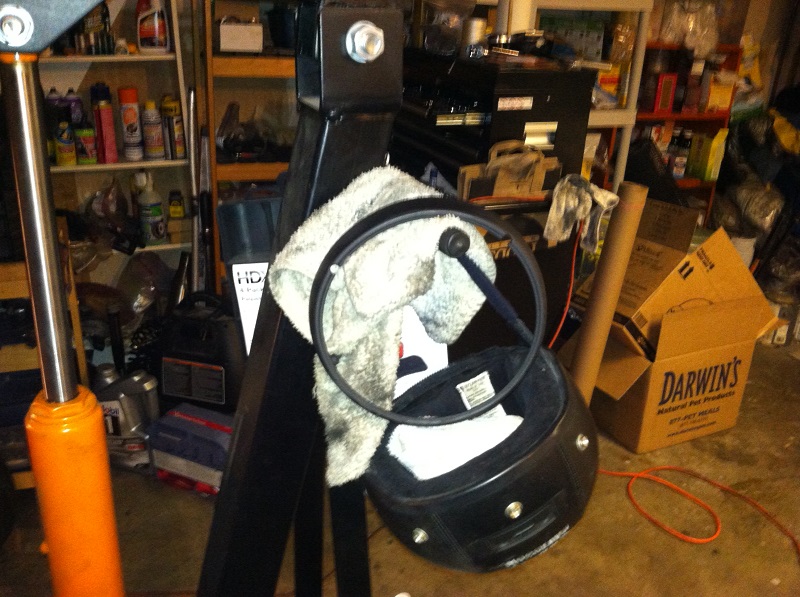 EZ | ||
Ezblast |
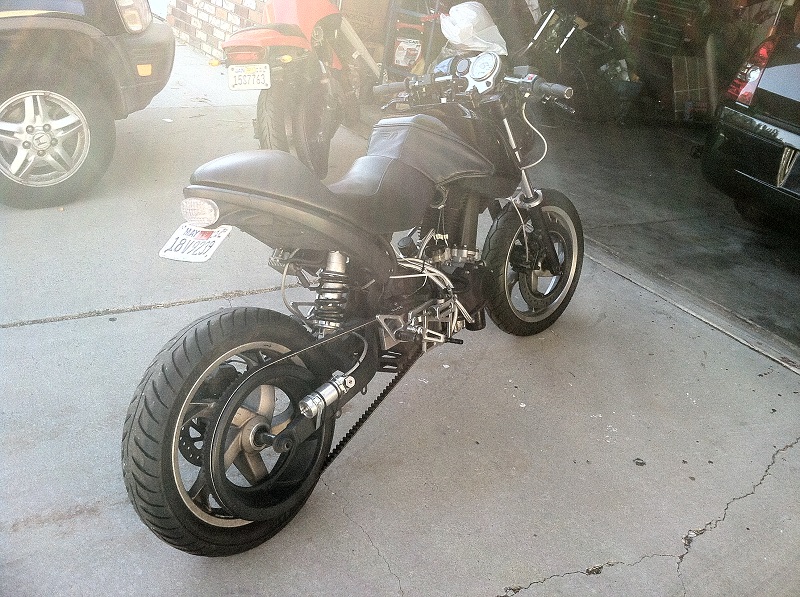
Here are the two performance shocks side by side - the Chinese shock is a 1/4 inch taller than the works - that is livable and your belt would still be way tighter than a tubers - so that is no sweat. 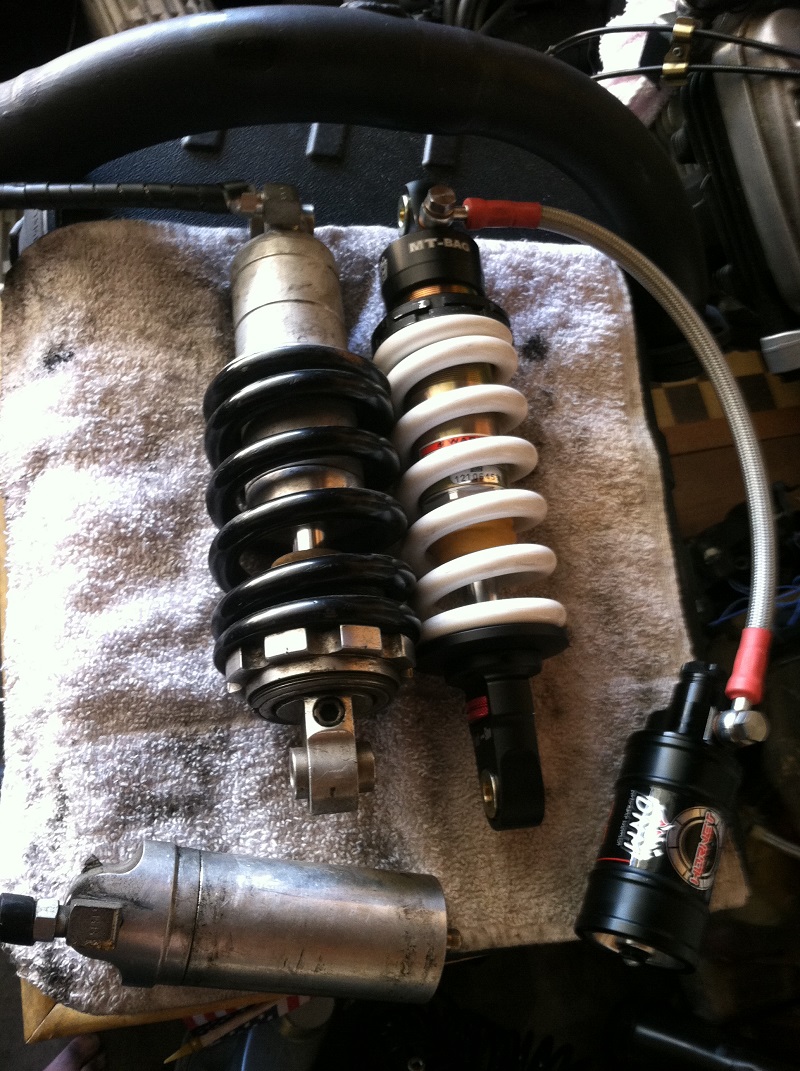 EZ | ||
Blueblast |
EZ, glad you keep updating everyone - I get the feeling that once completed we won't be hearing from you nearly as much!  | ||
Ezblast |
Blueblast - I have a good hunch your going to be right! - lol EZ | ||
Ezblast |
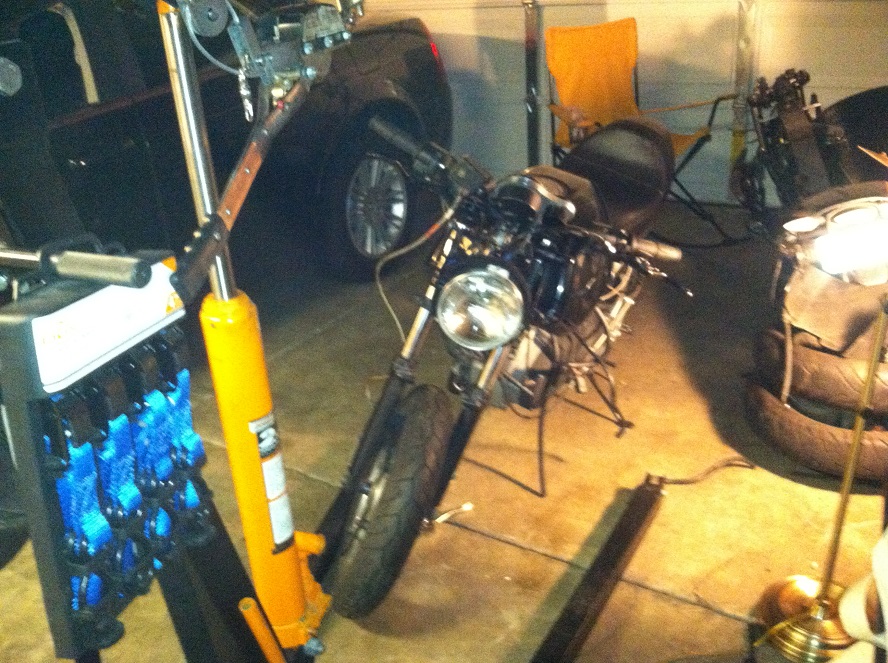
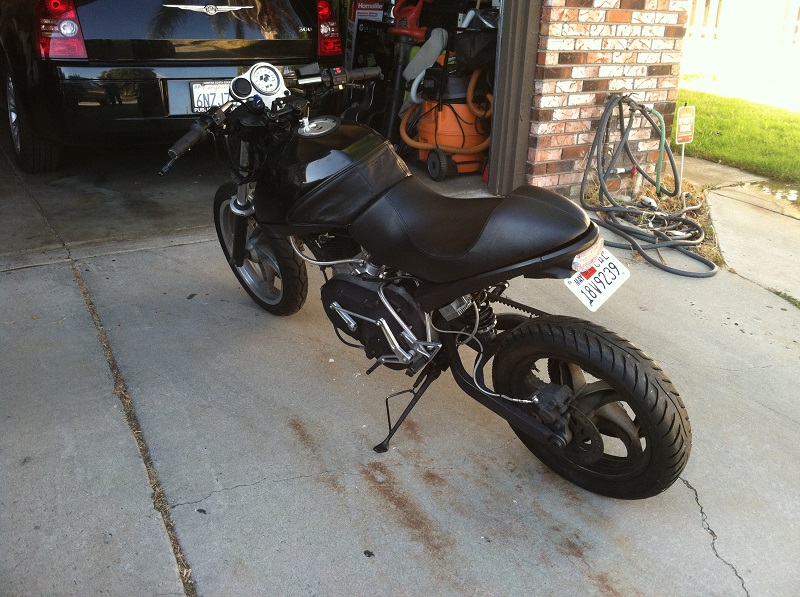
Trial fitting of stuff after painting - lol - to remind me of what I'm building here! 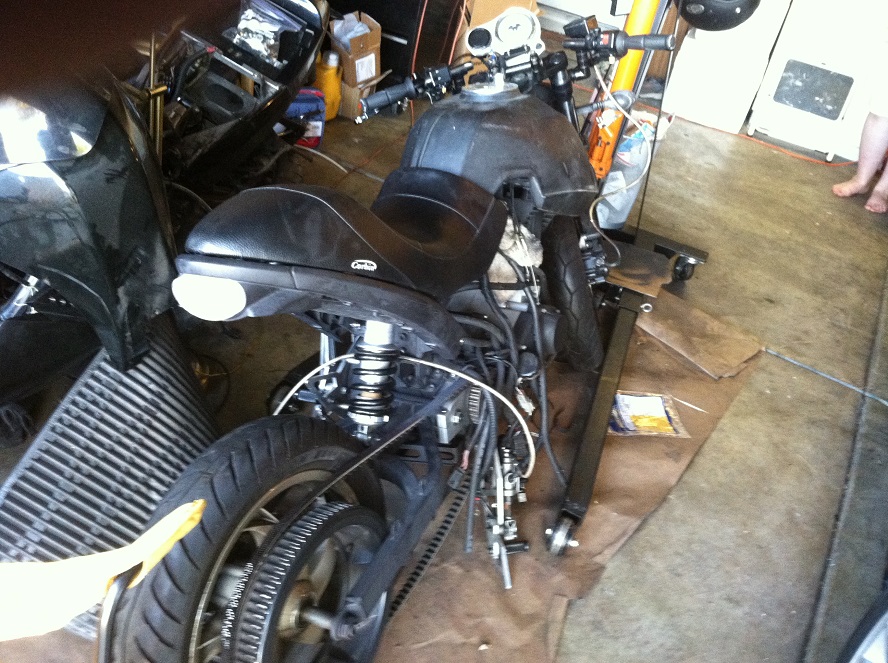 Starting to look like a bike again. EZ | ||
Ezblast |
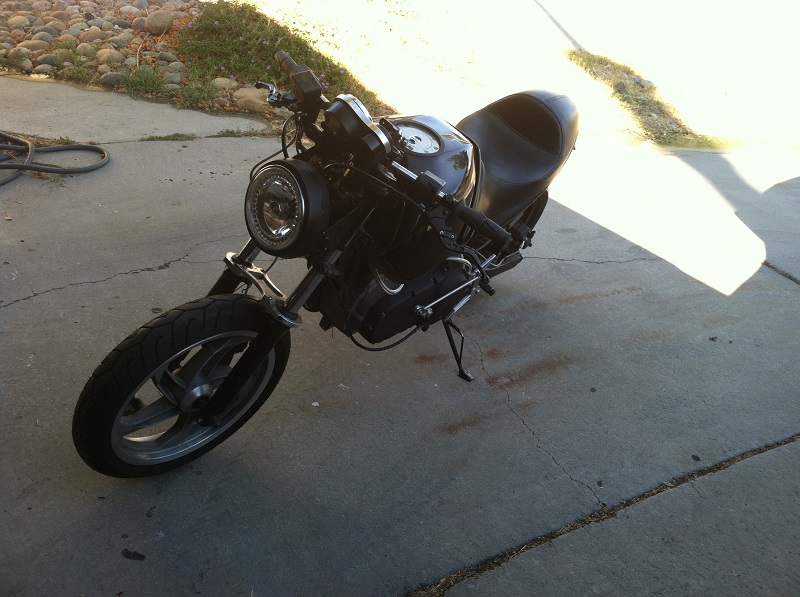
  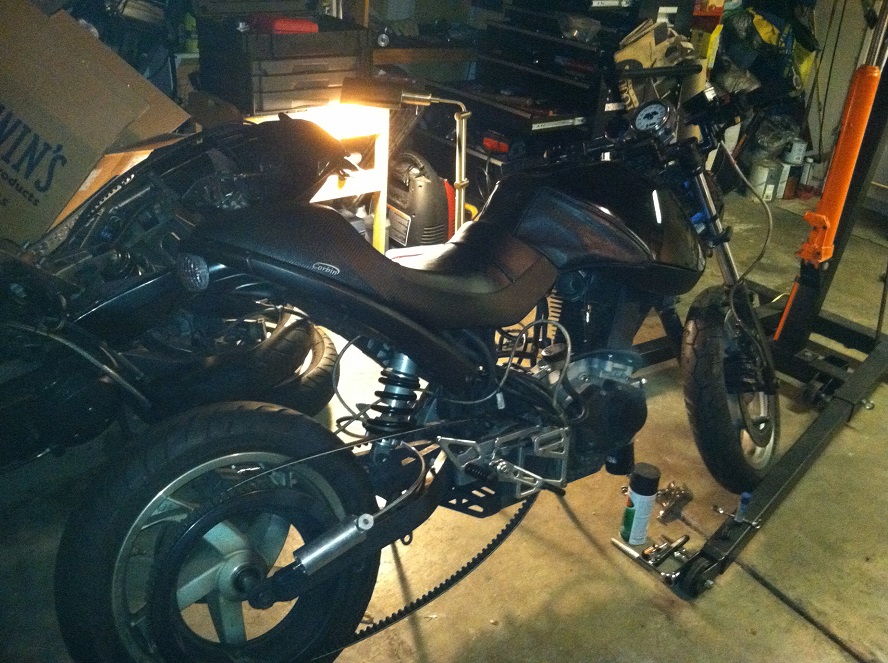 More fitting and putting on of essentials and fitting parts and putting stuff together - this is just the trial run, when I'm totally done - that tank cover will be history. EZ | ||
Vicenzajay |
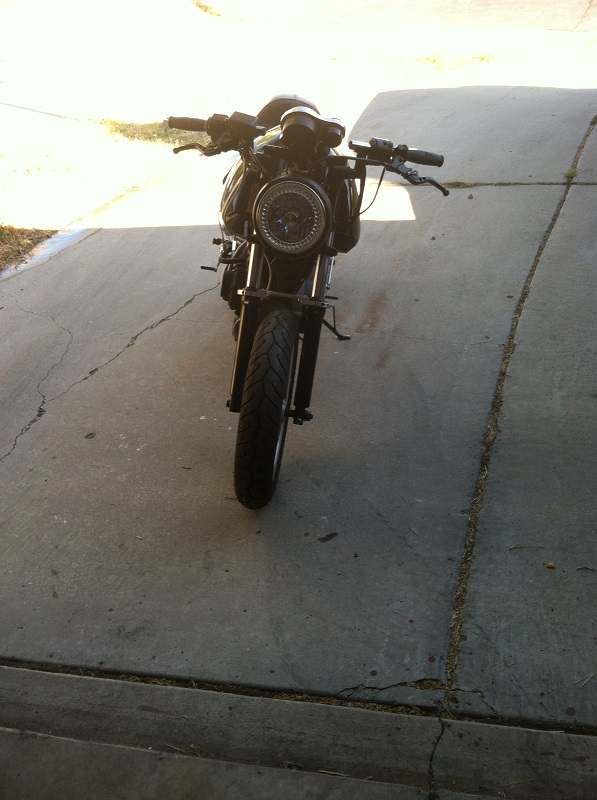
It looks very "lean and mean"...awesome. | ||
Ezblast |
Thank you. Two hours to wire and mount that light right, turn signals are incorporated - jeez EZ 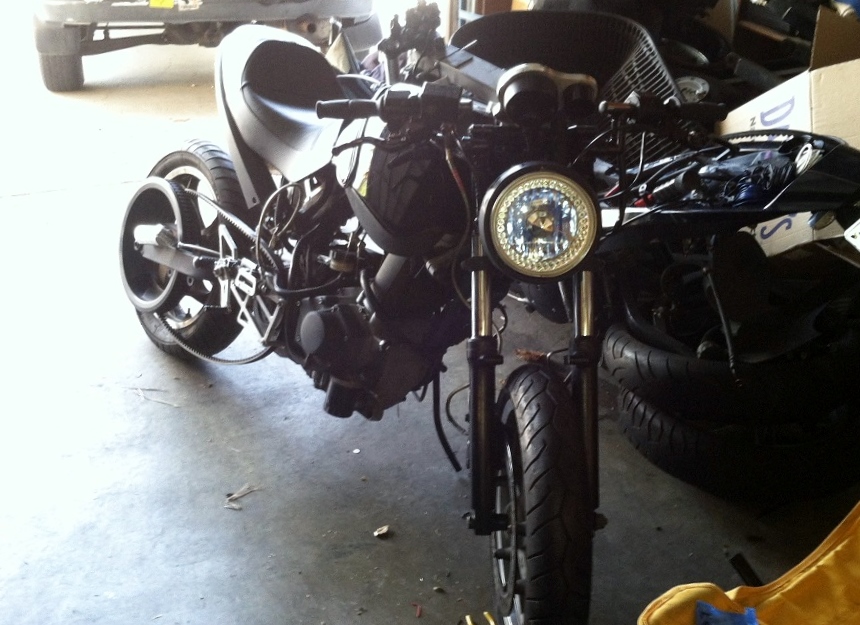 | ||
Ezblast |
Details, and still more to do - sigh... EZ   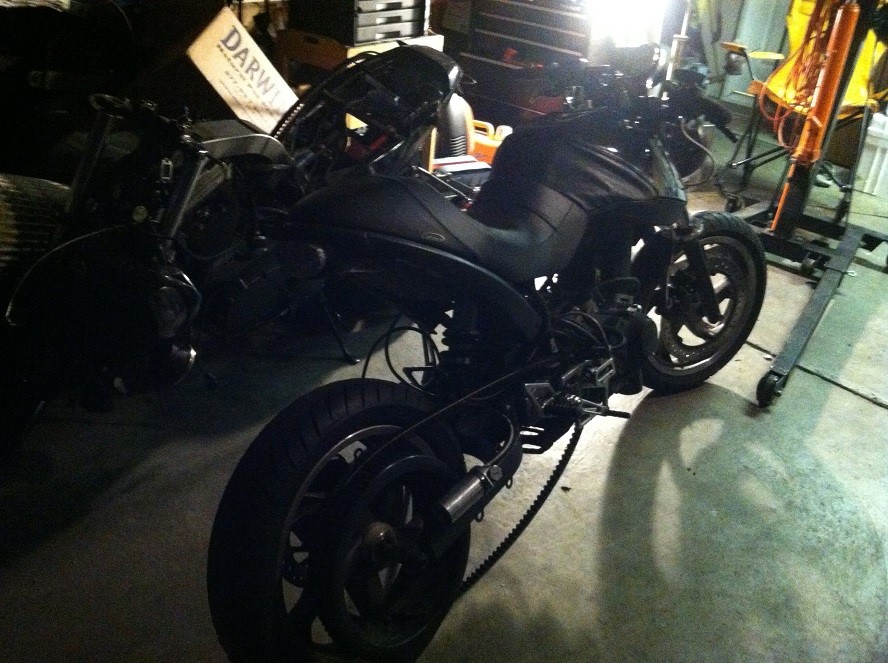 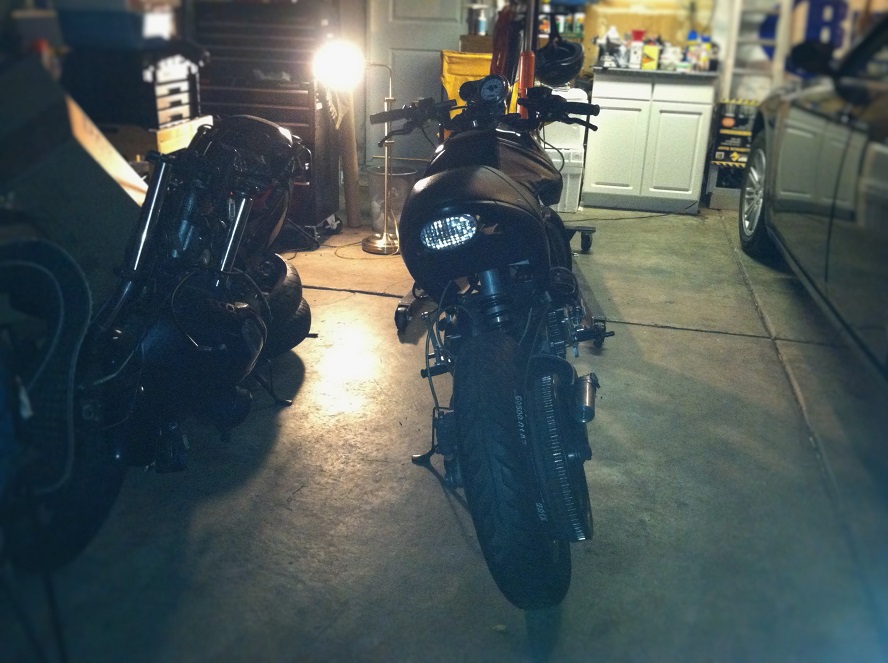  | ||
Ezblast |
 Routing and line details solved, and reservoir strapped down and safety strapped - lol - a few adjustments, and it's on to wiring and SS braided oil and fuel lines. EZ | ||
Ezblast |
Thomas's bike had really messed with my head, however - Success! Lights work, blinker and brake light work, and the motor will try and turn over! Perfect! All the electrical wiring is done!!!! - just some tucking and zip-tying to be done after the motor is rebuilt!!!!! Sweet! https://www.facebook.com/photo.php?v=10204188594065906&l=3166330835996207053 https://www.facebook.com/photo.php?v=10204188586185709&l=688515705800945907 EZ (Message edited by ezblast on July 19, 2014) | ||
Ezblast |
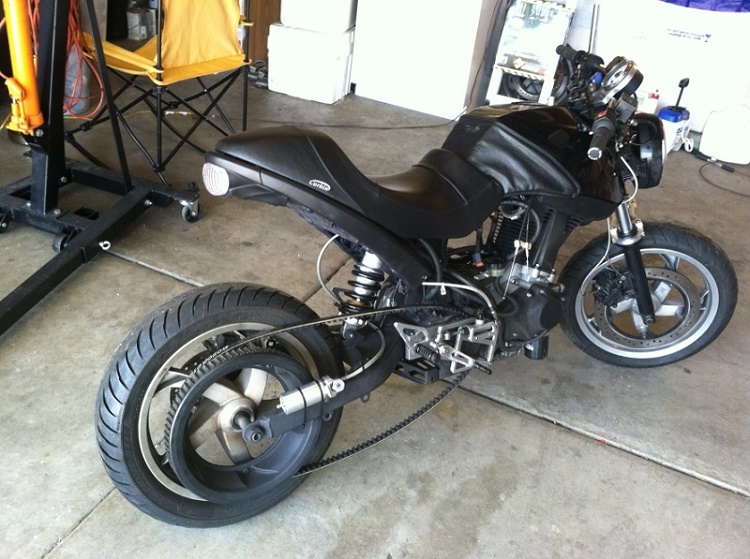
      Seat is now customized Corbin with the pocket back 3" more, braided lines now on - ready to tear apart for motor upgrades - will be nice. These picture have to hold me over till I'm done with the motor - sigh... EZ (Message edited by ezblast on August 14, 2014) | ||
Gearheaderiko |
Very lean! No one is going to know what it is!! On the plus side it won't be mistaken for any Honda's! A Duc or a Sachs maybe!! (For the love of God, push that tank cover down!!)  (Message edited by Gearheaderiko on August 15, 2014) | ||
Sycho |
(For the love of God, push that tank cover down!!) LOL! Bike Looks Killer Ed! | ||
Blueblast |
REALLY SWEET EZ  | ||
Ezblast |
Thank you - into the motor now - need advice - what is the easiest and inexpensive way to clean this, and take off the gaskets - that stuff is on there - almost 40,000 miles of coke - lol 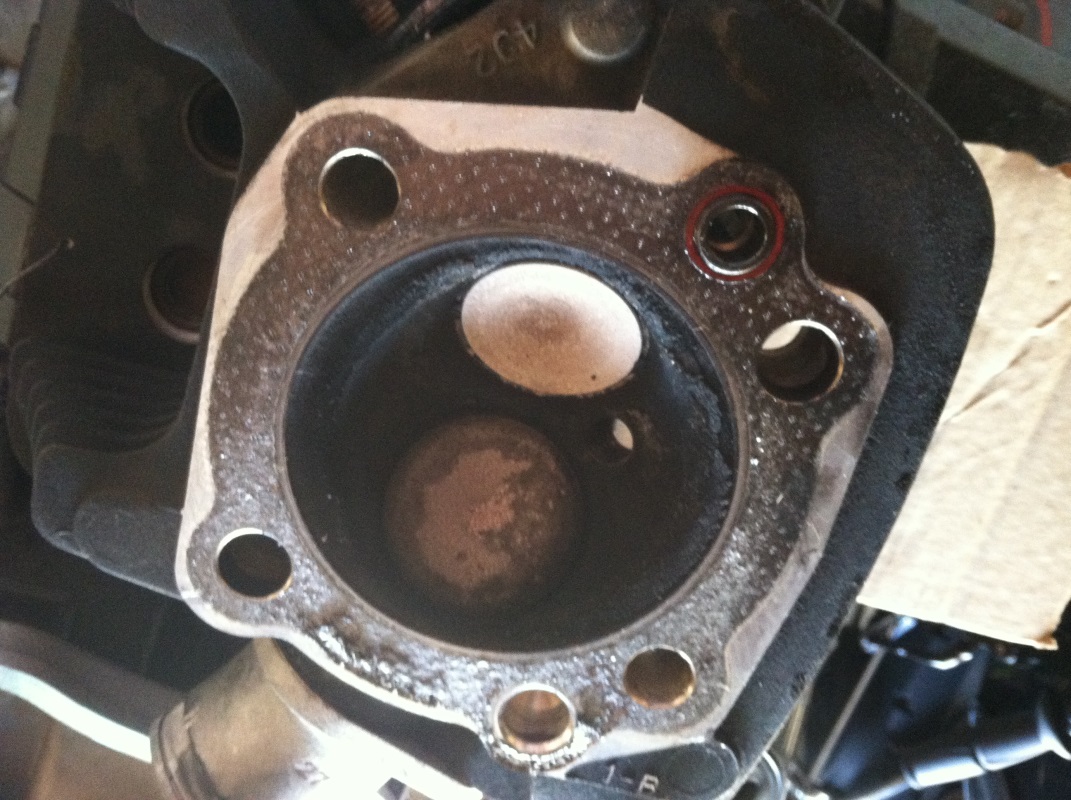 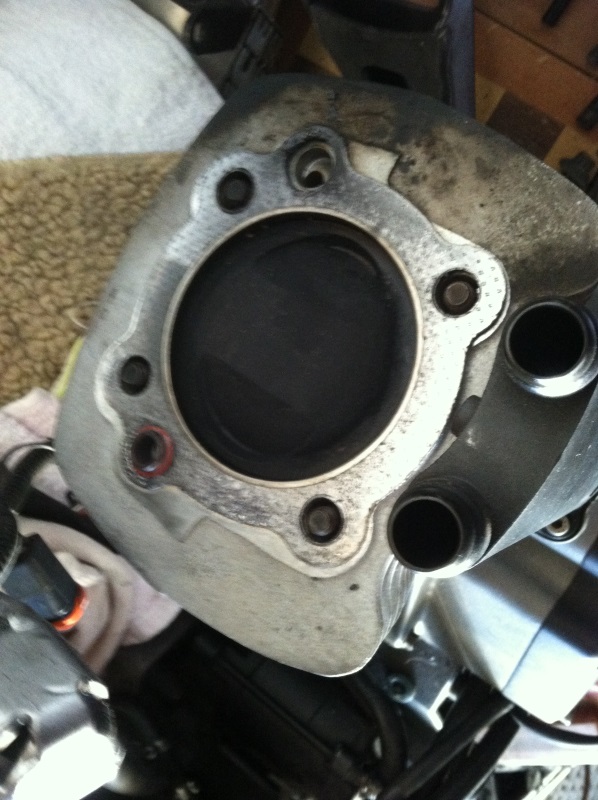 EZ | ||
Gearheaderiko |
Wire wheel. Just be careful not to go 'hog wild' (!) on the gasket surfaces. | ||
Ezblast |
Head is clean - any suggestions for taking off the base gasket? EZ | ||
Blueblast |
No idea whether this would work or not, but what if you got one of those cans of "freeze off" or whatever they are called for busting loose frozen bolts - maybe the gasket surface would contract lots more than the cylinder and pop off or at lease loosen up?  | ||
Ezblast |
Second person to mention cold - will keep it in mind. EZ | ||
Gearheaderiko |
Base gasket on cylinder or engine case? Cylinder-wire wheel. Case-they do make gasket dissolver. A sharp gasket scraper or a razor blade (wear eye protection!!). Brake clean is helpful. Often, if you can get the gasket to lift, it is a lot easier than scraping and splitting the gasket in half. So sometimes if you can get a razor blade under it, you cans get the gasket to lift off in large chunks. Often it just comes down to old fashioned hard work! Remember to stuff rags in in the engine case, unless you're planning on splitting it. | ||
Ezblast |
What works - a 3M Roloc 120 grit - 5000rpm, a feather touch and gaskets gone - no abrasions just smooth metal, removes carbon well as well - head almost looks new again - lol - https://www.youtube.com/watch?v=2lM7IgqMAiA On to the tear down and rebuild of the other motor - thanks guys. EZ | ||
Ezblast |
I've been doing carb surgery - aka - yost tube - 160 main, 46 primary, blue yost needle with clip second to bottom and large shim and rubber o-ring rubber open cap that goes on top of the needle, fresh needle jet, prepped bowl and checked float, fresh screws all around, Dynajet Racing Thunder slide and spring, adjustable rpm screw and adjustable air idle screw, put stack with splitter back on and filter, then Thunder Products Intelijet system with one way valve - looking to finish this today - done - then gap rings and install them - one little thing needs doing with forks, then set motor to tdc for teardown and rebuild. Then I have to support motor and frame separately to proceed - so I need two belts for the frame and use the hoist to support motor up and down, or jack. EZ | ||
Ezblast |
Added the gold-valve emulators today. On the other bike I had done it myself, but this time I had to ask Thomas to help - tear apart - not to hard, but the strength needed to re-assemble was not there due to the shoulder/neck injury - but one phone call later - I was back in business. Vader never had the GVEs - Starkiller did - that was how I was able to compare handling differences and know if they were worth it - most definitely by the way. A big thanks to Thomas for that help. Now to rings and the teardown - build up. Actually looking forward to this part - been constantly rereading the last few weeks to prepare. Carb Done! EZ 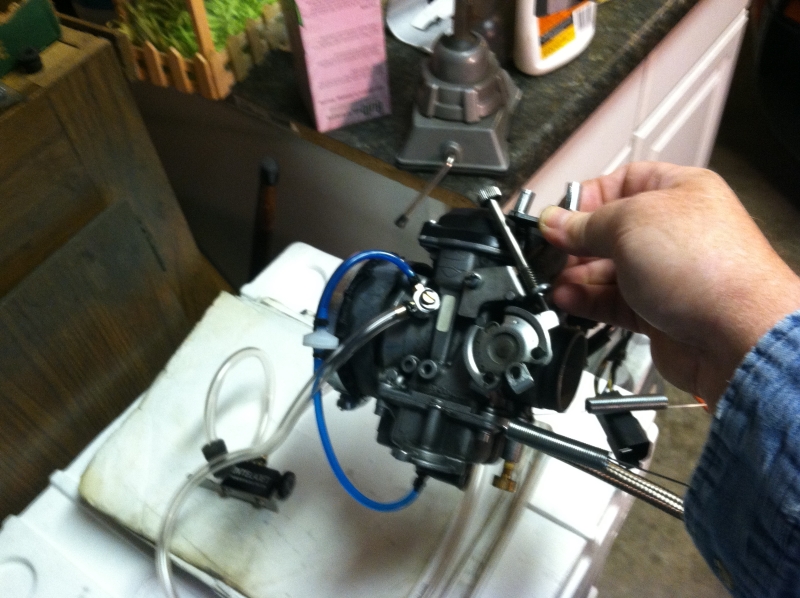 | ||
Ezblast |
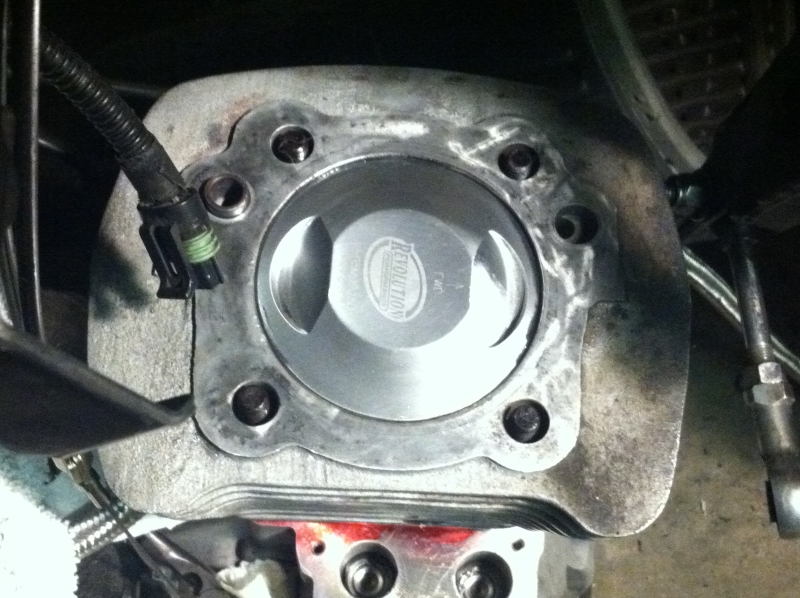 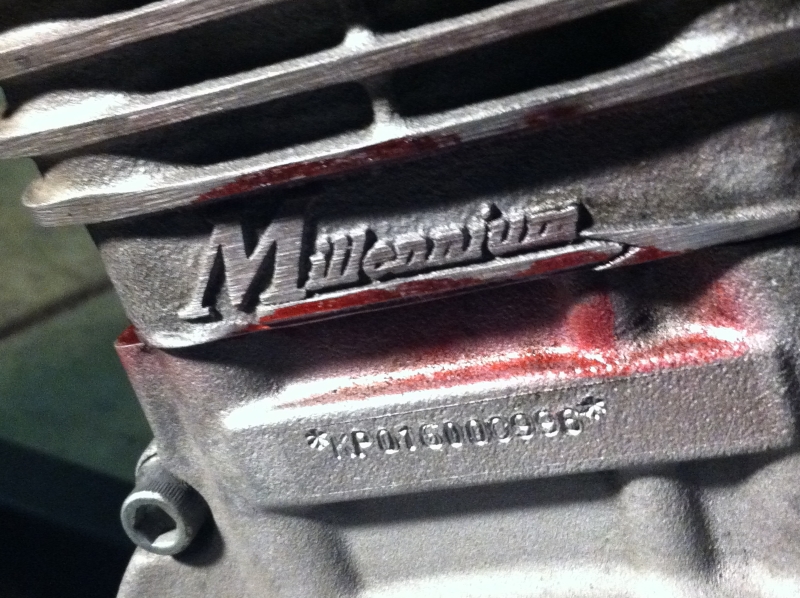 Something old, something new - Wisco piston/rings from Revolution - new version from where I got the cylinder originally - one of the first 515cc Nicsil kits - Millennium - Karmacally this engine is going full circle - I hope that is a good thing. LOL EZ (Message edited by ezblast on November 03, 2014) (Message edited by ezblast on November 26, 2014) | ||
Ezblast |
Got the part in that I was waiting for - thank you Dan! - but spent a frustrating day of oops fixing - started like this: An offline friend mentioned that he had a Muller Clutch puller that he no longer had needs for - he sold the bike, I asked what he would want for it since the box said Buell usable as well - he said fifty and I said sold. So I open up the inspection cover - after loosening everything up - took the stock clutch line puller off and started to put on the Muller version - then it happened - I dropped the little piece - the line holder itself into the primary. Couldn't reach it - of course that is when the cussing began. So I drained the primary, broke out my allens, etc. and took the cover off but only opened it two inches, saw the piece, took it out, closed the case quickly and and put two bolts in only in case I had a repeat performance - sigh - I did. Finally though, after buttoning it up a third time, I was able to properly install the Muller device. Adjusted the clutch as advised, then proceeded with doing the projects I had promised myself that I would do today. With a bum knee and arm todays simple tasks became very painful with my stupidity causing so much extra work - sigh...however, tommorrow is another day, and I'll try to accomplish some more as well. My goal is to fire this baby up soon and pray it doesn't blow up - lol - I'm trying to be careful with each step, so I don't have to redo anything or break anything. It's bad enough that due to the painful condition of my right knee and left shoulder and neck I can usually only work a few hours in a day, still I'm not going to give up, but when something like that happens and you fix it, and then the rest of the day finds you in serious pain - that is when you concede that the doctors are right, and that I do have a disability. Still I refuse to let beat me, because I want to ride, and damn it I will! By the way - the Muller Clutch pull made the clutch much easier to pull - so that part is a complete success! EZ | ||
Forcefed44 |
EZ.. I feel you.. Sometimes you just need to take a step back and observe everything. You'll get it running.. I have yet to start the Nasty Blast project.. I have everything here but I have the Caf� Brats in the way at the moment. Chris Black Art Bikes | ||
Ezblast |
Good advise - thank you Chris. EZ | ||
Ezblast |
LOL - pulled the stock cams with the slash on the large cam facing down, then realized it should have been facing up, so rotated 360 to have the B70 cams line up correctly. Then I went over to Thomas's house to help him move his bikes out of the wet spot in the garage, talked a bit, then went to Lowes and picked up a new pop up kit to fix the sink and proceeded to trash my knee by actually using it. So some painkillers later - I am able to type this and go on. I will post the cheat sheets I used to rebuild when I finish getting the cams and ignition in. So that should be in a few days. Soon I'll have Thomas over and it will be key turning time. I'll have him film that as well, but before that I'll have to add oil. zip ties, body parts, unplug the light, hook up AF gauge, and temp tiny tach, and exhaust - my goal is to be riding before Christmas - I can not think of a better blessing. EZ |