| Author | Message | ||
Bomber |
if there is bigger motorsickle fun than this (that doesn't involve actual self-propelled motion), I don't know what it is! thanks for the report, Chris! very cute helper -- make things go swimmingly, don't it? | ||
Cjburr |
My machinist buddy Ollie is turning down some stainless washers that I got at the hardware store today. They are common stainless washers with a 1" i.d. and an o.d. of 2". He will turn down the o.d. to 1.75 to match the riser on the Sportster tree. I took a dial caliper to the store with me and measured the thickness of the washers. They varied from .115" to 1.29". I was able to locate 2 washers that were exactly .125" or 1/8". These will be used to simulate the risers on the Sportster trees. Matching the thickness of the lower tree was critical to locating the hole for the fork lock at the proper height, the washer at the upper tree will merely keep the Buell tree from hitting the top cup of the neck. The Sportster stem is longer than the Buell stem and the upper Buell tree is thinner than the Sportster tree. This will let the stem protrude farther in the Buell tree. Ollie is turning the remaining washers to fit in the counterbore on the top of the Buell upper tree so that when I torque it, it won't shank out and give me a false torque. We decided on the stainless washer approach because of corrosion concerns here in Florida. The best part was when the guy at the hardware store saw me measuring washer thicknesses and I told him what I was doing and that I would have to turn down the washers to a 1.75 o.d., he started laughing about the fact that I was going to have what amounted to $50 worth of machining done to 6 washers that only cost $4 When he got done laughing, he told me to take the washers and have fun, no charge | ||
Cjburr |
Some good news and some semibad. Ollie got my spacers cut and they are perfect for the job. He still has my upper tree and is going to bore the handlebar perches to 1" as soon as he can get to it. I installed the lower Buell tree with the Sportster upper to see how the fork lock would line up. The good news is that it lined up fine when I just stuck the lower tree in and checked it. The semibad is that when I torqued it, the lock would no longer engage  Heres a pic 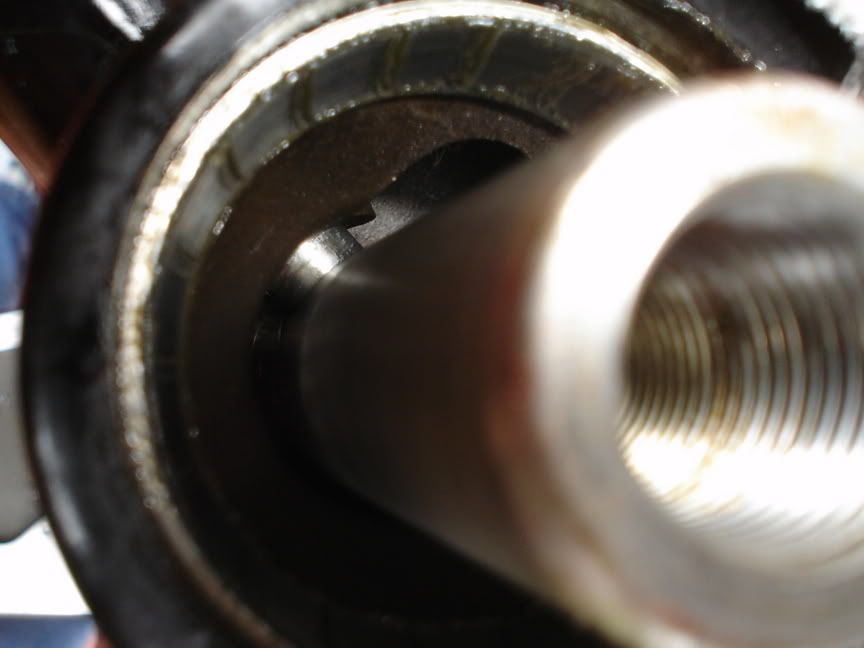 I loosened it up and removed the top bearing to see if I could tell where the problem was but couldn't really tell. I'll have to put some "machinists blue" on it, torque it, try to engage the lock, remove it and see where the interference is and adjust accordingly. This wouldn't be a problem if I didn't wish to retain the fork lock, as the Buell tree clears the lower neck cup just fine, I could just assemble it and ride if I chose to. If it proves to be too much hassle to fix, I may just do that. I'm sure it is just a matter of adjusting the shim thickness.  When I pick up the upper tree from Ollie, I will get some "blue" from him and see what I need to do. | ||
Henrik |
There's always some little thing that gets you, isn't there. Fortunately it sounds like this is something you can choose to overcome or ignore  Henrik | ||
Jackbequick |
The Sharpie permanent markers are a good substitute for Dykem Blue. Is the locking pin round and sized to match that recess machined into the stem? If so, maybe you can engage the pin during assembly to get the line up and check the spacer height. Jack | ||
Ceejay |
Couldn't you just machine out a bit more of the stem lock hole, I'm sure if the guy is knocking your perches out 1/16 more he could bring your stem lock hole up or down a bit pretty easily. | ||
Cjburr |
Thanks for the Sharpie tip Jack. I'm afraid that if it's low (I suspect it is)and I try to torque it with the fork lock engaged I might pull it up and bend the locking pin. The pin is round to match the hole, why H/D couldn't have machined a slot like the Buell is beyond me. It sure would have made things easier for me. I should get my upper tree back tomorrow, so I will torque it together and see what's up. Hopefully it's a minor shimming problem. The hardest part will be not just going ahead and bolting it together and going for a ride !! | ||
Bomber |
Cjburr -- I know you don't want to hear this, or be reminded of it, after you've gone to so much trouble, but we both know your shop helper could likely overcome the fork lock if she were feeling especially froggy ;-} I understand the desire to get it "right," though, and applaud your sticktoitiveness greatly btw, you ever want a gig as a technical writer, gimme a shout! | ||
Cjburr |
Yeah Bomber, I know. I guess it's just an effort to see if the bike can retain all the stock options. I talked to my buddy today and he will slot the hole wherever it needs to go, it won't be much. I want to go that route as I got the indexing of the hole right where I want it. | ||
Cjburr |
Checked the stem today to see where the forklock hole was in relation to the pin. I used a "Sharpie" to mark the stem, torqued it down and tried to engage the fork lock. This let the fork lock pin make a visible mark on the stem so I could tell if I was high or low. Turns out I am about .020 low. The pin actually tries to go in it's hole there's just an RCH too much low for it to engage smoothly. I took some pics of the process but photobucket is down right now. I'll post them later. | ||
Cjburr |
This is a a shot of the locking pin 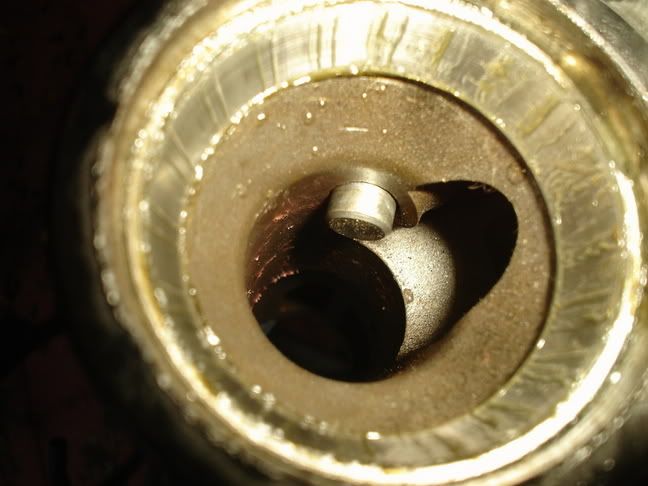 Some pics of my purple "Sharpie" marking 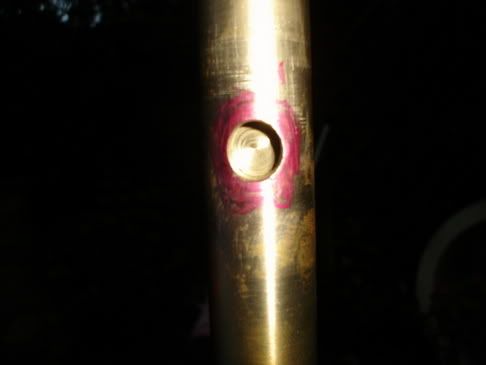 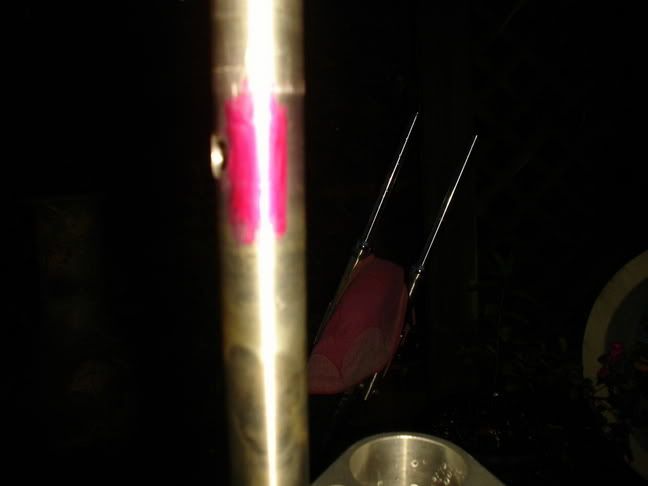 The trees torqued up, The upper tree is the Sportster tree as my Buell upper is still being machined 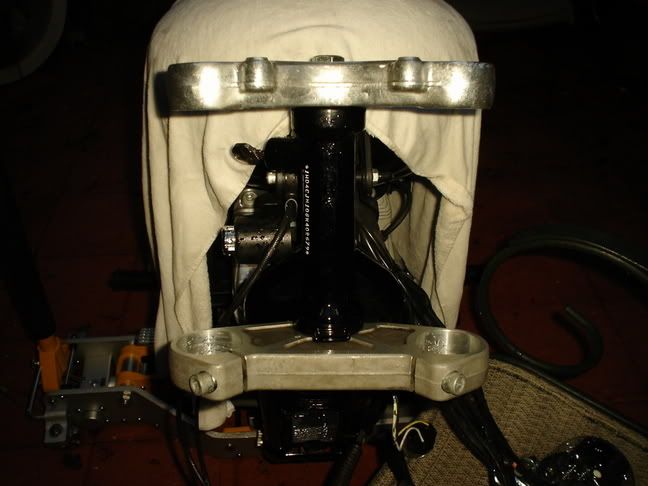 This is a shot of how close the tree is to the frame with it locked. Once I install the self adhesive rubber stop from a Buell, I should be able to turn my handlebars all the way to the left and the fork lock will line up just as it did when stock. 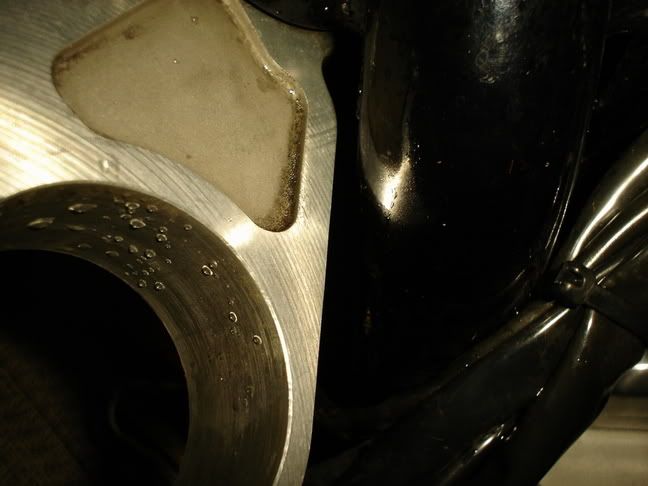 So far, so good, all the problems have been really minor on the grand scheme of things. If Ollie has time to slot the hole in the stem and finish my top tree today, I'll be on the home stretch. I will be on the runway Sunday for the launch of Atlantis (launch scheduled for 4:29 EST), so I won't be able to continue until we get the bird into space. If I have any luck at all I will be test riding my new front end by next weekend. | ||
Henrik |
Now which would think more difficult - space shuttle launch or Buell-to-Sportster front end swap Good luck on both. Henrik | ||
Cjburr |
All the hard work is done on Atlantis, we've gotten it ready to fly 3 times now. At work we started to call it the Penguin, as in "what's black & white and doesn't fly" Hopefully everything will go right tomorrow. Keep us in your thoughts and wish us luck. The day didn't start too good, my 18 year old daughter showed up on the back of her boyfriends bike, on wet roads, and I noticed his front tire was completely bald. He is currently unemployed so the wife had him go down and get a new tire. Naturally I had to help him get the tire off his bike   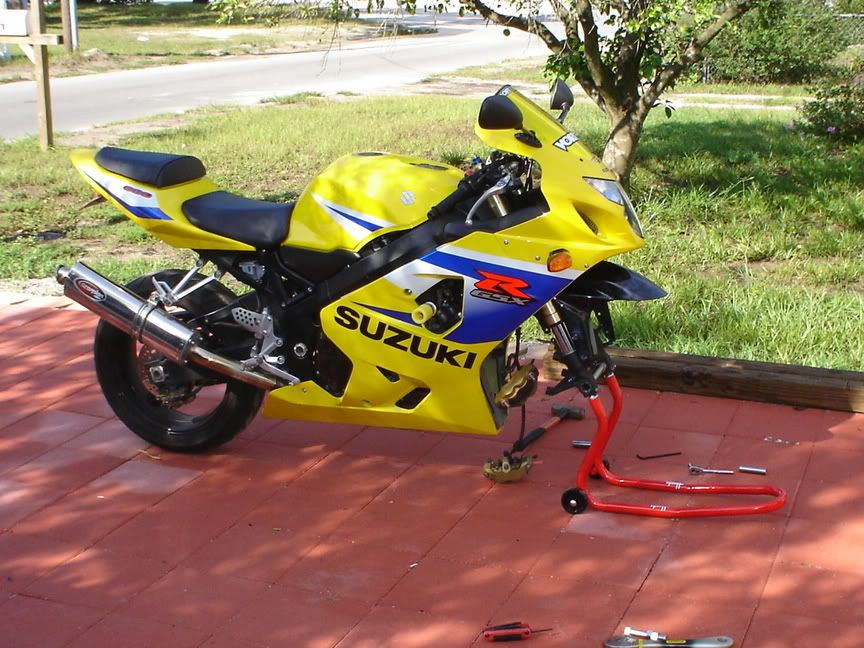 When that was done, I took a road trip to Ollie's house and he slotted the forklock hole on my stem for me. Here's the set up on the end mill 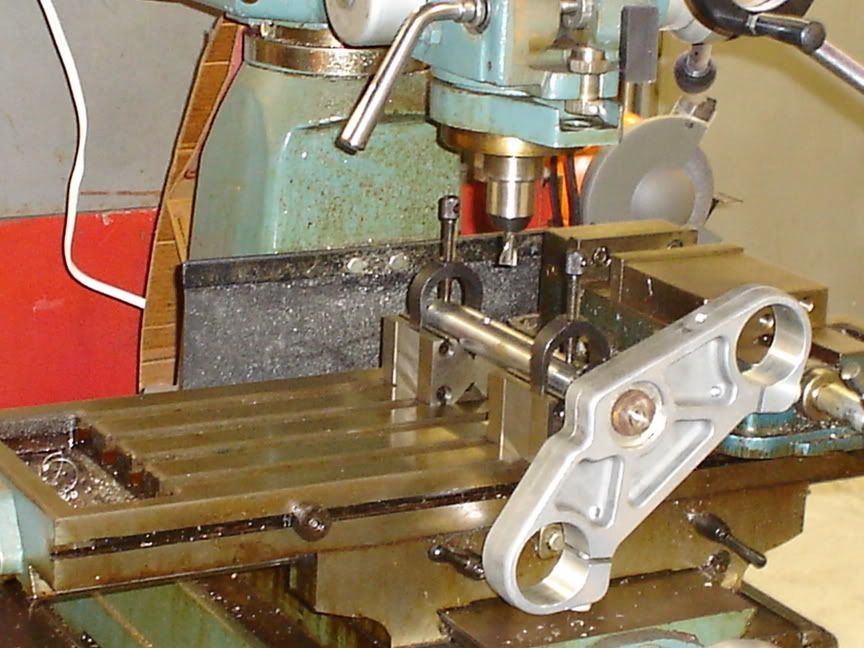 Boring away  The finished product 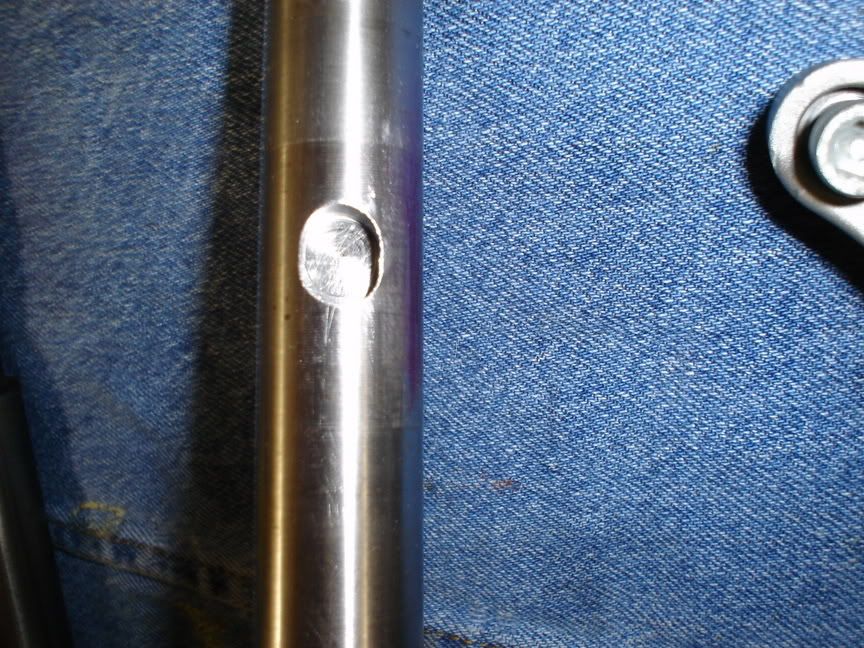 Now in case anyone thinks I won't pay my debt to Ollie, here is his latest personal project. Anyone know what this is ???? 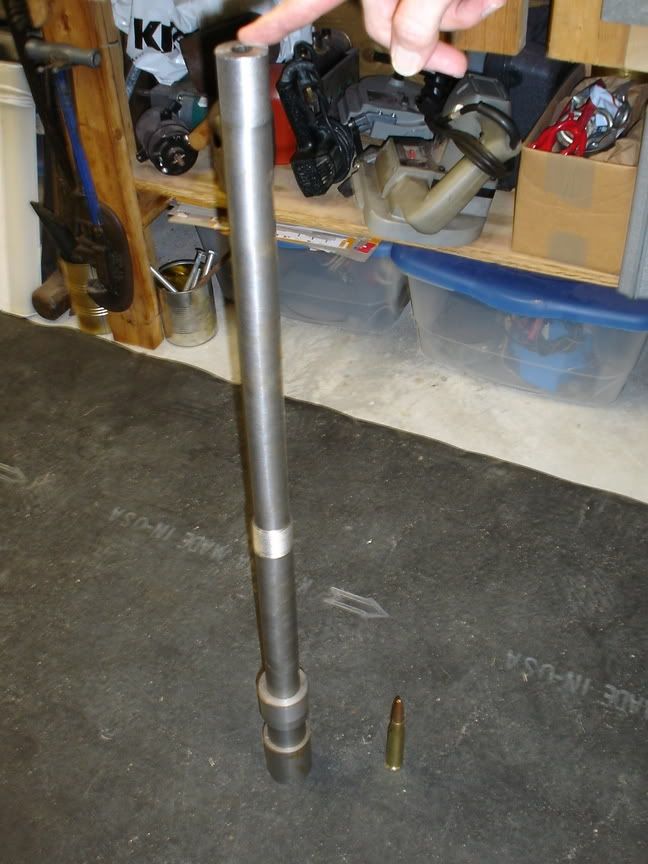 Yes indeed, that is the barrel off an M50 machine gun The small round on the bottom is a 30/06, I'm going to ask Ollie if I can have a couple of spent 50 caliber shells to put in the ends of my grips 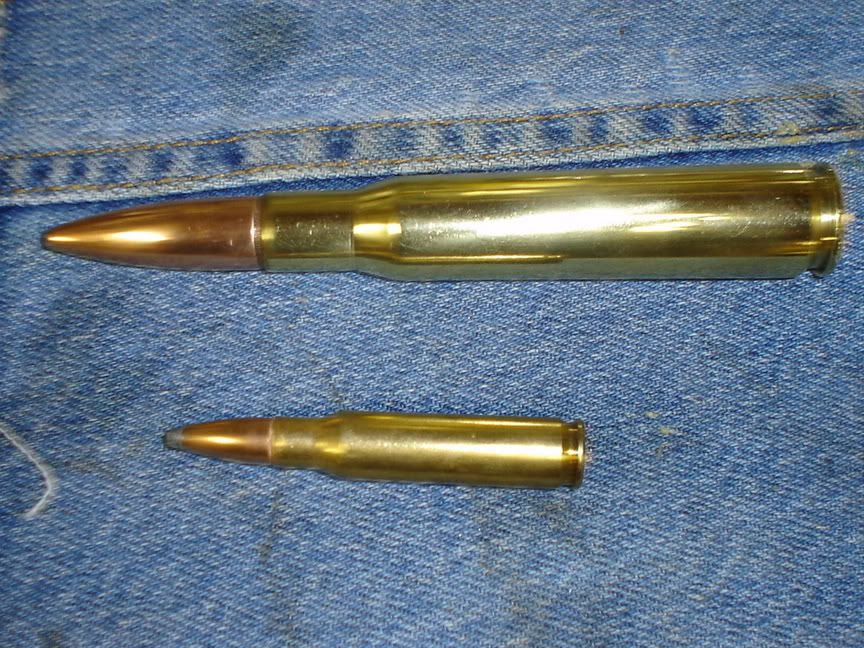 Although I'm anxious to get my top tree done, you never argue with a man who has a 50 caliber. (Message edited by cjburr on August 26, 2006) | ||
Cjburr |
Picked up my bearing grease from the stealer today and found out something of interest. The mechanic there said that the grease called out in the manual is something to avoid. Apparently they are having trouble with it breaking down and leaking out, so they have gone back to using their wheel bearing grease in the fork bearings. He said they had gotten numerous people coming in with the factory grease dripping out of the neck tube. If this is the same grease they are using on the Buells it might be something to watch out for. a guy at the counter was curious as to why I needed bearing grease for my 06 Sportster. When I told him what I was doing, he looked at me like I had just bitten the head off a chicken. (Message edited by cjburr on August 27, 2006) | ||
Sportymark |
I might be taking on the same mod soon, by putting a set of S3 inverted forks on my 2000 Sportster, thinking i will not have some of the issues cause there is not fork lock on the 2000vs the 06, and my existing trees are flat at the bearing surfaces so that is not an issue. Though I am trying to figur eout how to mount my existing wheelm and also how to use my existing bars and risers as well as trees. | ||
Cjburr |
Sportymark, you need to see if the handlebar perch is cast into the top tree. If it is and you want to use your risers and bars you will have to mill the perch off and match drill the holes for your risers using your old Sportster tree for a template. You could use your Sportster wheel I suppose but you are going to need to figure out how to mount the caliper so it lines up with the disc. You'll also need to figure out the spacers needed to center the wheel as the Buell trees are wider. The whole point of my mod was to get the 6 piston brake along with the better forks for my Sportster the cheapest way possible. I wish you the best of luck, the trees won't give you any trouble if you follow what I did, but changing to the Sportster wheel is going to give you the opportunity to break new ground. | ||
Sportymark |
I have a Tokico 6 piston caliper already so making another adaptor bracket for that is easy enough. | ||
Cjburr |
Well with the storm I had no time to lose to get this thing in good enough shape to get it off the patio and into the garage. Here we go, The trees are installed and the forklegs put on to allow the stem bolt to be torqued. 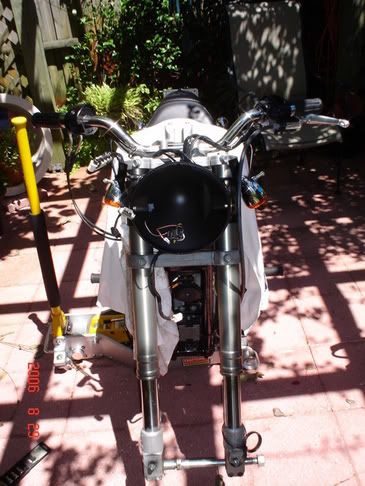 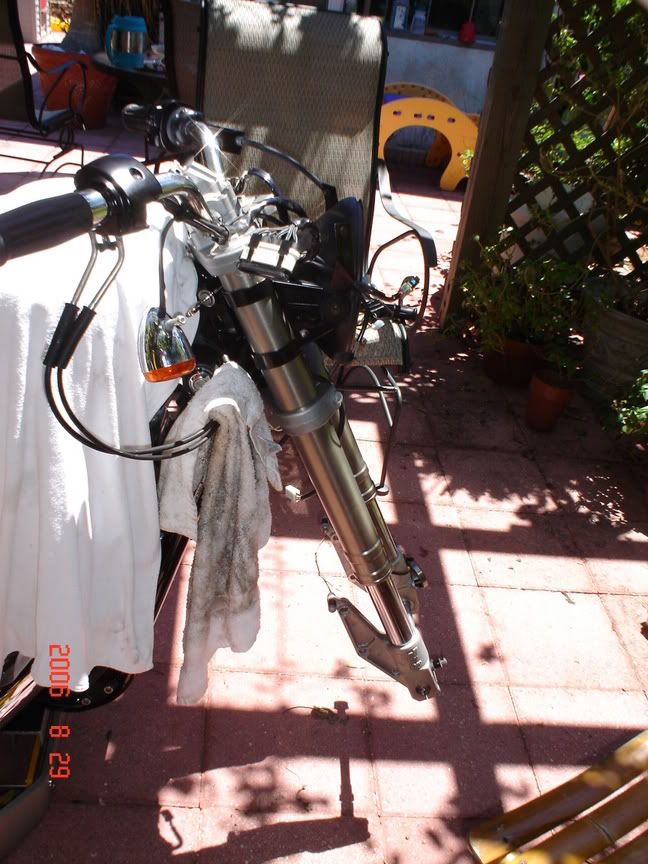 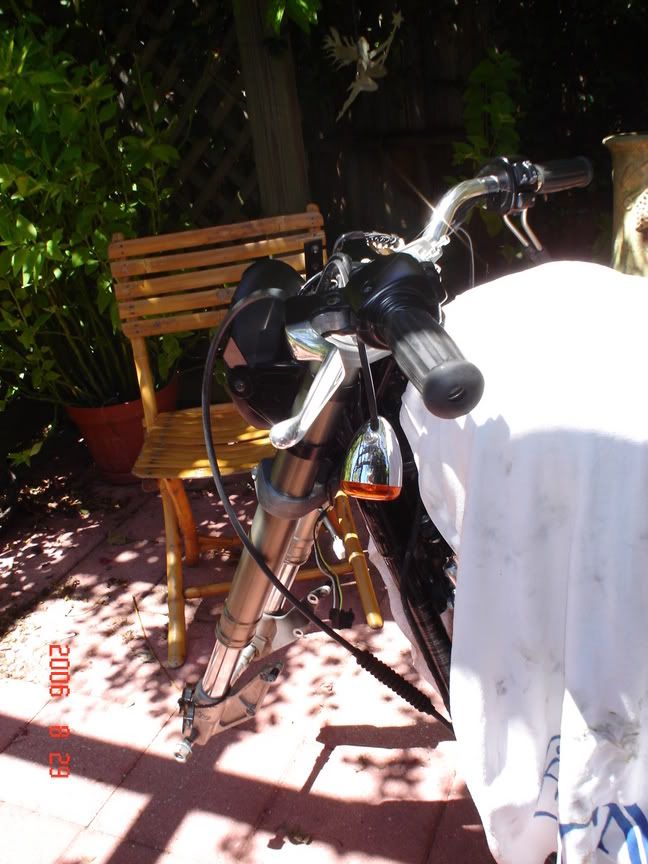 I'll end up with one spacer on the bottom and three on top as the stem protruded too far and would hit the handlebars when they were torqued down. I'll take it apart and even things out when better weather prevails. The bracket for the headlight goes on before the top tree and the wheel was installed next. 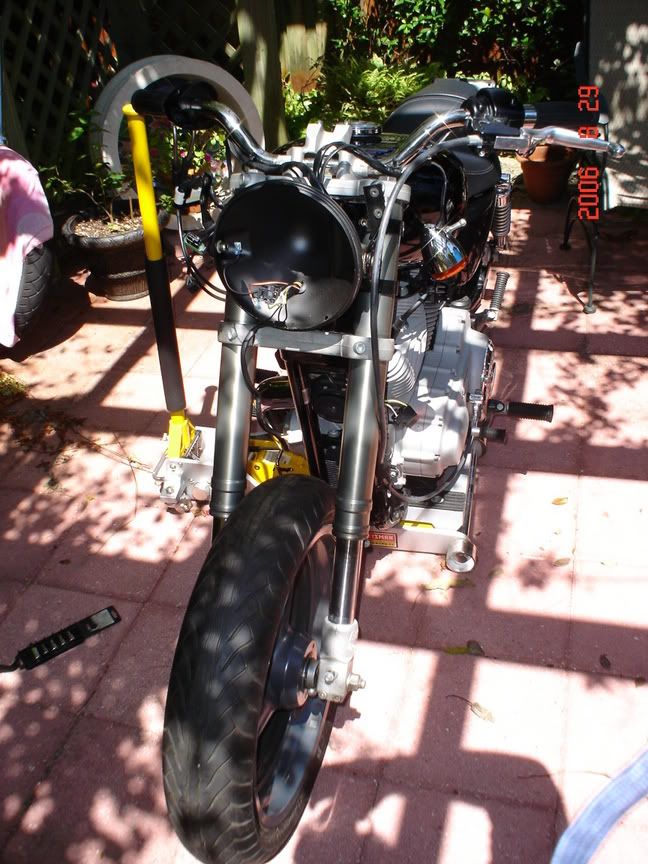 The handlebars cleared everything nicely and I put on the gauge pod for a fit check of the harnesses. No problems at all. 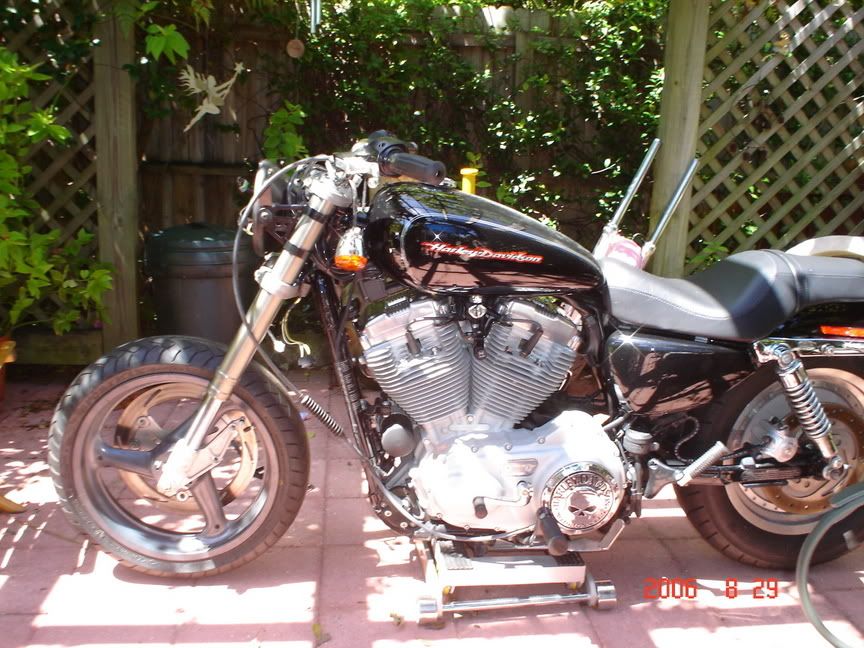 So far so good. Next I removed the wires from the headlight connector and routed them through the bucket. A good tip here is to use a couple toothpicks to hold the locking tabs back while you pull the wires out. 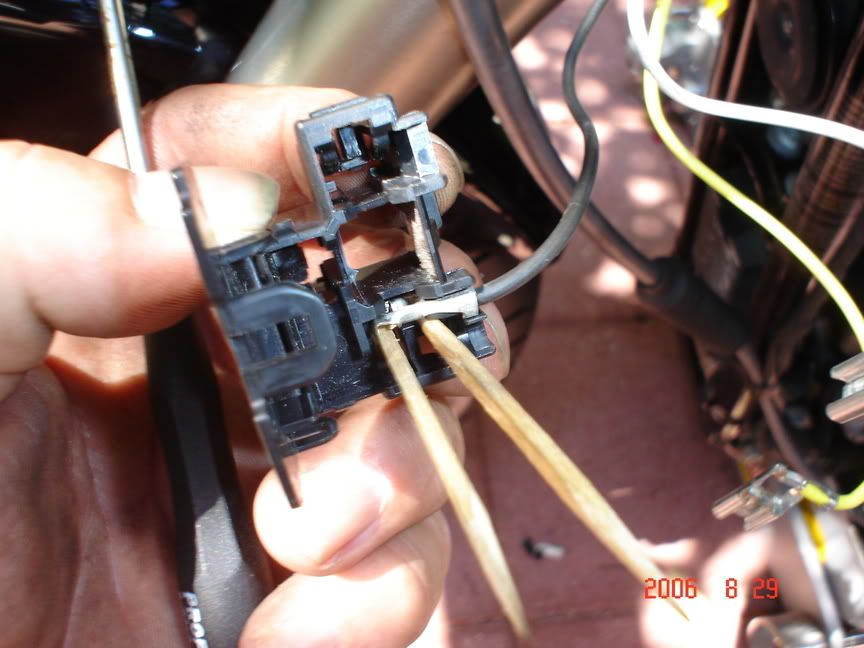 Wire routing complete. 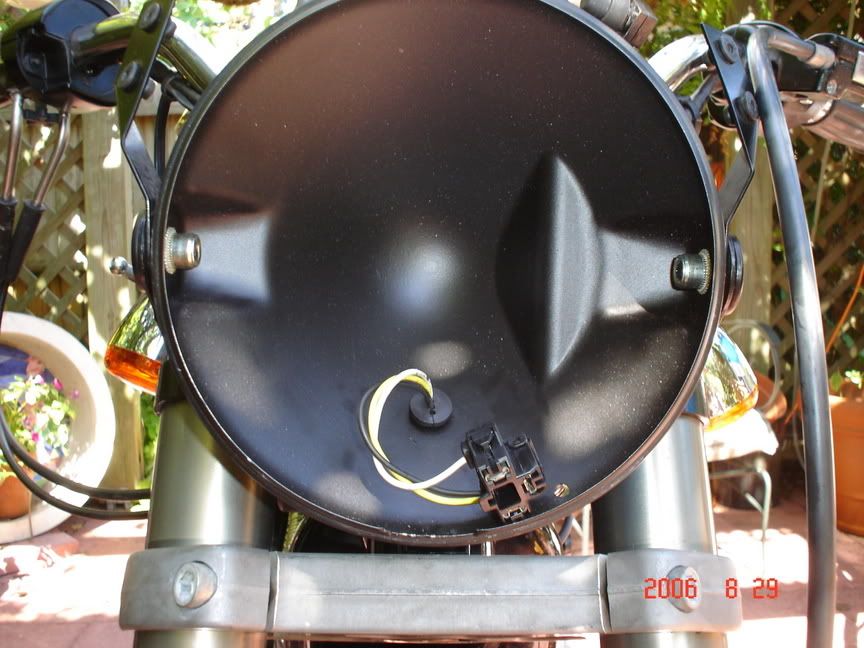 Low Beam, all is well 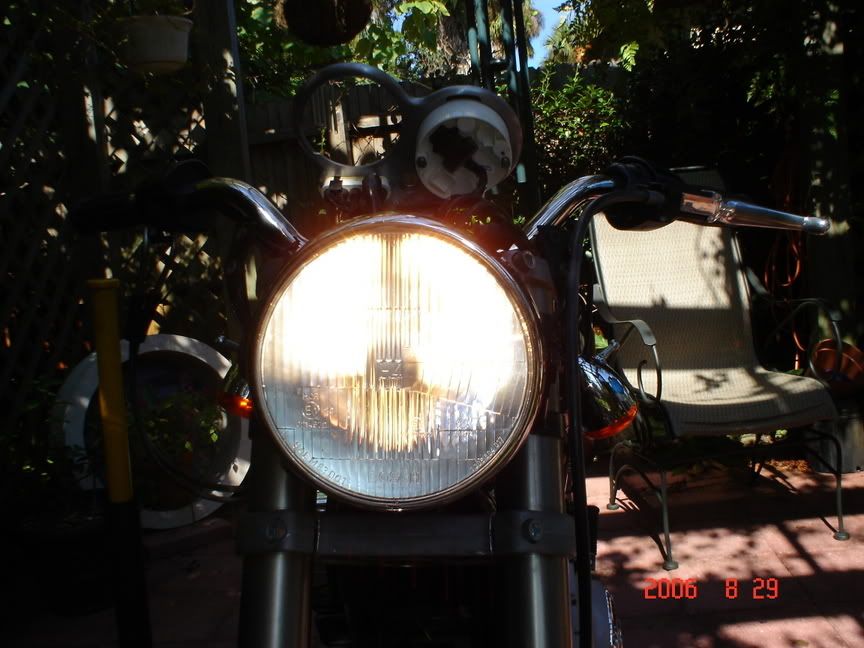 High Beam too 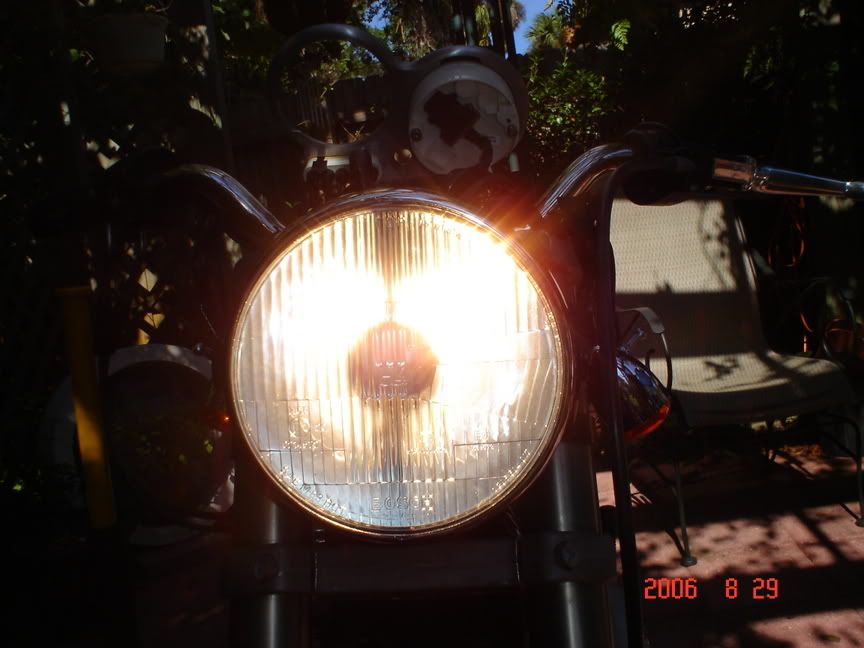 Next a mock up of the instrument pod, this will be painted black at a later time. This is a shot of the back, you can see where the idiot lights plugged right in and the speedo fits as well.  The front side of the pod 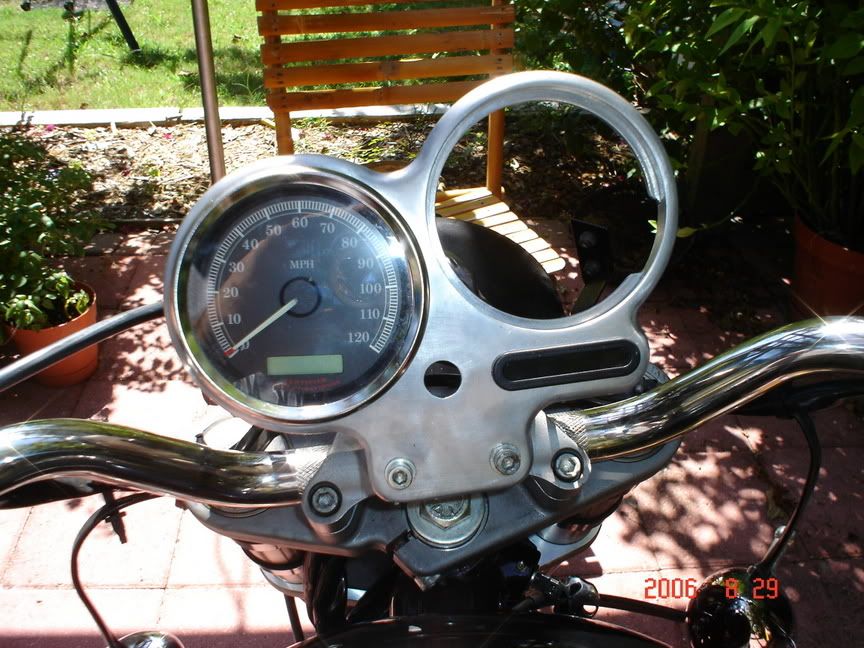 I installed the black fender , lowered it off the jack, and drove it around a little bit. Seems like there is a bit less of a turning radius, but nothing major. After the storm I'll get back on it and start to finalize everything. Sorry the pics weren't my best effort but time was a wasting  Thanks for your patience, Chris | ||
Road_thing |
Nice work, Chris! Are you going to change out the rear wheel to match the front, or what? rt | ||
Cjburr |
Thanks and yes, I already have the matching rear, as soon as I get everything sewed up with the front it's on to the back. | ||
Henrik |
Very nice job Chris. Very nice. Henrik | ||
Bomber |
that is gonn abe one COOL Sporty -- very nice work, and thanks for sharing your efforts -- | ||
Court |
Chris: Great job of documenting! Are you with NASA? It appears you have the technical proclivity! If the whole space thing doesn't work out, I can see you and Henrik open a machine shop called the "House of Purfect". Great job, Court | ||
Cjburr |
Thanks all, I work for United Space Alliance, we process the shuttles for flight. I am the forward shop lead, responsible for the crew module. I am also a runway certified SCO(spacecraft operator) and will be opening the hatch when Atlantis returns from flight. It'a cool job but not all roses as the potty is right next to the hatch and when you open it the pressure from inside really gives you a good whiff | ||
Cjburr |
Measured the distance lost between the frame and the ground today. My counterpart from HiBay 3 came over to get my cast wheel for his bike and I took a few comparison pics. His bike is the same as mine and with the cast wheel installed the distance to the ground was 5.5" unladen and 5.25" with him onboard. We put him on my bike and the distance was 4.5 unladen and 4.25 with him onboard, so I only lost an inch of ground clearance. I will gain back .5" by rearranging the stacking of the spacers on the trees. This will also lower the stem bolt in the upper tree so it clears the handlebars when they are mounted. The bars just barely touched the bolt, but I am afraid this might lead to some unwanted vibration. I will be doing some research into the cartridge fork construction to see if different springs will raise the bike the remaining .5". If anyone has knowledge of the catridge style fork I would appreciate any wisdom you might be inclined to share with me. I need to read up on how to measure the rake and trail to see if I have gone out of safe parameters or not. However a steering damper is on my list of things to do and that might be all I need to keep the riding as safe as I can. Thanks for the question as it is very pertinent to my safety. Here are the comparison pics 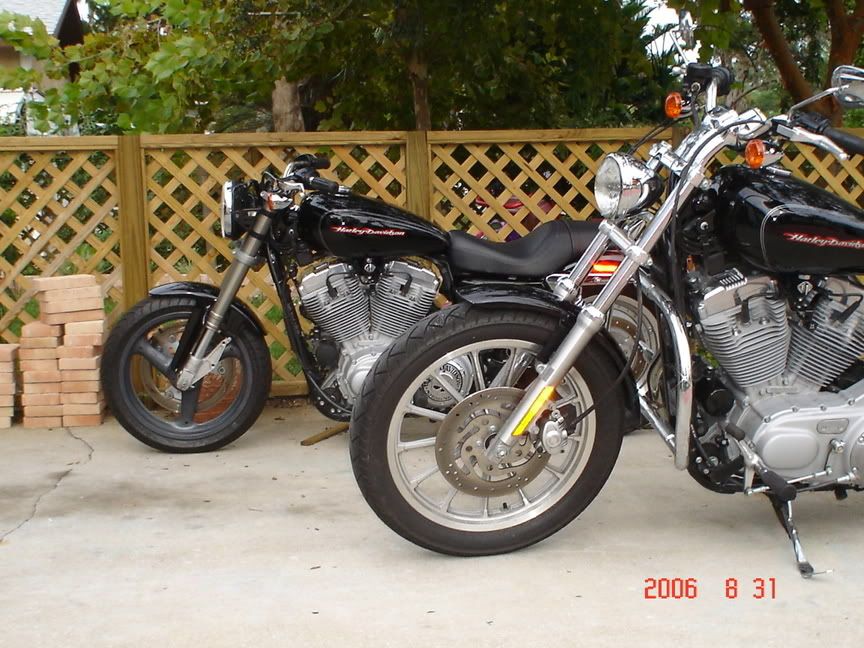 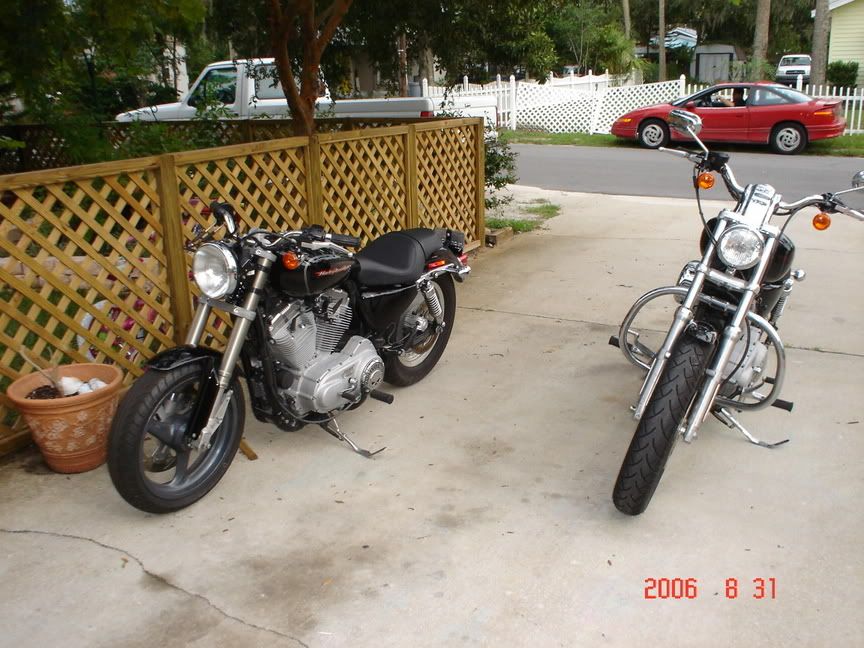 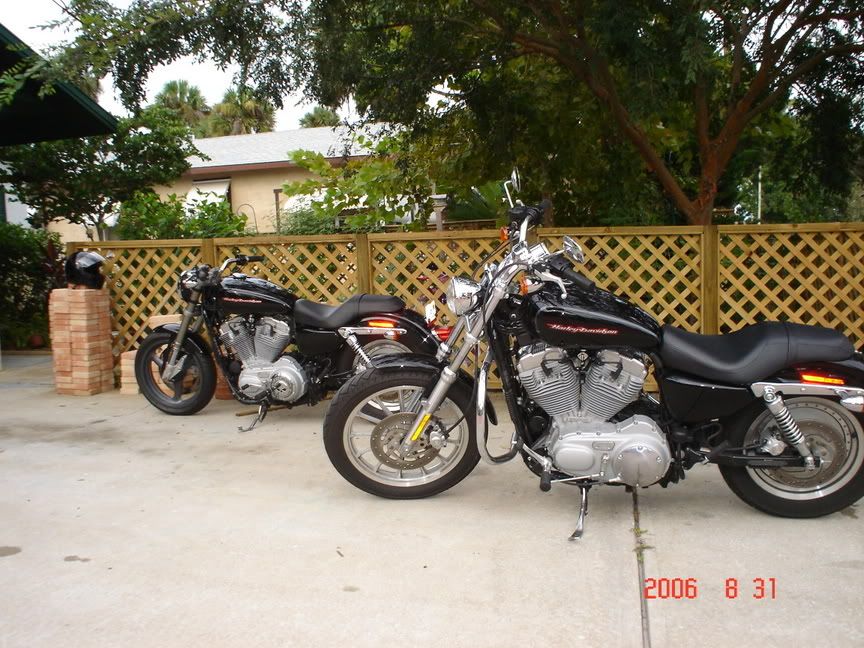 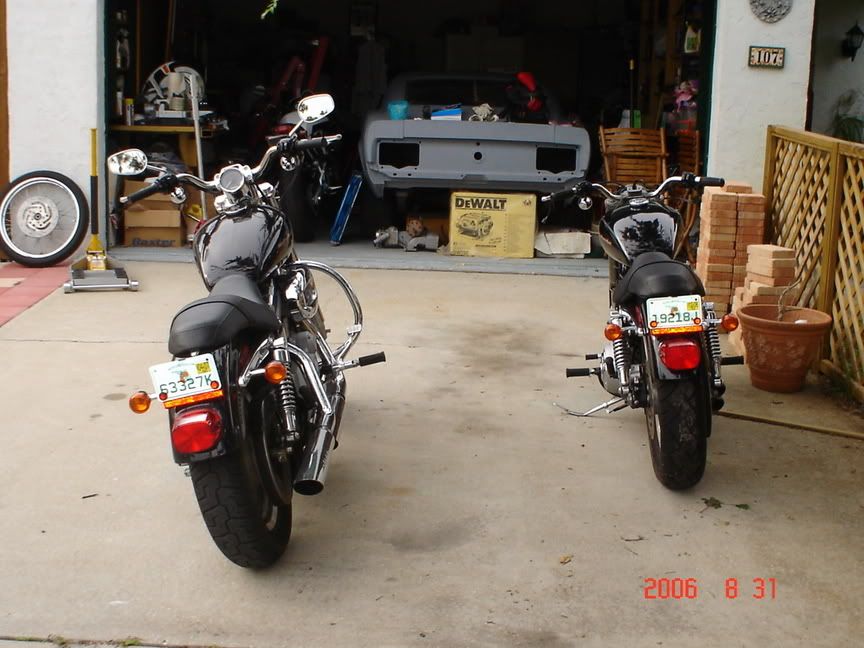 | ||
Cjburr |
Got the specs for my Sportster by Googling 2006 Sportster rake and trail. 06 Sportster Rake 29.6 degrees Trail 4.6" Wheelbase 60" Got the specs for my Buell by Googling 1998 Buell S1W rake and trail. 98 S1W Rake 25 degrees Trail 3.9" Found a rake and trail calculator at RB Racing heres the link http://www.rbracing-rsr.com/advchoppercalc.html After punching in the numbers for my Sportster, you then put in the length of your new forks and hit calculate. Results for the SportBuellster Rake 26.17 degrees Trail 4.47" Wheelbase 58.12" Heres the specs they say you should try to stay within Note: Trail cannot be a negative number as this will adversely affect handling unless you are building a shopping cart. Typical trail figures are between 4 and 6 inches. Various Harley models have the following trail figures: FXR 4.22". Softail 5.0" to 5.8". FLH models 6.16". Dyna Models 4.1" to 5.1". Sportster 4.6". Looks like I'm O.K. with the rake and trail. They have some real good info on there site about rake and trail. Enough to give someone a basic understanding of these critical dimensions and what to stay away from. | ||
Cjburr |
I think that the fact that the Buell trees have a triple clamp offset of about 1.5" versus the 2.45" offset for the Sportster draws the forks closer to the neck. This is verified by the fact that my wheelbase is now shorter than it was. By tucking the forks closer it actually raises the bike more than the stock forks, this offsets the 4" difference in the forks, leaving me with the 1" drop in frame height. At least that's what my tired brain is telling me right now. | ||
Court |
Chris: Small world huh? . . I'm betting dollars to donuts you know my Uncle pretty well. He's the one who goes in when you open that door. We sill laugh over the long suspense after the first Shuttle landing. The media folks were all coming up with theories about what might be going on to cause the delay of the crew leaving the Shuttle. No one guessed "frustrated pilot from Kansas is sitting at the controls playing". Amazing. 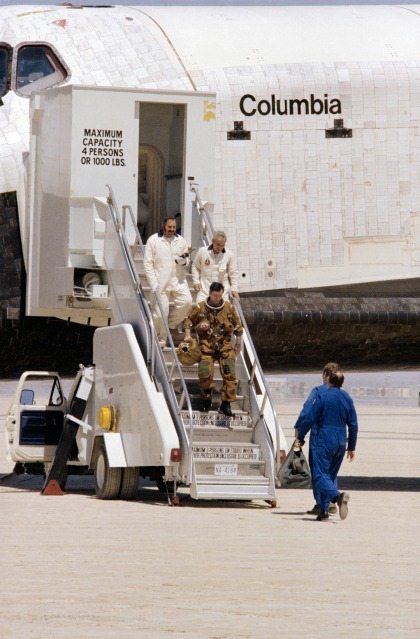 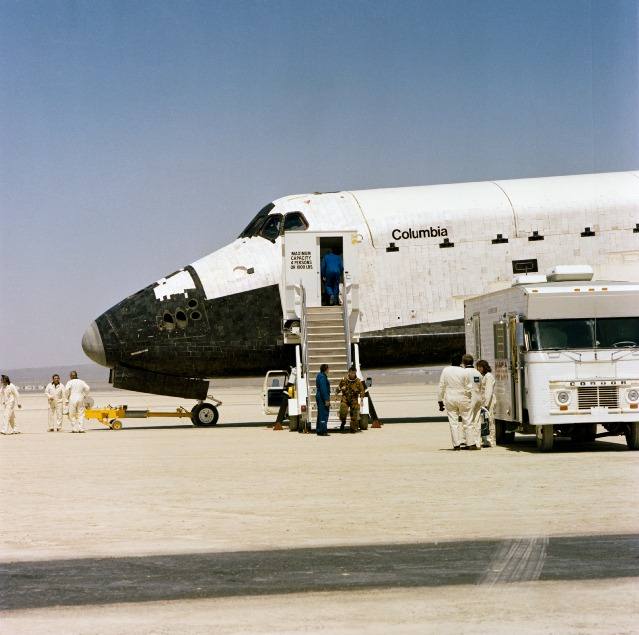 | ||
Road_thing |
Great progress, Chris--it's amazing how much smaller the bike with the Buell front end appears compared to the stocker! I can't wait to see the finished product. rt | ||
Henrik |
Chris; that bike looks just plain mean with that hunkered down stance. Very cool. Someone makes a fork extender kit for the GXSR Showa forks - I'll need one when I put GSXR forks on my SV. I can't remember who makes the kit, but you could no doubt call Traxxion Dynamics and get an answer to whether something like that exists for your new forks. You could just raise the rear for an even more aggressive stance - and quite possibly quicker handling. Henrik |