| Author | Message | ||
Echovictor |
Well, with Homecoming upon us, I finally had some time (and impetus) to get this project done. I've still got a few other pieces I'd like to try adding color to, but so far, here's Stage 1; 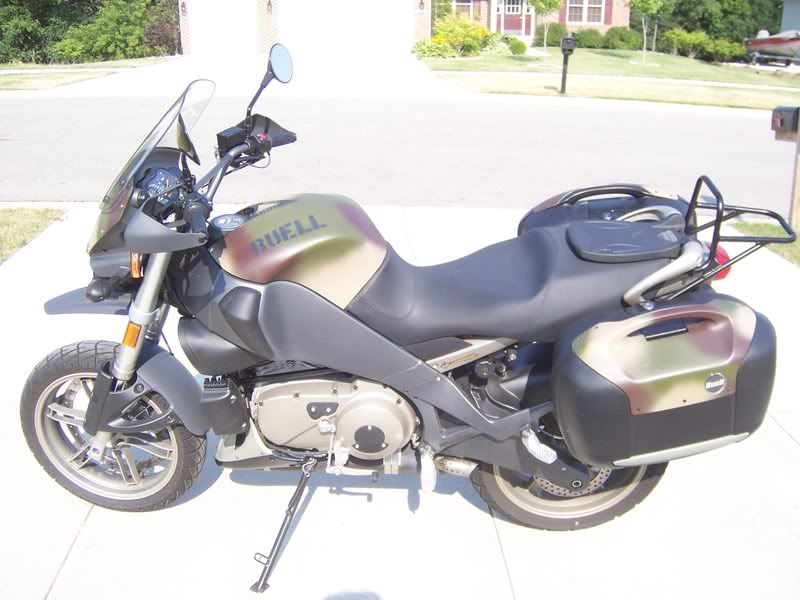 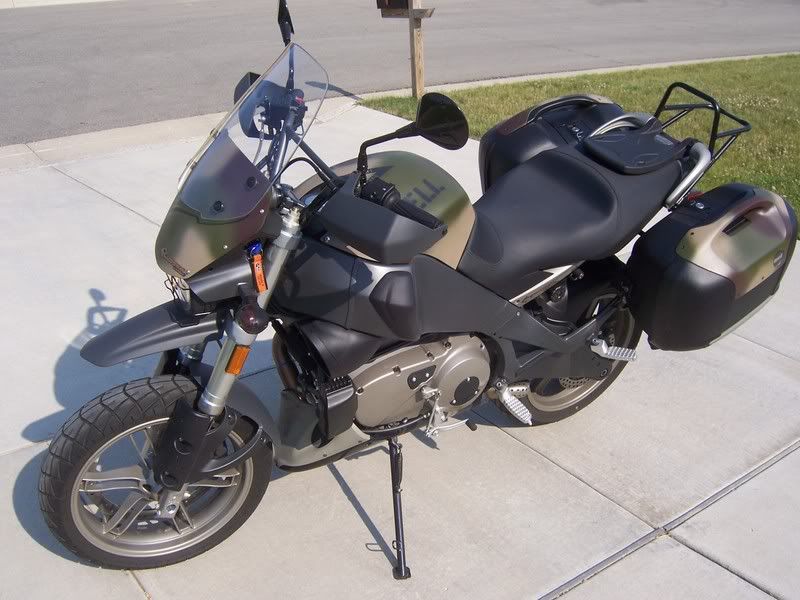 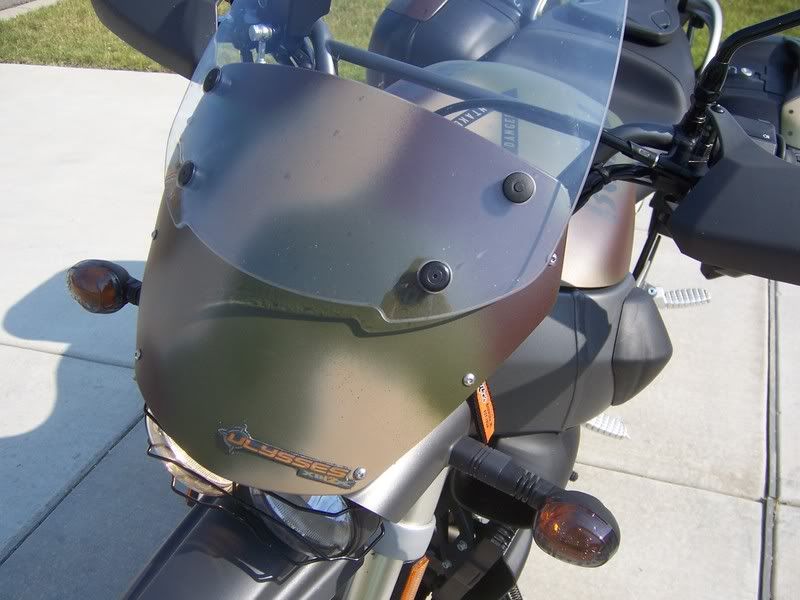 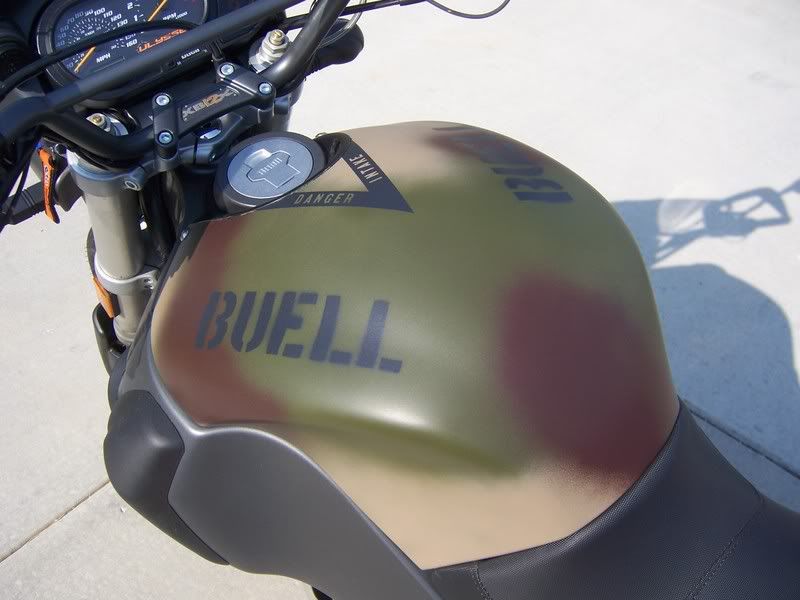 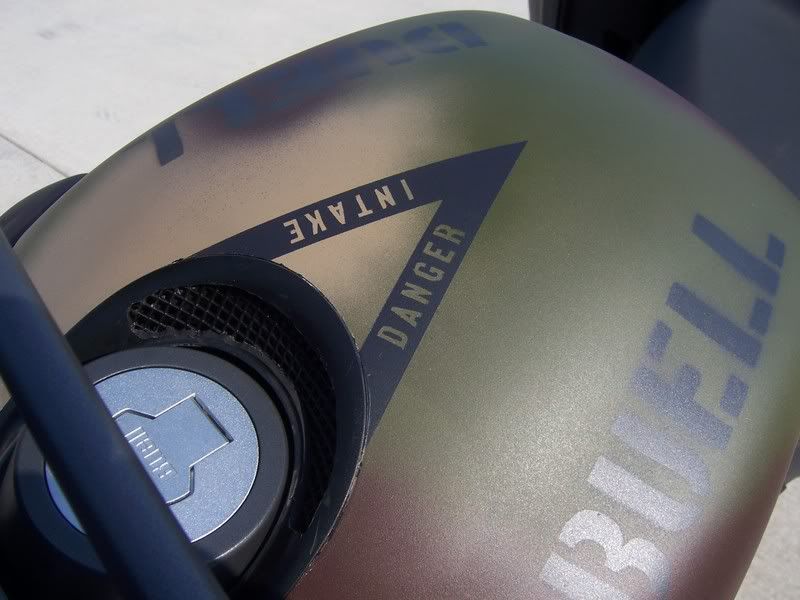 Later, EV | ||
M_singer |
very cool man! | ||
Harleychanic |
Me like!!!!! | ||
Powder |
+1 on the coolness factor. You did a good job.  | ||
Olenuf2nobetter |
Tres awesome! I'm particularly diggin' the intake warning -- how'd you do that? | ||
Echovictor |
Thanks for the compliments everyone. It's really exciting to have something pictured in your mind's eye, and having it turn out even better when turned into reality. How'd I do the intake? Kinda simple (but tedious); Step 1) - I painted the camouflage pattern first, making sure to have none of the dark brown in the area. 2) - I laid out the 'chevron' shape with some painters tape. 3) - Using MS PowerPoint, I printed out the words "Danger" and "Intake" using the font I wanted. 4) - I taped the piece of paper with each word on it over a wide section of painters tape (approx 1" x 4"). 5) - Using an X-Acto knife, I traced the outline of each letter, cutting through the paper and into the tape. I found that by not pressing too hard near the corners of each letter, the individual letters would stay stuck to the 1"x4" 'carrier' tape when I peeled it off my cutting board. 6) - Move the 'carrier' piece of tape over to the chevron, line up, and press down hard. 7) - Peel away the 'carrier' very slowly, making sure to nick the corners of each individual letter as I go, so that the letters stay on the surface while the 'carrier' gets peeled away. 8) - Mask/protect rest of cover and spray 'chevron' area with black. 9) - Let dry and peel away individual tape letters, revealing base camouflage color underneath. 10) - Clear coat entire area to protect finish. That's it! Later, EV | ||
Roostre |
Very Bitchen! I want to do a WW2 aircraft "nose art" theme, I just haven't pinned down exactly how it should turn out. Its cool to see somebody just go for it. Inspiration for a fence sitter like me. Thank you!  | ||
Maximum |
That's great Eric! I assume I will get to see it in person at Homecoming this week? | ||
Tipsymcstagger |
Very cool! Tipsy | ||
Fastmag |
That looks great. I was thinking of something along those lines. | ||
Longdog_cymru |
I'm not into camo paint schemes, but this looks Very Nice Indeed!!!  | ||
Ulywife |
Love it! My daughter is going to flip when she sees it. She's a camo girl. | ||
Pso |
Looks very good. I think better than the one the facory had out. | ||
Froggy |
Awesome  | ||
Busykat |
Echovictor, Cool and clever!  | ||
Bertotti |
I love all camos some more then others. Yours is very well done. I checked with a few different painters but no one is interested in doing what I want they said they had reputations to protect. I don't get it why turn down work a customer wants done. I figure they just don't like the military or camo paint. A couple actually acted like they were to good to do it. Screw em all, I'll do it myself also. Thanks for the inspiration! Semper Fi mate, Bertotti | ||
Fubar |
Just plain old-school awesome! Great work. | ||
Khelton |
Nice paint job , Echo Victor and S/F Bertotti | ||
12x9sl |
Very cool and very well done!! | ||
Badbuell70 |
That looks ALOT better that that ugly, tacky red ULYSSES everybody is always talking about. Good for you my friend! | ||
Bertotti |
Back at you Khelton. | ||
Darthane |
That looks ALOT better that that ugly, tacky red ULYSSES everybody is always talking about. ~~~>Badbuell70 LOL...I still say Maximum's Uly is dead sexy. His kid's Blast is gorgeous, too.  I was admiring your bike in the parking lot of the Sheraton - very nice job, it's beautiful! | ||
Ratbuell |
Saw the bike at the host hotel, very nice. Step 2 for me would be a nice OD finish on the frame, to make the gray go away...  That reminds me, I need to do some CARC touchup on my M35A2.... |