| Author | Message | ||
Thumper74 |
I got the bug to do my own tires a few months ago, but hadn't needed to do it until now. I was just really tired of working around someone else's schedule for something I could do on my own (I'm ASE cert) if I had the equipment. I looked all over the internet and found some DIY instructions over at www.webbikeworld.com that really helped me envision what I needed to make. Tools: - bead breaker - tire irons - rim protectors - bead lube (for installing tire on the rim, it assists in easily putting the tire on, seating of the beads, etc) - balancer - weights - patience - new tire - puppy to assist -I made a bead breaker like this one, http://www.webbikeworld.com/t2/bead-breaker/motorc ycle-tire-bead-breaker.htm. Mine was different in that is hinges on a stud in the garage. -I made a square out of 2x4s to keep the sprocket/rotor from touching the ground -I managed to win a balancer, clamp type bead breaker, some weights, digital tire gauge and all on Ebay for a really fair price. Once your tire looks like this, it's over. I had originally planned on doing a big, smokey burnout but the neighbor has a new born baby. 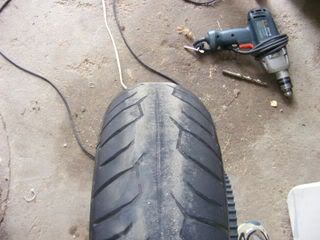 Lift and stabilize the bike. Ratchet straps from the ceiling worked okay. I taped the front brake lever to keep the bike a little more stable. 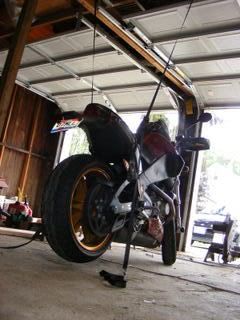 First you need to remove the valve core in order to successfully break the the bead. Position wheel on wooden square like soo... 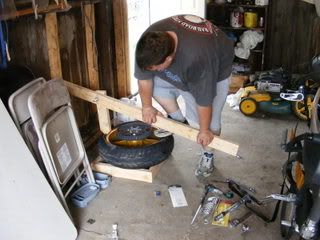 Use your tire irons to remove and remount the tire of your choice. We did this part on the ground with no opportunity to take pictures. You can buy a fixture to hold the wheel if you'd like. Assistant and photographer. 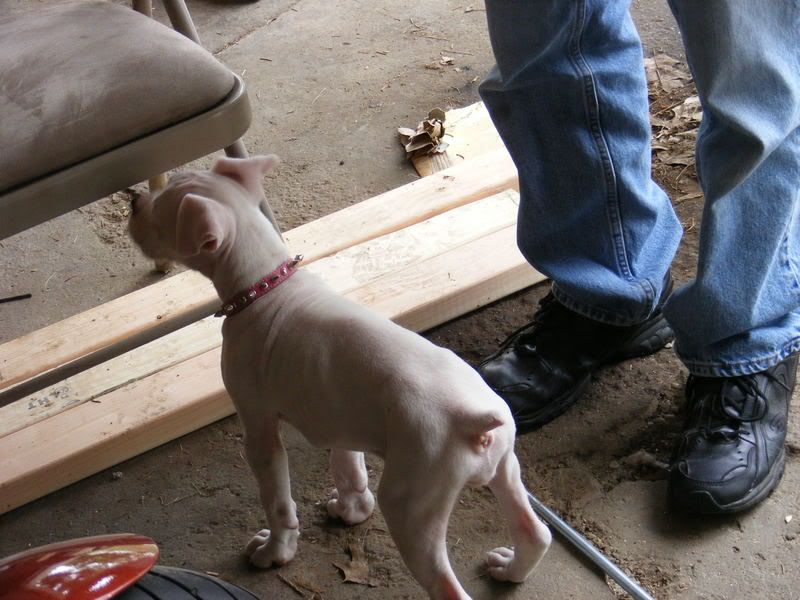 After all that beer, sometimes you need to pee.  Once it's mounted and inflated to the proper pressure, remove the old weights and put her on your static balancer. 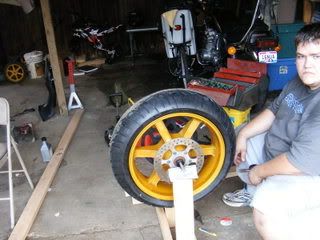 Balance the wheel and reinstall on the bike. 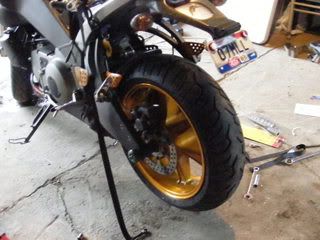 Test ride and enjoy! Note: Being paranoid, I took the wheel to a local metric dealer and they checked the balance for free. Much to both of our surprises, it came out perfect! | ||
Nevrenuf |
don't do like i do most of the time and underestimate you ability thump. puppy looks great. | ||
Gentleman_jon |
The Bead Breaker is just too wonderful!! Reminds me of a front muffler stand and jack that I posted earlier. 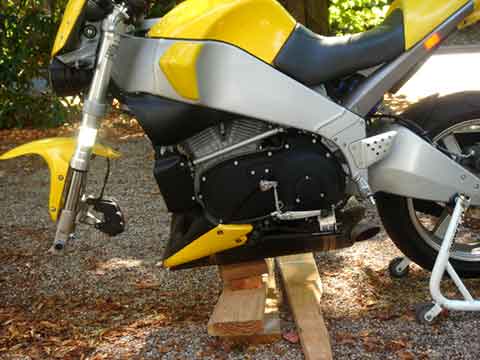 Of course anyone could do it if they had the assistant that you do!  | ||
Ratyson |
I can't see the pictures here at work, but I get the jist from the text. Great post! Have you put a copy in the Knowlege vault??? | ||
Miamiuly |
Couldn't believe I got away with $25 for an off the bike tire change the other day, didn't even buy the tire there. I think they gave me a break because I know the tech. Probably more like $40 and often shops here won't mount a tire you bought elsewhere. I will have the tools one day, would like a nomar, but they cost almost as much as a full powered unit from harbor freight. Nomar takes up less room I guess... | ||
Thumper74 |
Nomars are awesome! I have less than $150 into the balancer, tire iron, wood, weights, bead lube, rim protectors, etc. I'm doing okay... I'd like to start a small tire only facility on the side, but it can wait until I find a faster way of mounting the tires. Keep in mind that it still only took 5 minutes to get the tire off and the new one on. | ||
Miamiuly |
I'd like to start a small tire only facility on the side I've had that thought too, and they make the hitch mount.....but I live in a very litigious part of a very litigious country....one reason shops often won't mount a tire they didn't sell. http://www.nomartirechanger.com/product/show/4 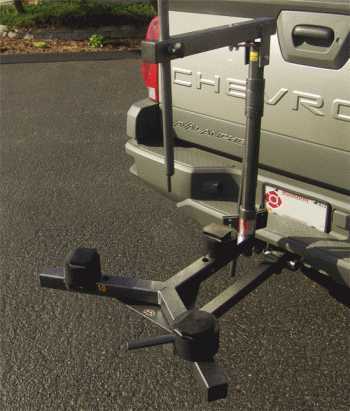 | ||
Gohot |
Thumper's pretty damn ingenious and the wood probably cost dollars, and dosn't mar the aluminum. I like the bead breaker idea best, sure it would be nice to have a steel one from harbor freight but ,danm, in a pinch this looks damn clever to Me .....................Rich | ||
Thumper74 |
It cost me 2.83 for the 7 ft section of 2x4 and I had the cab bolts laying around. It worked as well as any pnuematic machine I've worked with and it's cheaper! | ||
Miamiuly |
Here is how someone on my other bike site did a similar set up: http://zx-10r.net/forum/showthread.php?t=60894 Though the bead breaker is complicated compared to the car method, genius that. (Message edited by miamiuly on August 07, 2008) | ||
Rick_a |
Those tools are almost as nice as my custom engine stand. Turned upside-down it even worked to install into the frame. 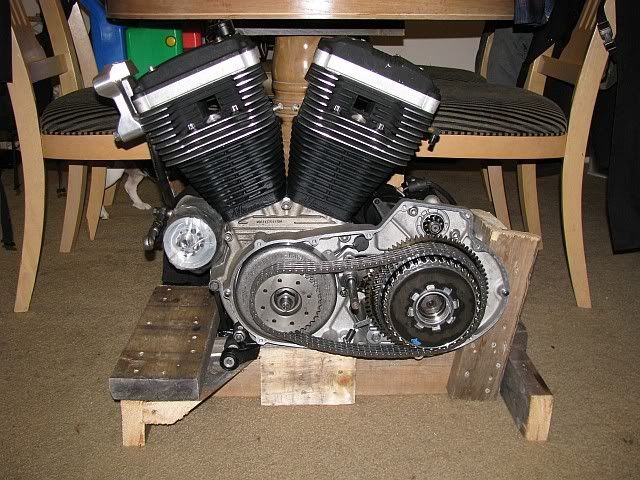 | ||
Cyclonemick |
Awesome post! Luckily for me I have a good friend and riding buddy who purchased an industrial Tire changer like you see in most shops. But if he is ever out of town I might use this method! Great stuff! | ||
Thumper74 |
I was going to use a wheel, but forgot about it and made due with the scrap wood I had. I'll be looking for a 14" wheel before I do my dad's front tire. As for the small business... I would think that with a waiver you would release yourself from liability because the person would be forced to recognize that THEY CHOSE to use a used tire. I wouldn't sell the used tires though. With a vender's license you could even get tires at wholesale, but then you run the risk of not having enough/not moving enough inventory though. I would think that you proect yourself from crap if you require that the Customer bring their own wheel in so you are only responsible for the mounting and balancing, not removing and installing the wheel from the bike |