| Author | Message | ||
Brineusaf |
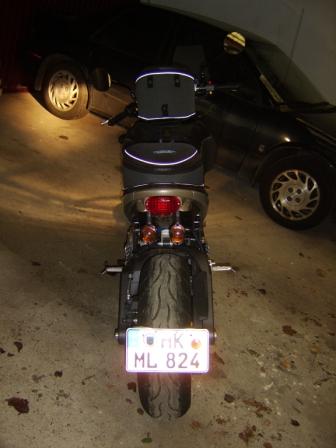
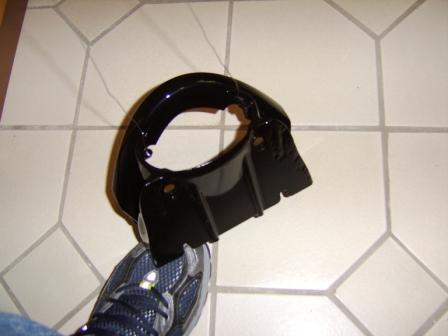
Start 2115     Finish 0045 Just over 3 hours, which is good considering that the grinder I was using broke after 15 minutes of use. I had to do most of the real work with a simple hand file, I think it came out alright. I haven't seen the lights setup like that, so I did it using the pre-existing holes, in part with my not having any money for new lights at the moment. Kyle Brine United States Air Force | ||
No_rice |
nice. definantly different with the lights that way and the plate mount | ||
Kccyclone |
I hope you don't do any wheelie's cuz my plate hits my tire from time to time and the lights might as well.. Larry | ||
Captainxb |
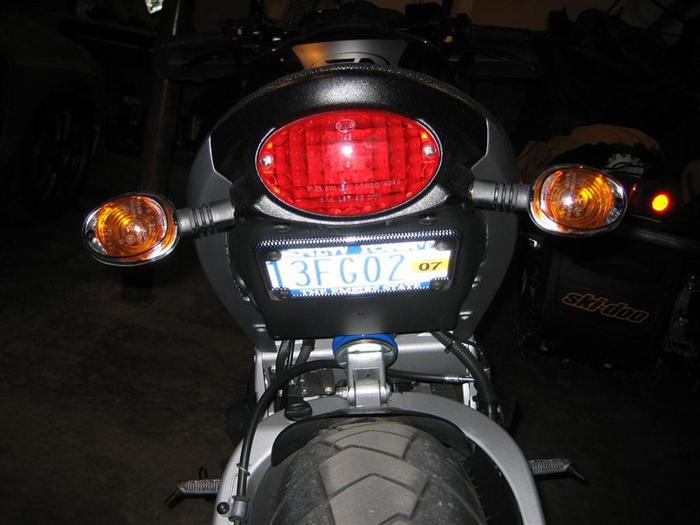
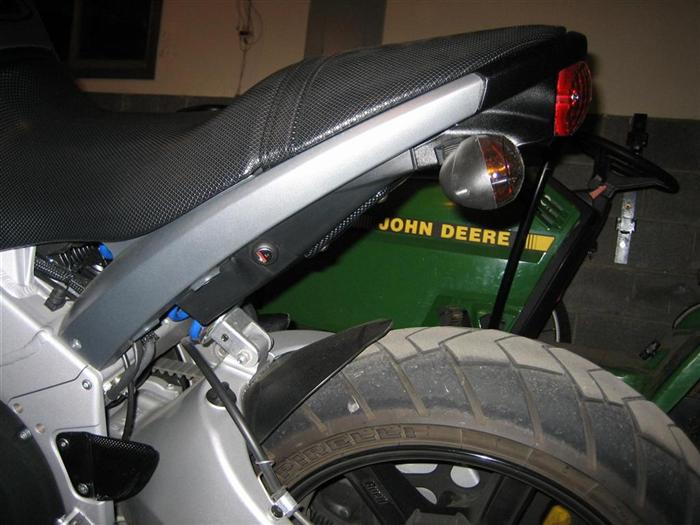
" I haven't seen the lights setup like that, so I did it using the pre-existing holes; brineusaf, Not sure what you did here. Could you show a close-up of the mounted indicators? (Looks to me like you chopped off the original mounting holes). Thanks. | ||
Cyko_bob |
I think he has the turn signals mounted down instead of to the side....would like to see pic from the rear...back. | ||
Captainxb |
Aaaahhh yes Cyko_bob, I see that now! | ||
99buellx1 |
I thought about running my Kellermans like that, but when I put them there, it just didnt seem to look right.......kinda like fangs. lol Also, I was worried that with them so close together and to the center of the bike that people wouldnt know which way I was turning either. | ||
Brineusaf |
 Yes, I have them mounted down instead of to the side. My reasoning for mounting them like this is because they are just temporary. I plan to purchase think LED light bars and mount them to the L/R side of the plate to function as indicators. And didn't want have 2 holes left in the tail section after relocating the lights. It looks a little sloppy in the first pics, but I bought a new "digital" dremel to smooth and finish it off today. I must say it looks very smooth, you can only tell I did it myself if you closely examine the section, which will be less noticable even once I get it finished and mounted. 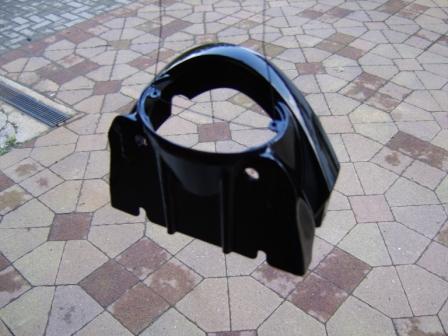 The clear coat is being a pia, so I will hopefully get some pics of it mounted tomorrow. Kyle Brine United States Air Force | ||
Sailfish |
Hi there check this out: http://www.r-r-customizing.de/seiten/shop_eng/index.html it might be easier but it will cost a little. 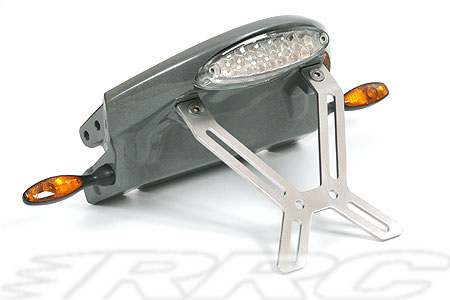 | ||
Brineusaf |
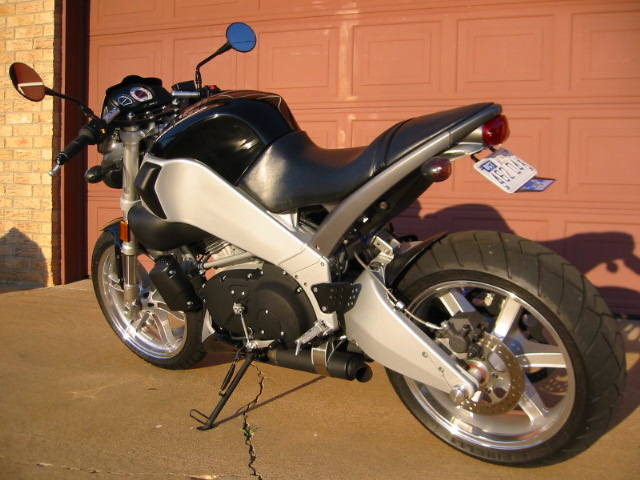
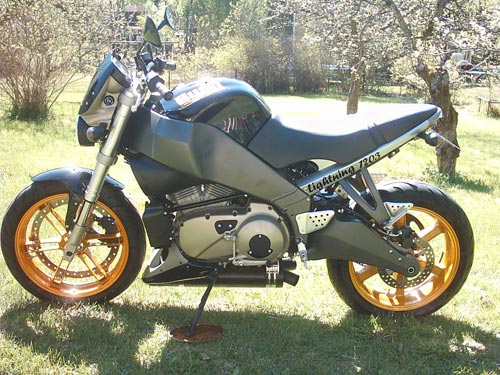
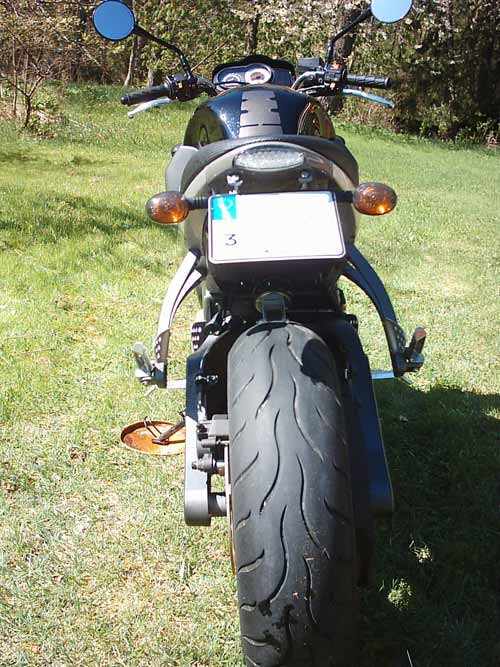
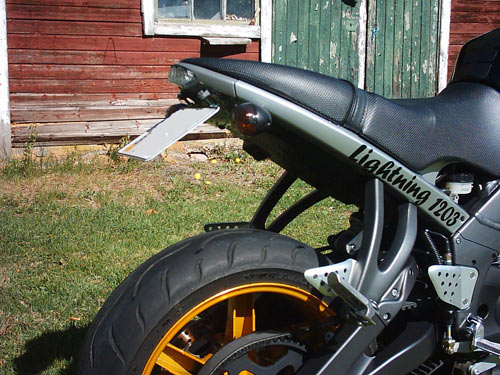
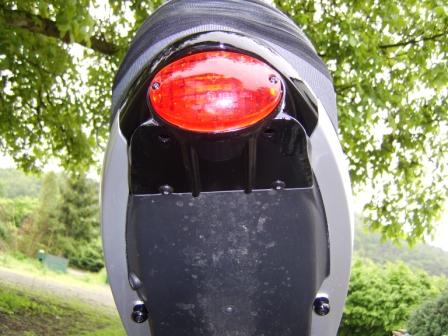
I appreciate the concern, but I am already sculpting the bike to my likings... and I don't think the mod was all that hard to do, patience is a virtue. The reason I did it myself is because I cannot afford a new tail; if I could, I would have bought a RIZOMA unit. 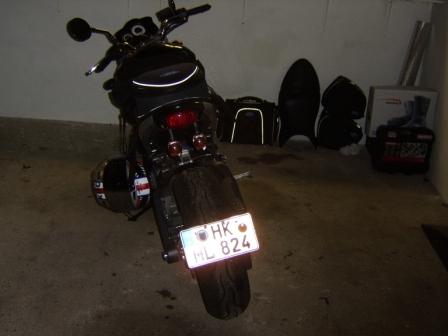 The tail after fresh paint....and a little ride. Note: lights don't rub when unicycling. Kyle Brine United States Air Force | ||
Statik |
ok, I decided to go for it, removed the tail and started cutting it today with a cutting wheel. ack, help. its taking forever! I was planning on cutting it off with a cutting wheel then grinding it down with a die grinder. guess I was wrong, it aint gonna happen. what tools do I need? next few days are gonna be sunny, I think I screwed myself. any help would be great. PS:Brine, yours look great. | ||
Brineusaf |
thanks static. if you have patience I used cutting wheel to cut the mass of the tail off, as close as you can get. Then I used a hand file ( damn grinder broke) to do the remainder of the work, and then finished it off with a dremel. I found that the hand file worked great, you work at a slower pace... but it makes sure you don't make any dumb mistakes. From start to near finish ( first post) without the dremel it took me around 3-4 hrs. All I used for mine from start to finish: Grinder with cutting wheel. Vise. Hand File. Dremel. Primer. Black. Gloss. If your stuck someone take some pics and post them and I'm sure we (badweb)could try to offer some suggestions, or where are you located and maybe someone lives near you and wouldn't mind coming to help. Nevertheless- Best of Luck. PS- I got scared a few times doing mine, wondering how long it was going to take, and how it was going to turn out. Just stick with it and it'll come out fine. 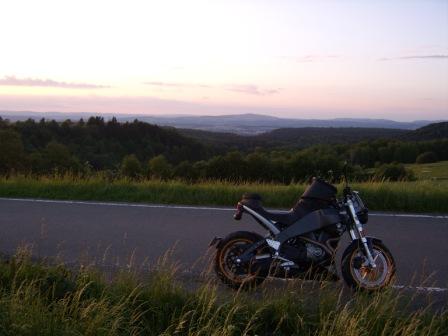 Kyle Brine United States Air Force | ||
Brineusaf |
I got it down to this.... 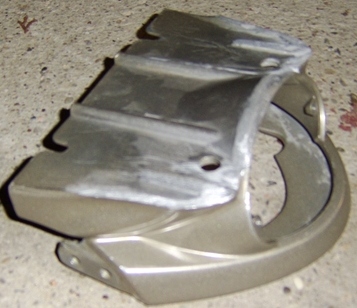 With just the hand file, except for cutting the mass of it off. Kyle Brine United States Air Force | ||
Steelersfan |
Thats pretty sweet bud. You have more patience than me! | ||
Statik |
thanks for all the info, thats pretty much the same way I am going at it. Its definately a tediuous process .I just need to keep going. maybe I will post a pic later if I get some more done. | ||
Captainxb |
Statik, are you using a regular cutting wheel for steel? This material is a soft alloy, and so will quickly clog the wheel; sort of filling in the abrasiveness until it is almost smooth. (Is that what you are finding?) Don't know if there is an abrasive style cutting wheel for aluminium, in the past I've only used the toothed variety. Can anyone help here? Thanks | ||
Statik |
I was using a regular cutting wheel, I gave in and hack sawed it off, hehe. anyway 2.5 hours later of grinding like crazy here is where I am at. I already drilled the turn signal holes too. dunno how I want the plate yet, I was thinking about riveting to the plastic under the battery. any opinions? 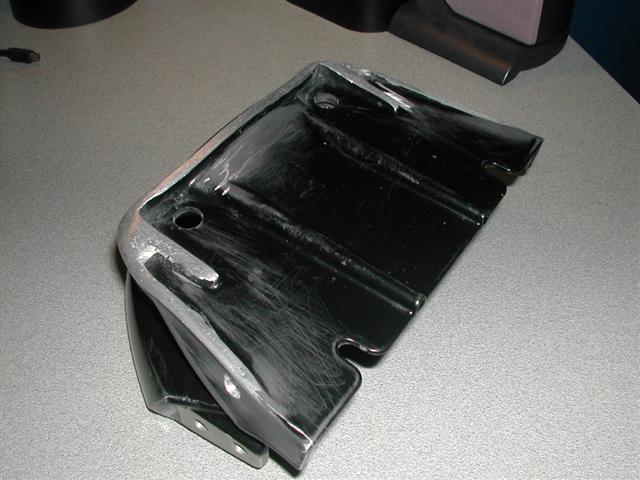 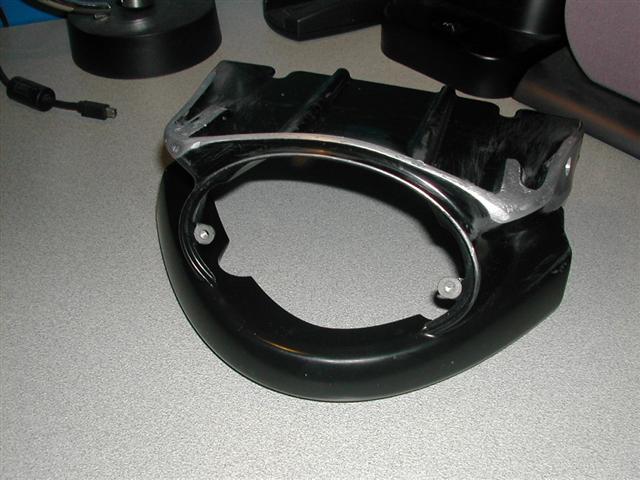 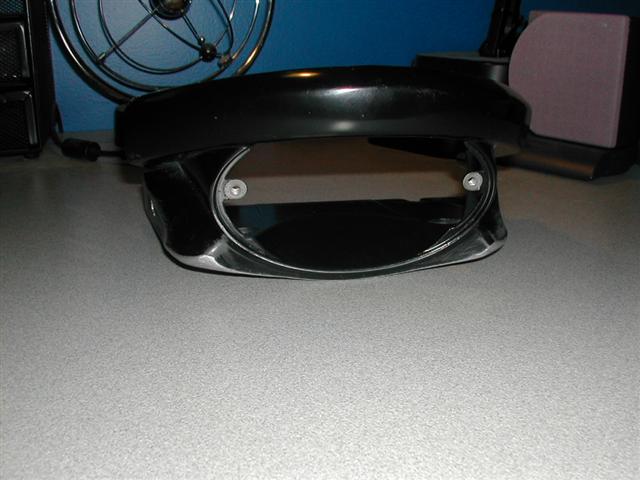 (Message edited by statik on May 24, 2006) | ||
Brineusaf |
Yeah, looking good; sorry I forgot I used the hacksaw to cut the mass; damn grinder was useless almost. On the dremel tool, I used the supplied cutting wheels and used them to grind down a lil', then used a reamer type attachment to finish it off. That looks good, not bad either for only 2.5 hrs of work;everything looks consistent. 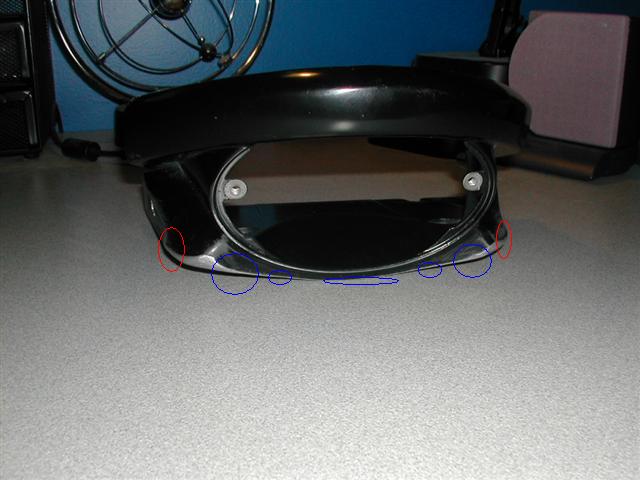 In your pic- the red circles are what I refer to as the wings I want to get rid of. And the blue is what I have removed from mine. Yours looks very solid. As far as plate options I am not sure as I got the Rizoma bracket. I don't see why riveting to the plastic wouldn't work though. Before you rivet the plate though, try to either encase it in something or put a clear coat over it so it doesn't begin to give into rust from picking up more water and debris. OR thats what I would do anyways. Kyle Brine United States Air Force | ||
Adrenaline0210 |
I used a sawzall to get the majority of it al off, then went with an angle grinder to smooth it all down then a hand file and dremel to finish mine off. As for turn signalls bought some cheap diamond 13$pair at local shop and mounted em through holes i drilled on the sides. Then mounted L brackets actually from door hangers to mount my liscence plate... spray painted it all and cleared and now looking good | ||
Brineusaf |
I am going to tear mine back down and nit pick it again later next week, unless theweather is nice. Kyle Brine United States Air Force | ||
Lonexb |
here is what mine looks like... 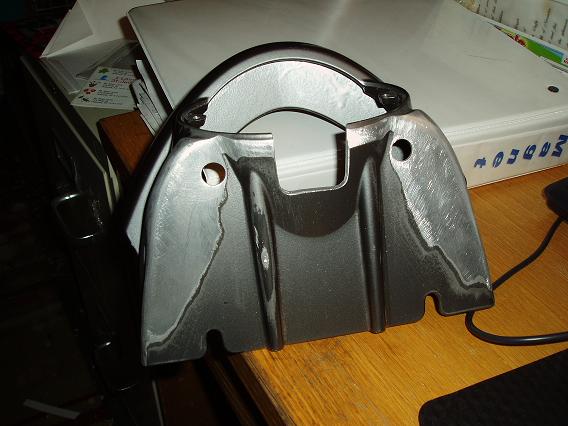 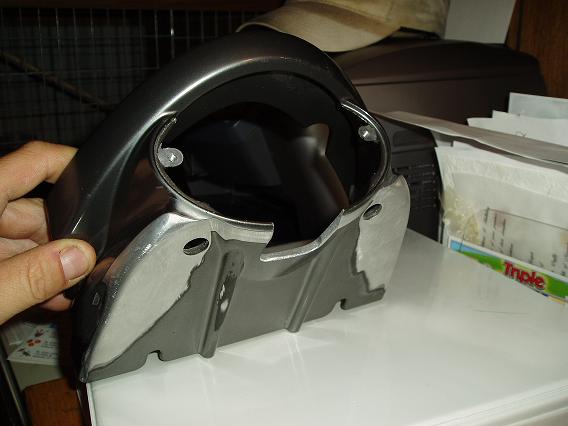 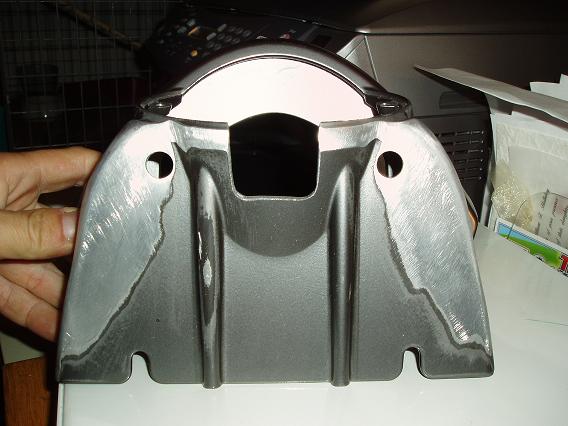 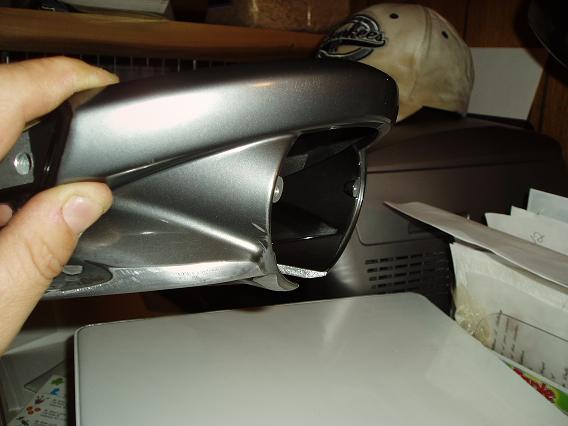 and here is how i mounted my plate. 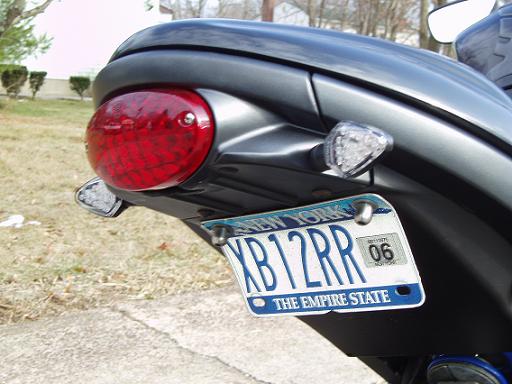 brian (lonexb) | ||
Brineusaf |
Looks very clean, good job. IMO I don't care for the plate there because everyone who has a "fender eliminator kit" for the ricers has their plates there. Looks very nice though. You get any dirt/grime up into the slot you cut out (which I assume is used to illuminate the plate)? Kyle Brine United States Air Force | ||
Lonexb |
Kyle no dirt issues. the tail lens covers the hole. from the back you really can't tell that the plate is mounted like that.and from the side, the plate is not noticeable 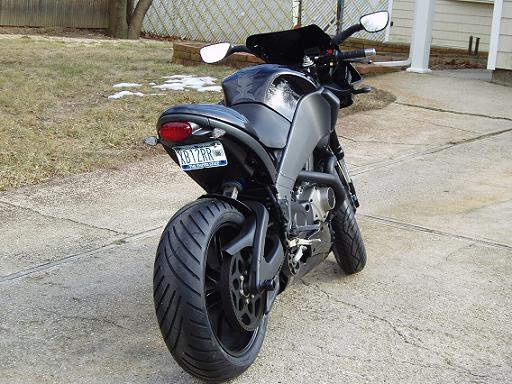 brian (lonexb) | ||
Brineusaf |
Thats right, I forgot about the clear lens insert at the bottom of the light, sorry. What rears are you running in that picture? Kyle Brine United States Air Force | ||
Skully |
 | ||
Brineusaf |
Ok, the weekend couldn't wait. Ventured into the garage after the wife went to sleep....... fastforward.... the paint is drying now. Kyle Brine United States Air Force | ||
Statik |
    | ||
Swedish_xb12ss |
   I used the rear end from R&R Customizing in Germany. Really nice quality. Pure bolt on. | ||
Brineusaf |
Nice, both of you. Seems you did fine statik Kyle Brine United States Air Force | ||
Brineusaf |
  Took mine apart again and got rid of the things I noticed I didn't like still. Kyle Brine United States Air Force |