| Author |
Message |
    
Glenn
| | Posted on Saturday, December 04, 2010 - 05:22 pm: | 


|
Chris is that a '40 grill I see on the floor? I have owned a '40 convert for years, not the best but it's mine! |
Toona
| | Posted on Saturday, December 04, 2010 - 06:20 pm: |
|
@Glenn: Yep, it's a '40 Ford Standard grille on top. Then a '39 Ford Deluxe grille in the middle, all stacked on top of a '40 Ford Deluxe grille. I build aluminum grilles for hot rods and they are my originals for patterns.
@Itileman: You haven't even seen 1/10 of my shop...maybe I'll start a "man cave/shop" thread. |
Glenn
| | Posted on Saturday, December 04, 2010 - 06:22 pm: |
|
Great!! |
Toona
| | Posted on Saturday, December 04, 2010 - 06:28 pm: |
|
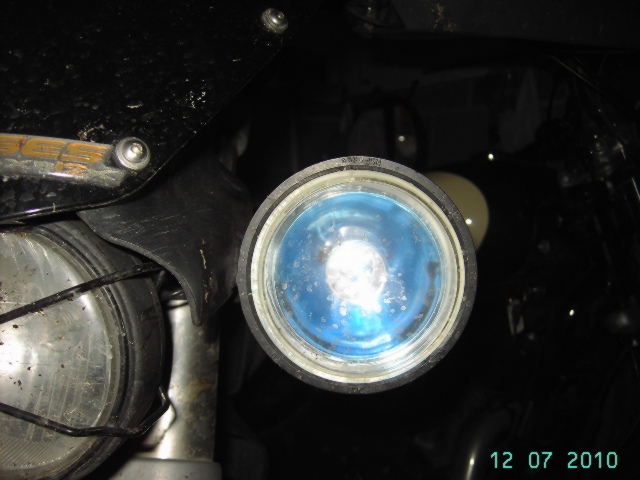
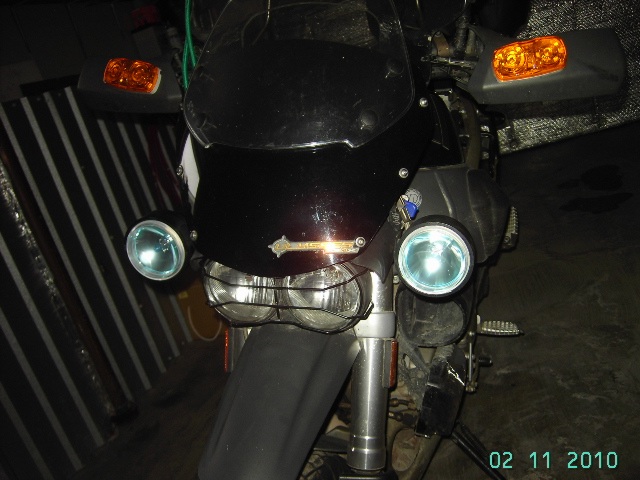
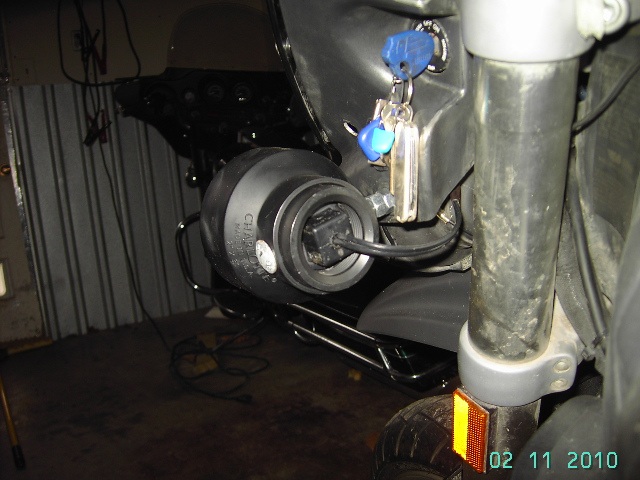
The Hella Optilux 2500 Angel Eye Light Kit was a really simple install, once the brackets were made.
The wiring harness is strait forward. We tapped into the 12v aux circuit for power to the relay. Installed the ground lead under the bracket for the headlight/horn. We then tapped into the low beam yellow wire and high beam white wire to activate the relay and turn on the lights so they come one with the low/high beams without a separate switch.
(edited to correct wire colors)
(Message edited by Toona on December 04, 2010) |
Xb9er
| | Posted on Saturday, December 04, 2010 - 06:39 pm: |
|
yellow for low beam and white for high beam |
Ratbuell
| | Posted on Saturday, December 04, 2010 - 11:25 pm: |
|
With the 2500s...you really don't need the 2 light high beam mod. Those Hellas will *cook* a deer where it stands! I had the mod on my Uly...put the Hellas on...undid the mod...couldn't tell the difference except at the voltmeter so I left it off.
I still need to get my broken saddlebag latch up there.... |
Sharkguy
| | Posted on Sunday, December 05, 2010 - 09:00 am: |
|
Doncasto, nice job on those mini brackets. Could you explain more about them and how you constructed them? I'd like to be able to mount mine lower on the fork legs like that. |
Doncasto
| | Posted on Monday, December 06, 2010 - 11:41 pm: |
|
Sharkster . . .
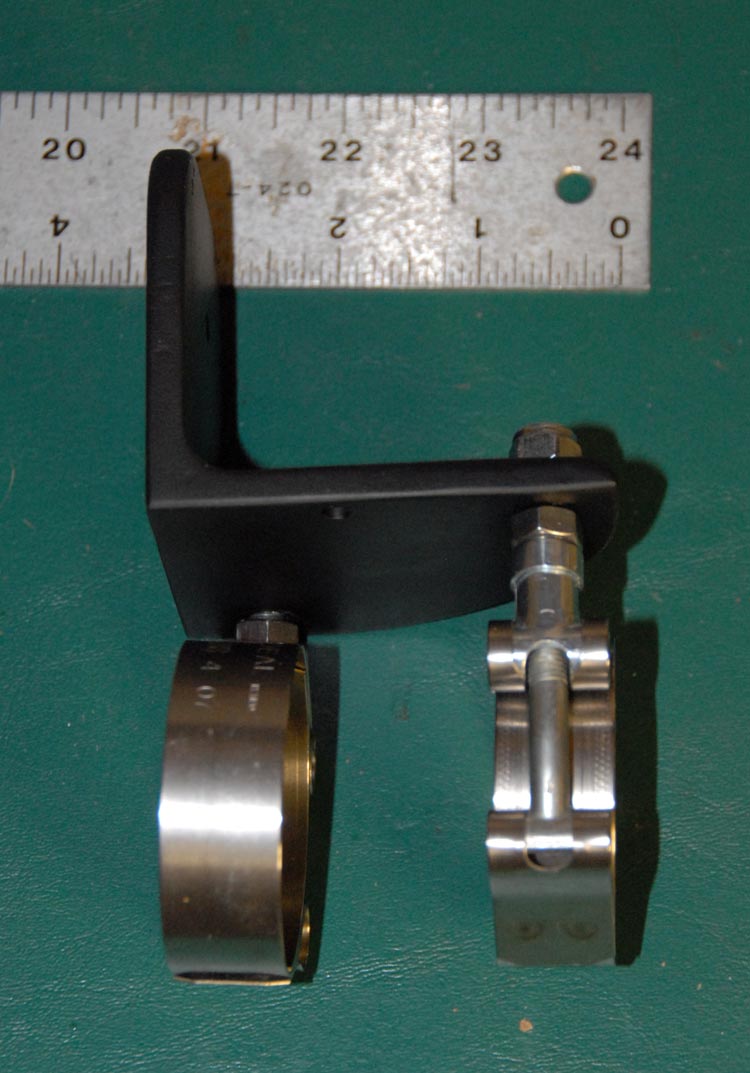
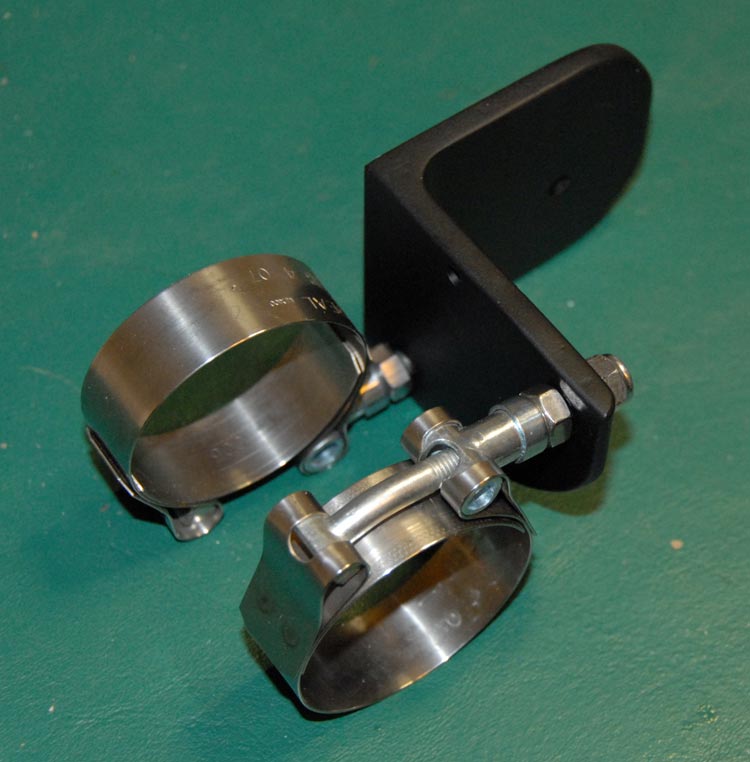
I used .25 aluminum angle stock (3" X 3"?)and then cut the radii with a skill saw. The next step was sanding to remove rough edges and remove saw marks.
The most difficult part is locating the proper sized hose clamps . . .I ended up buying several different sizes until I found one that worked correctly for the spot I wanted to clamp them to on the forks . . the trick being to get the clamps to snug up with sufficient threads left to bolt the brackets to them.
I used a rattle can spray paint . . .not having a powder coating set-up close at hand.
|
Sharkguy
| | Posted on Tuesday, December 07, 2010 - 04:17 am: |
|
Thank you sir. Nice work! |
Court
| | Posted on Tuesday, December 07, 2010 - 05:29 am: |
|
Don:
Damn delightfully done Don dude!
Do you have a mfg & part number for the proper size clamp.
I've an S2 still awaiting shuttle to the East and that set up looks excellent.
Court |
Panhead_dan
| | Posted on Tuesday, December 07, 2010 - 09:12 pm: |
|
This is the most clever mount I've seen. I keep a pic from the original post for a design reminder. Good job! |
Electraglider_1997
| | Posted on Wednesday, December 08, 2010 - 09:28 am: |
|
It needs a good scrubbing.


|
Electraglider_1997
| | Posted on Wednesday, December 08, 2010 - 09:58 am: |
|
Built these myself.
|
Doncasto
| | Posted on Wednesday, December 08, 2010 - 03:21 pm: |
|
T-bolt clamp update:
The clamp I found best suited for the S2 front forks is an . . . Ideal T-bolt clamp 30010 0188 . . .The manufacturer website is here:
http://www.idealclamps.com/catalog/clamps/detail.p hp?ID=45&SECTION_ID=12
The clamp specs are: SAE Size-32, . . . . Part number-30010 0188, . . . . Min. Dia. (in.)-1 7/8, . . . . Max. Dia. (in.)-2 3/16, . . . . Min. Dia. (mm)- 47.8, . . . . Max. Dia. (mm)-55.6
I have to believe that I have a box of them somewhere . . .but their location at present is "misplaced in the move from Boulder" . . . |
Court
| | Posted on Wednesday, December 08, 2010 - 07:26 pm: |
|
>>>> . .but their location at present is "misplaced in the move from Boulder" . . .
Hahahah . . . that narrows it to 30 boxes ! !
Thanks for the info big guy ! |