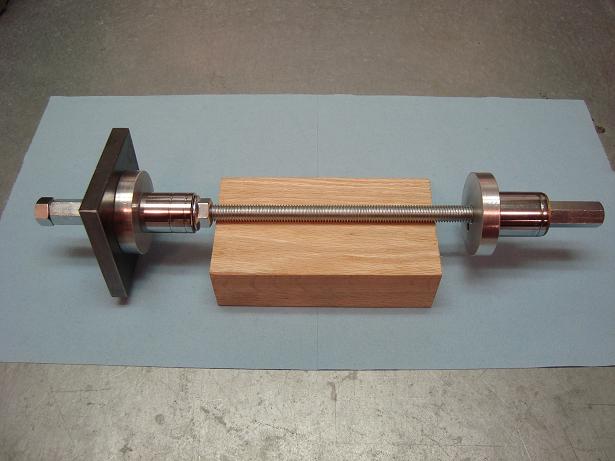
Complete tool:
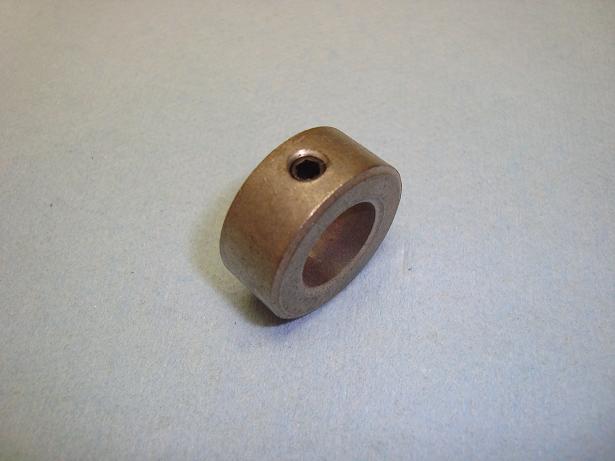
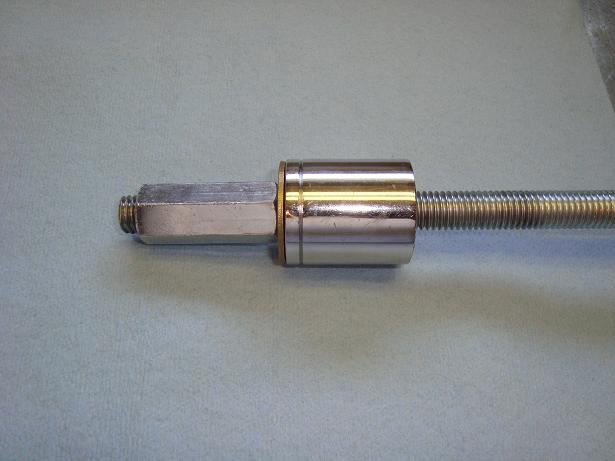
Locking collar with 1/2" ID hole
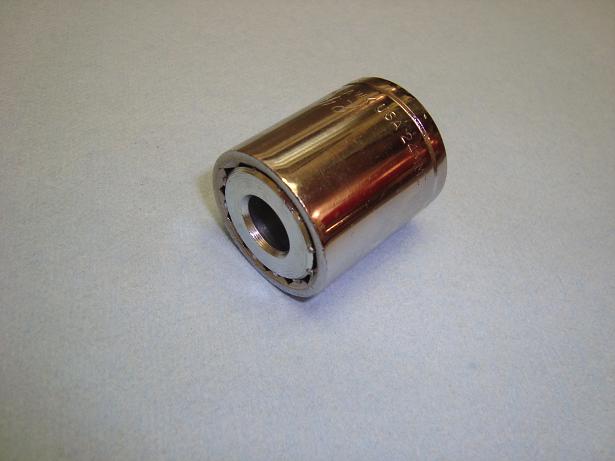
Socket with locking collar pressed in. (I used my bench vise to do this):
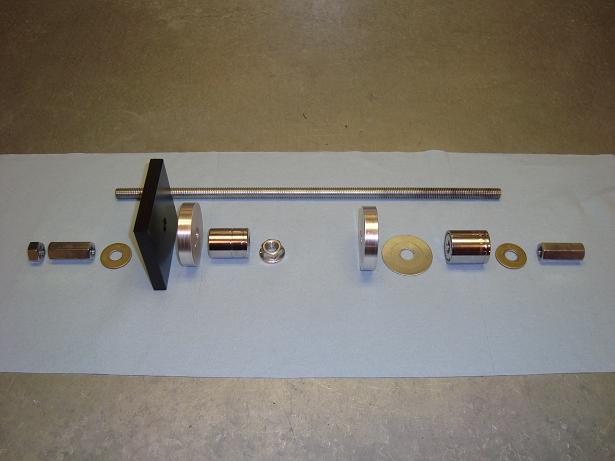
L to R: Jam nut, coupling nut, flat washer, steel plate, aluminum disk, socket, flange nut, aluminum disk, fender washer, socket with locking collar, flat washer, coupling nut:
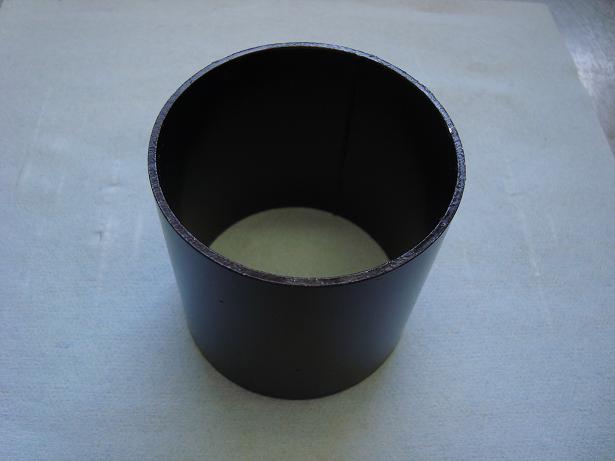
2 3/4" ID X 3" pipe. Used as adapter when pulling bearings. (I have not tried this yet but I think it will work):
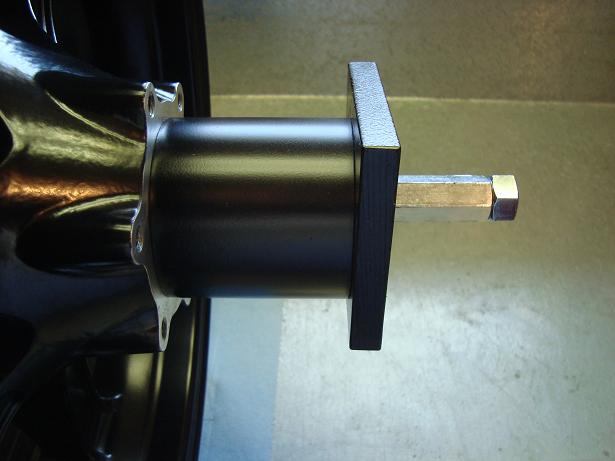
Setup to pull bearing as long as inner race is still in place:
Using as puller:
List of items:
(2) 1/2" X 2.400" Aluminum or steel disks with 1/2" hole in center.
(1) 1/2" X 3 1/2" X 3 1/2" Steel or aluminum plate with 1/2" hole in center.
(1) 1/2" - 13 Threads Per Inch steel threaded rod, 17" long.
(1) Locking collar with 1/2" ID and approx. 1" OD. Commonly found at hardware stores, I got mine at ACE.
(1) 1/2" drive socket. Must be correct size so locking collar presses in snugly. I used a 24mm socket.
(1) 1/2" drive socket with an outside diameter of 1 3/16" to fit inside the inner bearing race. This socket keeps the bearing spacer lined up properly during install.
(1) 1/2" flange type locknut,available at hardware stores, from ACE.
(2) 1/2" coupling nuts, available at hardware stores, again from ACE. I used the long nuts because I figured they were less likely to strip then a standard nut.
(1) 1/2" ID X 2" OD fender washer to prevent damage to aluminum disk.
(2) 7/16" X 1 1/4" flat washers. The 7/16" ID actually fits the 1/2" rod a little more snug than a 1/2" washer.
(1) 1/2" standard nut used as a jam nut against one of the coupling nuts.
I used my Harbor Freight Bearing Race and Seal Tool to install the new external seals after installing the bearings.:

When installing the bearings, I used a little grease on the bearing and bore to allow them to slide without galling the aluminum in the wheel. Also, use grease on the threaded rod and washers to prevent binding.
Be sure to read Al Lighton's thread on proper procedures to install the bearings. If you do not completely understand how this is done, then you may want to hire a professional. Good luck!
Looks nice out, I've got the day off, I'm going for a ride!