| Author | Message | ||
Ourdee |
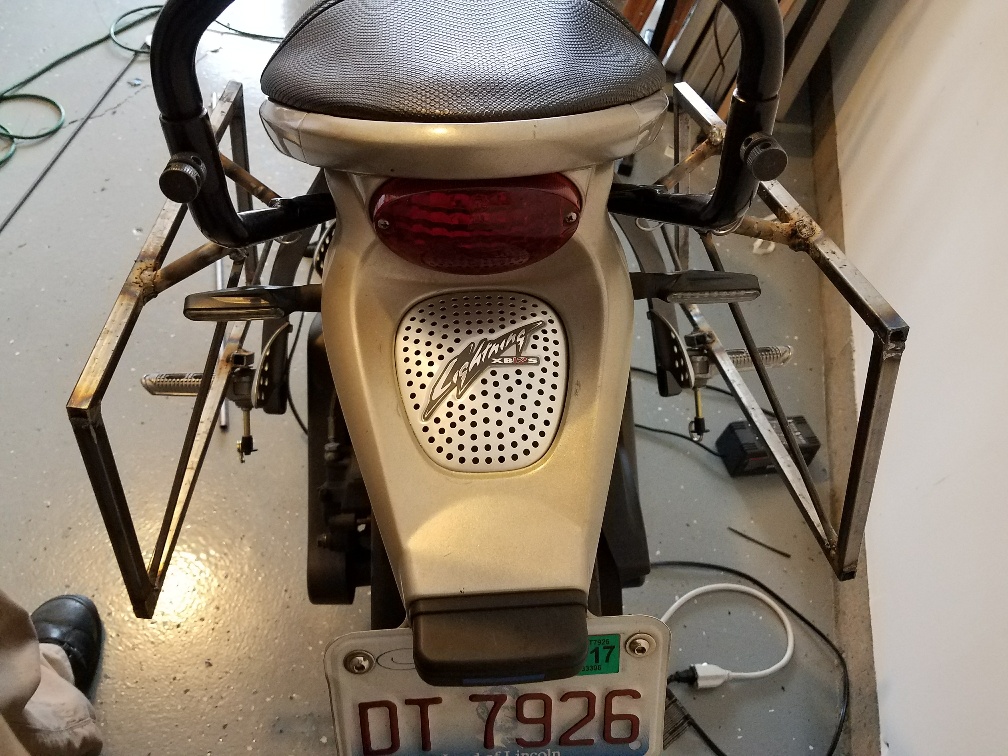
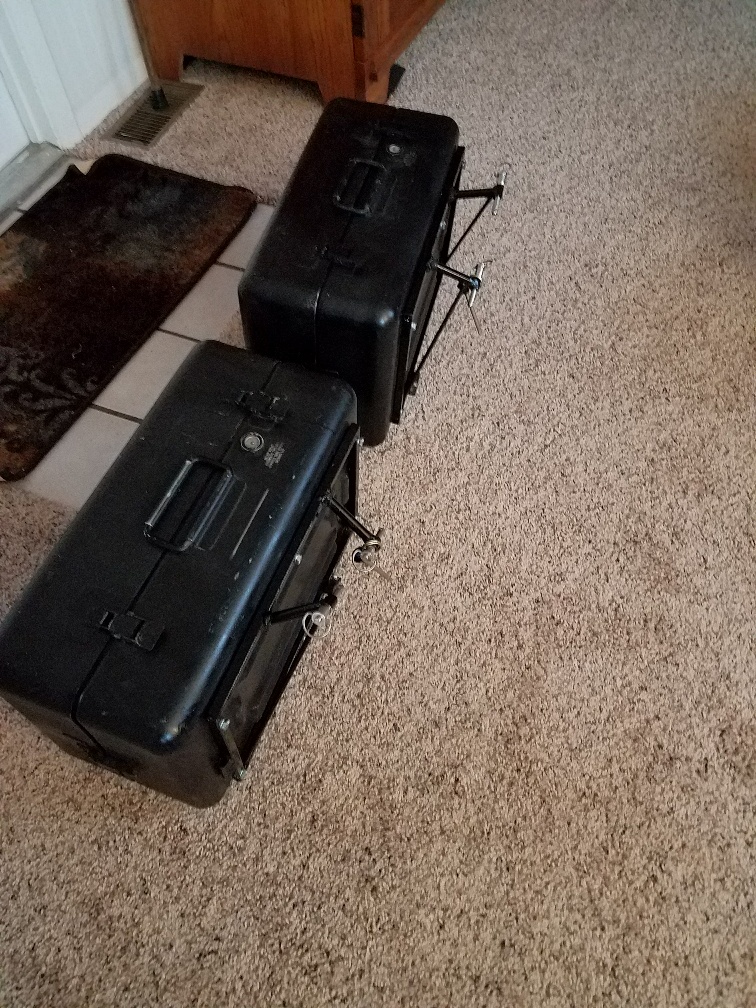
While I'm sucking down band width rambling here; I've been wanting to put hard bags on Lil Red since I picked it up. Hepco Becker has a dealer in the USA. They want $358.oo with my discount for the racks to fit. I placed an order. That is a lot of dough in my mind. then comes the Email that they do not have them in stock and will have to have HB make a set. Earliest to build would be 6 weeks then add shipping etc. He said he would E-mail HB to see if they would build them. I finally cancelled the order. I sat by Lil Red last night and pondered. I have a Ventura rack that I carry a tail bag on, mounted. I am thinking quick mount pins at 4 points on each side. My panniers are going to be aluminum night vision sight cases from Uncle Sam. 19x11x9 inches. I picked up a pair shipped for $70.00. 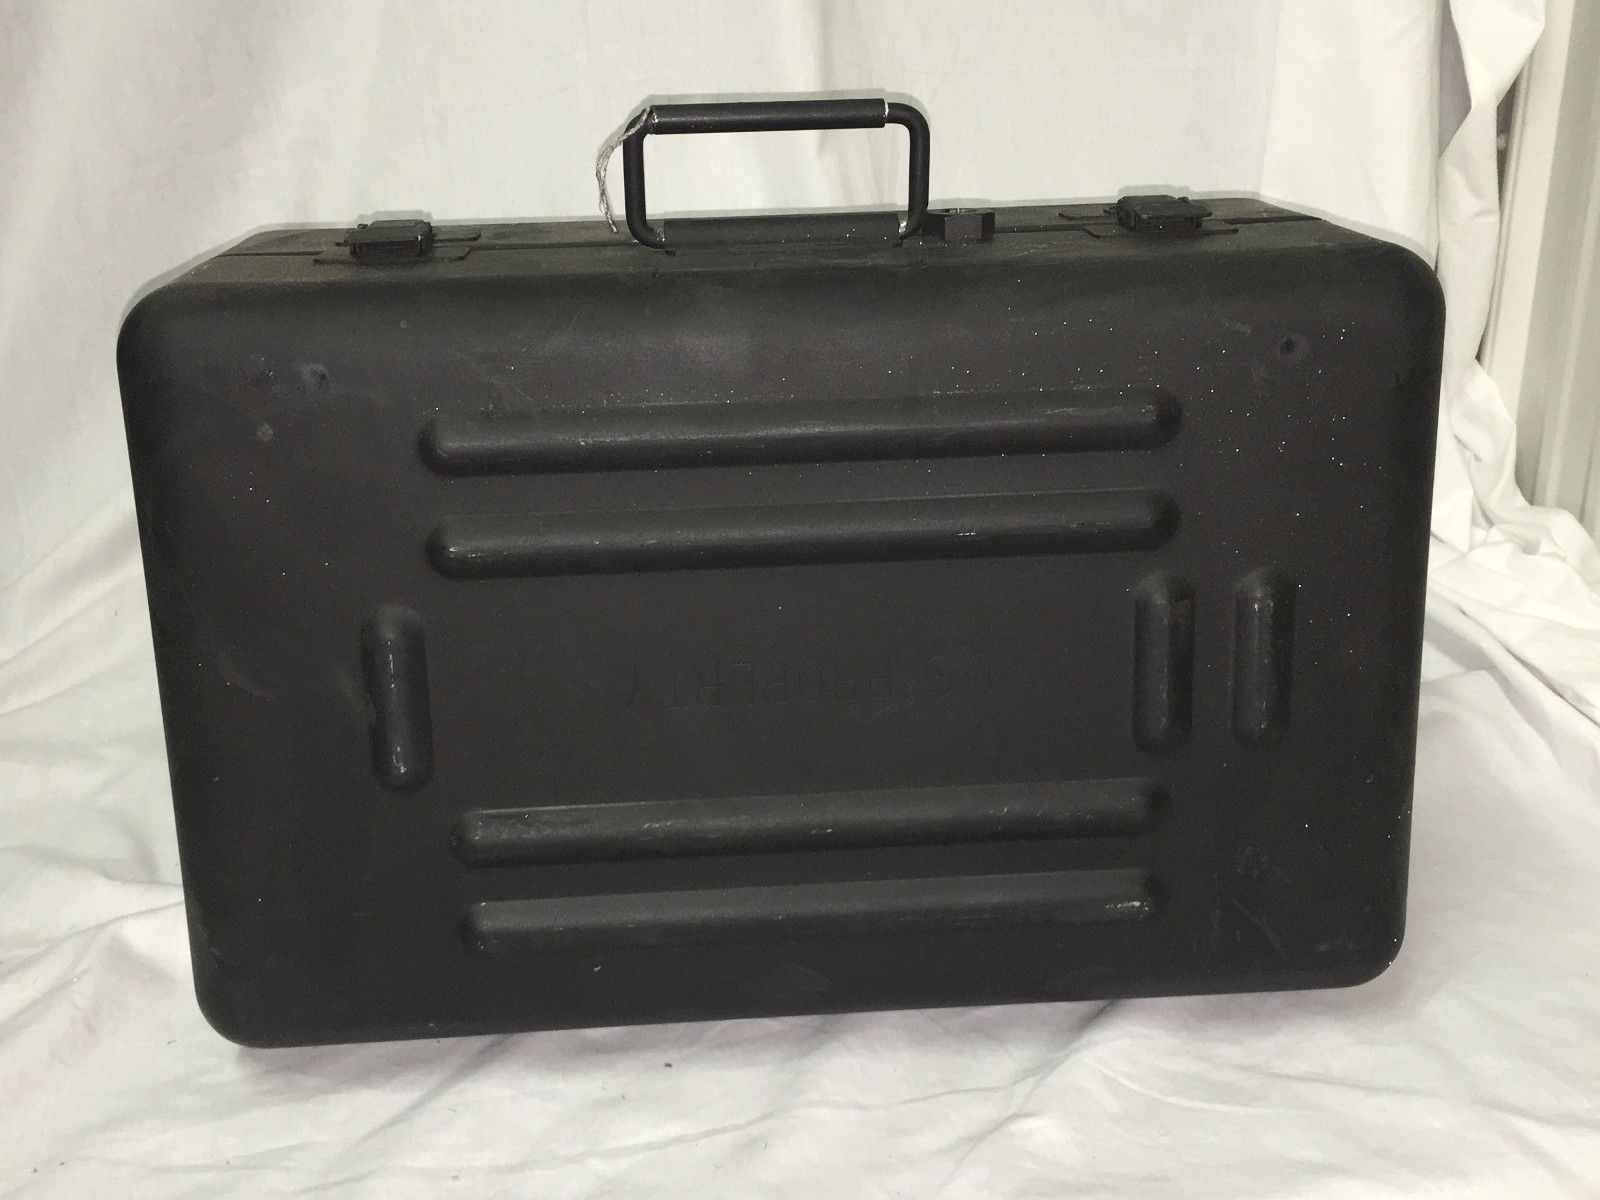 Here are my rough thoughts in a pic: 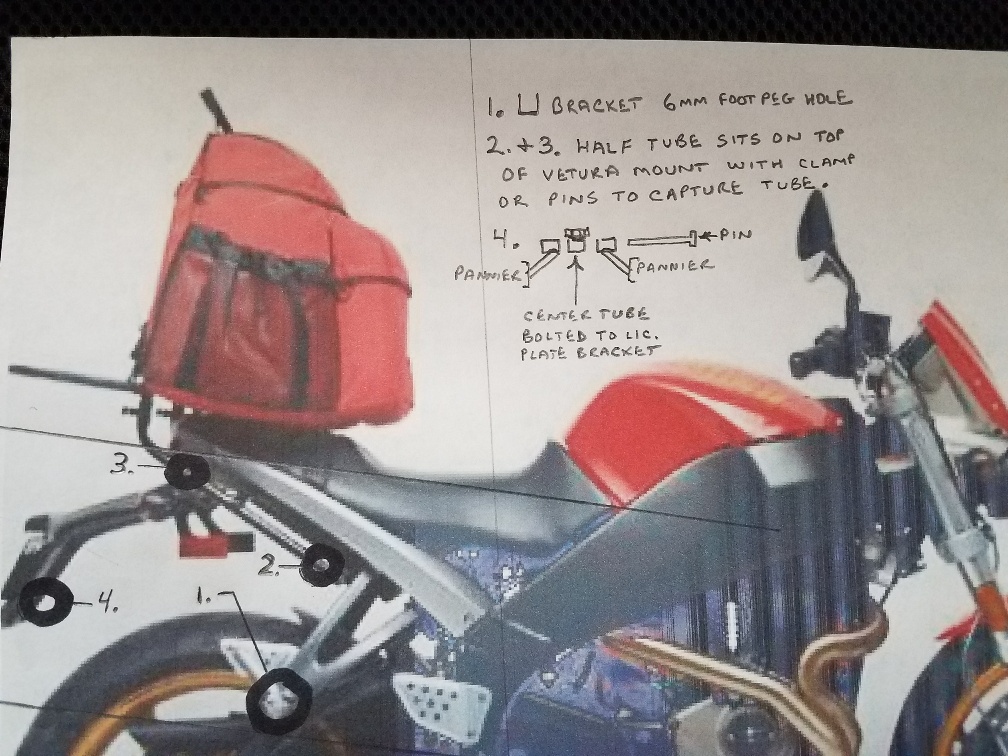 By simply pulling 4 quick release pins on each side the panniers and racks come off. Leaving the passenger foot pegs available. All comments appreciated. | ||
Etennuly |
Several years back I acquired a complete HB Uly set. I put that on my Blast with a few modifications like extending the upper frame to accommodate a Uly seat. It was easy to make it all fit having the original rack. It did not have to be modified I made mounts come to it. I like your plan. It will work. | ||
Ourdee |
Sometimes we don't save as much as we think doing it ourselves. I've picked up the aluminum panniers. Ordered the quick release pins and some chromoly, should be in by Saturday. Then went local for some steel to weld and bolt to the aluminum box, and use for bracing. Total including some new drill bits so far: $254.22. I know there were corners I could have cut, but I wanted chromoly and high end quick release pins. It should be light and strong in the end. | ||
Ourdee |
I have thought some more on my mounting points for the removable frame that the panniers will be bolted to. Point #1 will be the hollow pin that holds the rear foot peg on. The quick release pins I've selected for there are 1/4" diameter. I have opened the hole in the hollow pins out .014" to .250". If the QR pins are tight, I will emory cloth them for clearance. Here is the next sketch showing the frame dimensions. 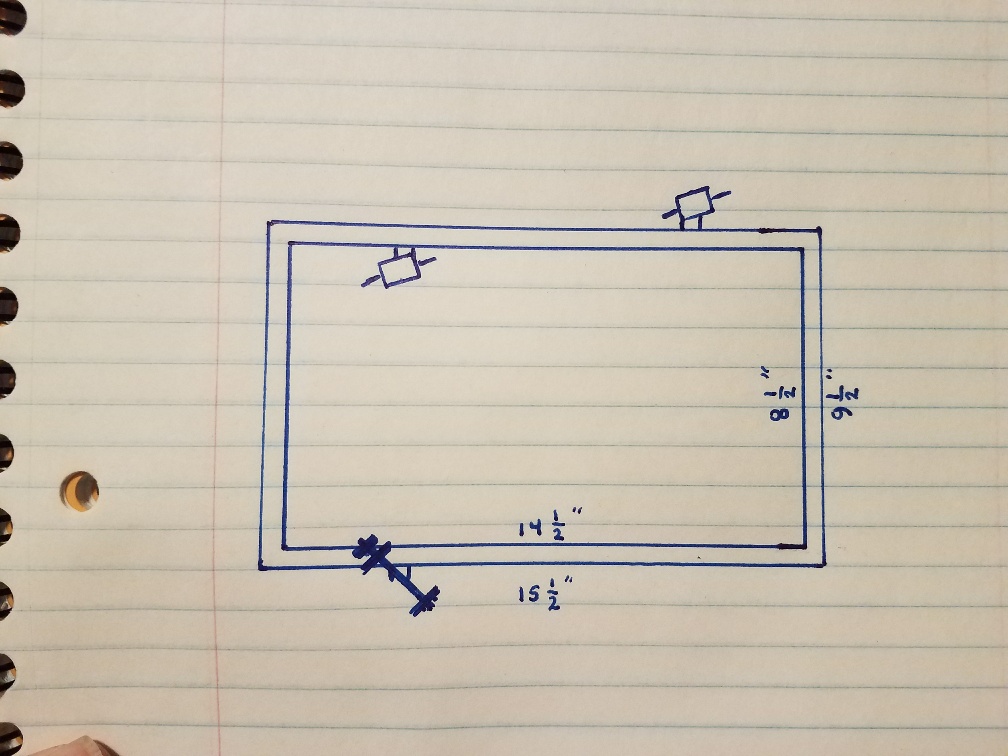 The rectangular frame is 16 gauge or 1/16" wall 1/2" square tube. I will use 1/4-20 bolts to mount it to the panniers. There will be a sheet of aluminum inside the pannier for a backing plate. I hope to cut and weld the simple frames tomorrow. The mounts #2 & #3 will be the top mounting points. I will use 5/16" quick release pins at those 2 points. The pins will be used like pins in a door hinge. I will weld chromoly (1/2" OD .083" wall) tube parallel to the side tubes of the Ventura rack mounts. They will stand off the side of the tubes to get enough room for the QR pins. There should be .021" clearance for those pins. | ||
Ourdee |
Sometimes I get tired of using a hacksaw when making stuff out of steel. So, I got out one of my 10" dewalt miter saws. Went to Harbor Freight and bought a couple of 7" cutoff wheels. Now I have a chop saw. 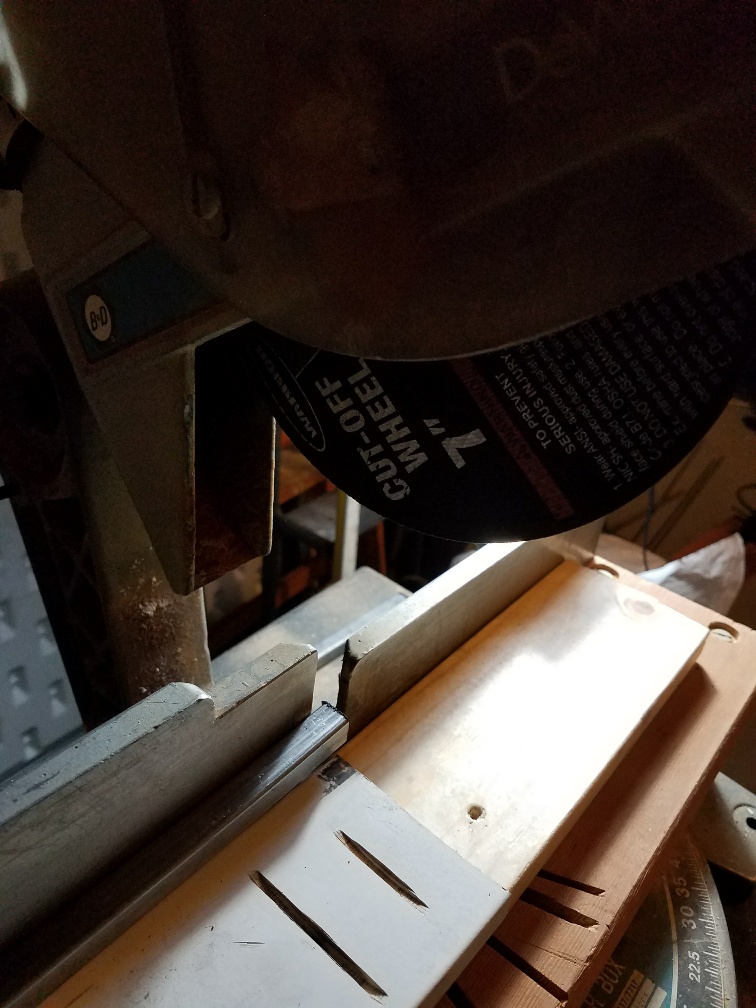 The first 8 pieces are ready to be clamped down and welded to make 2 frames. 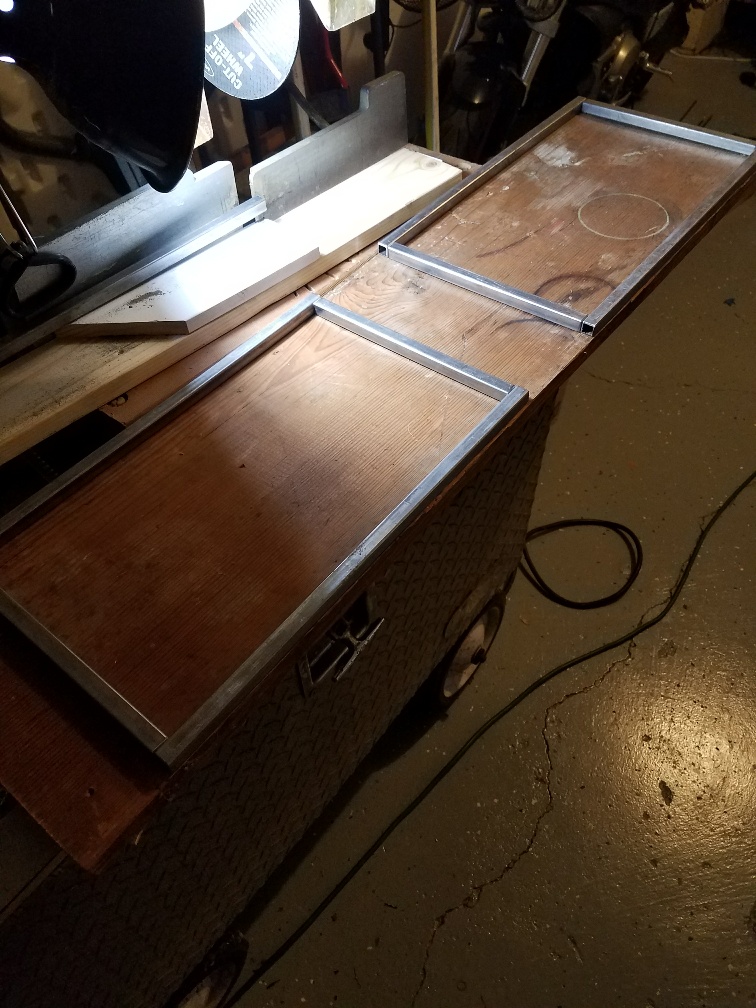 | ||
Ourdee |
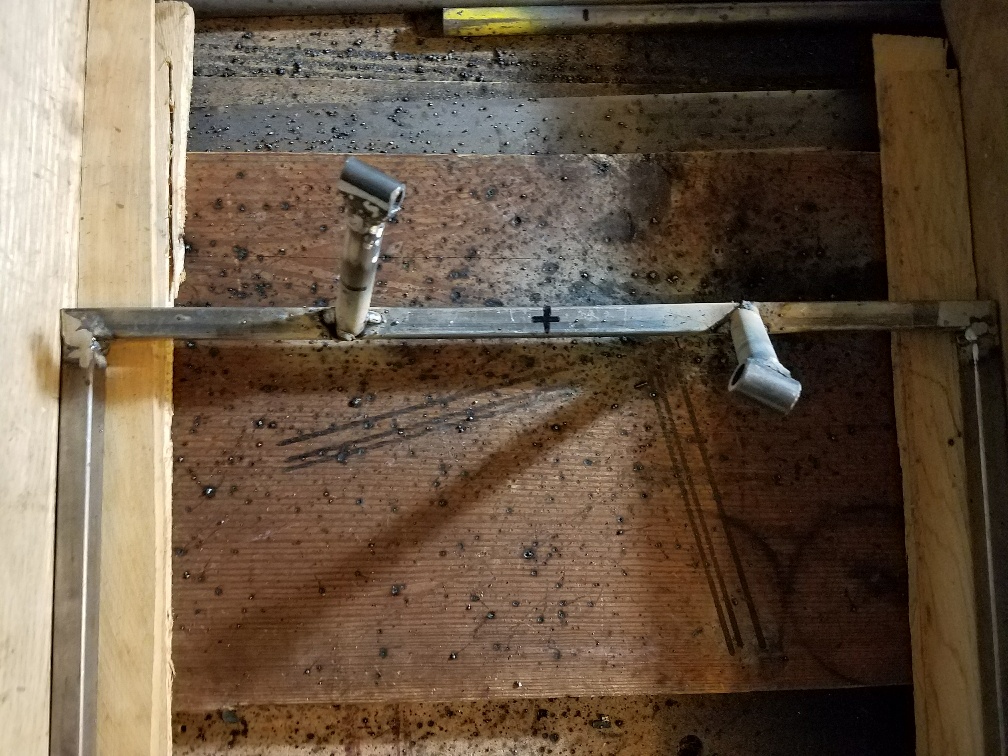
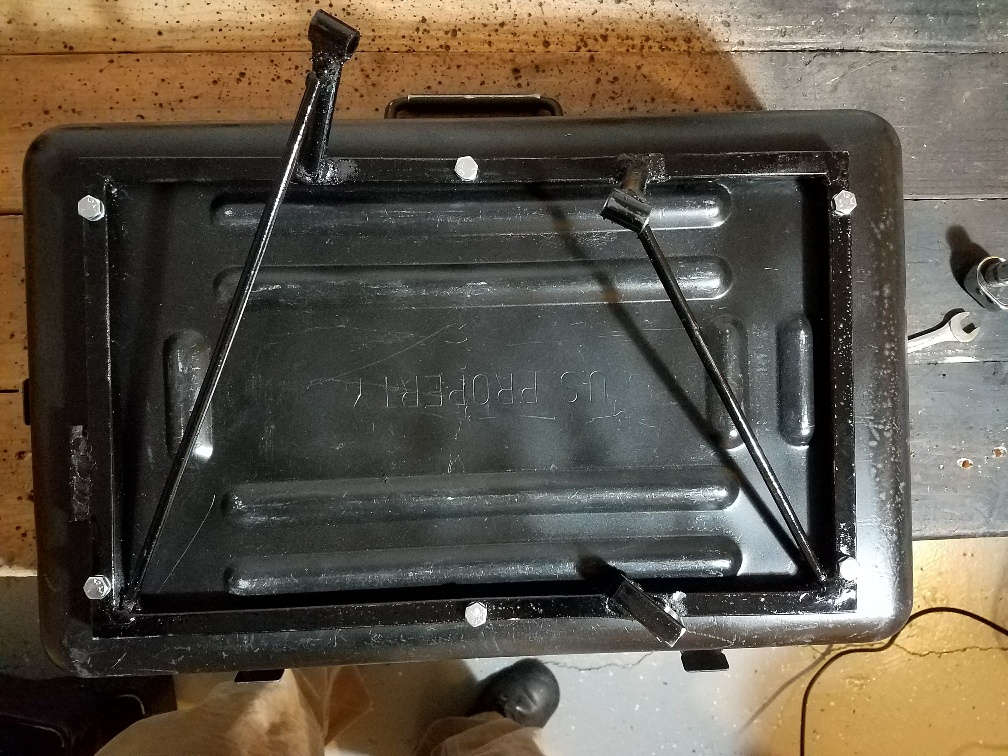
Hoops welded. Waiting for 5/16" pins and 1/2" OD .083" wall tube that has been shipped. Here are the hoops laying on the panniers. 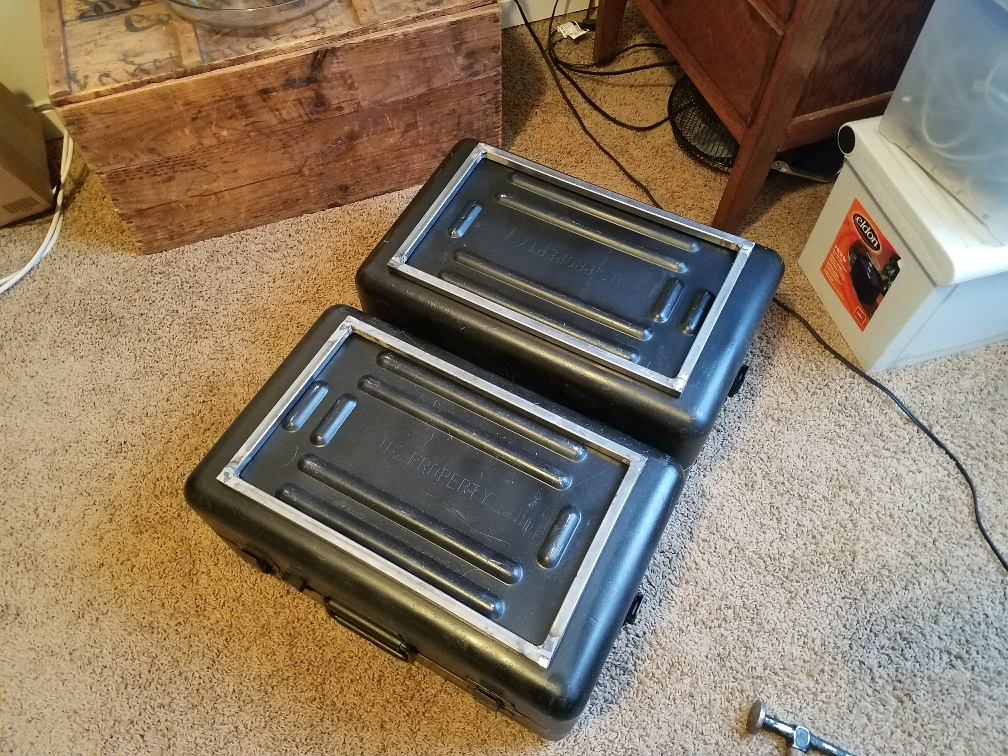 Here are a pair of 5/16"x6" AVI Bank quick release pins. I only need one this size, but the second one was dirt cheap. So, I got it too. The pin will tie the lower rear pannier braces together under the license plate. 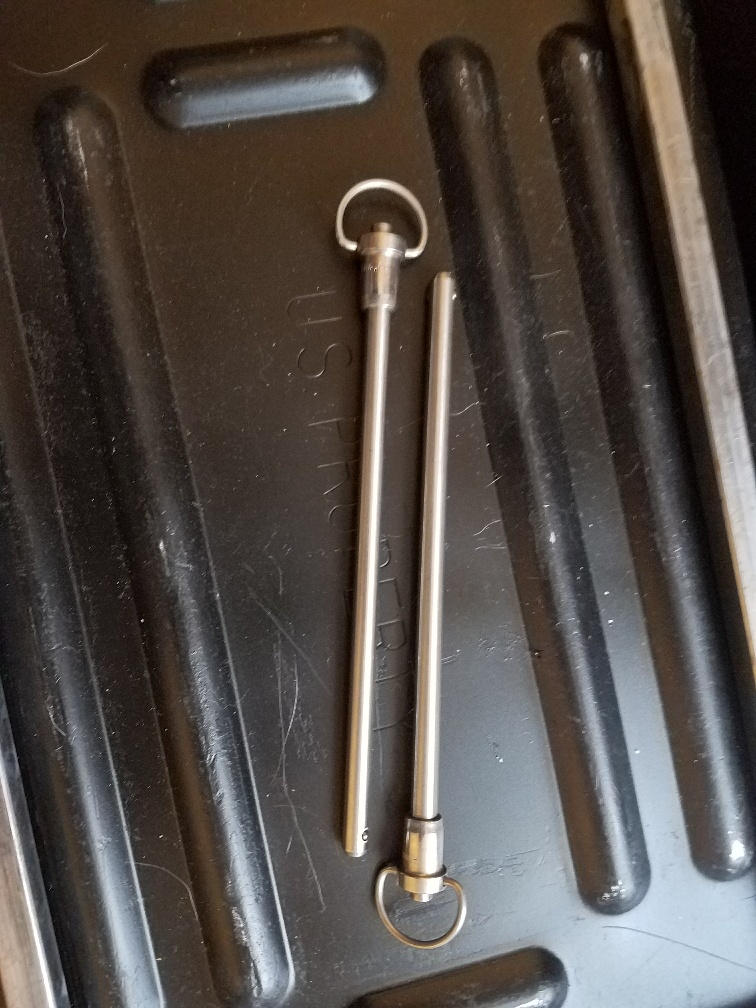 | ||
Ourdee |
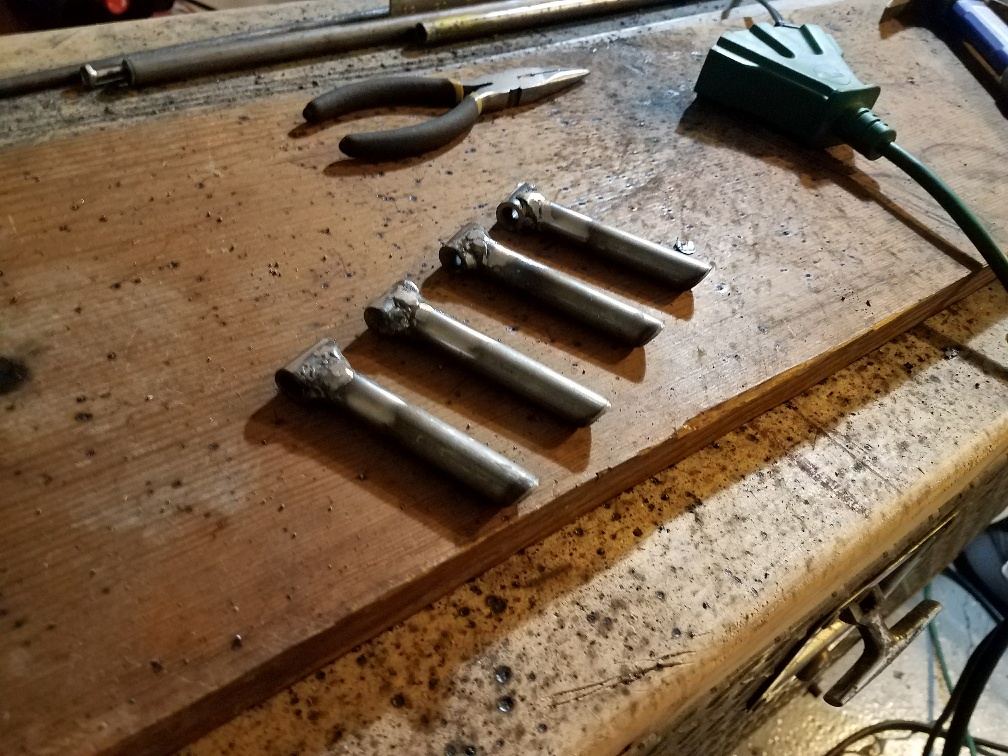
cut down the 1/2" chromoly for the pins to fasten. 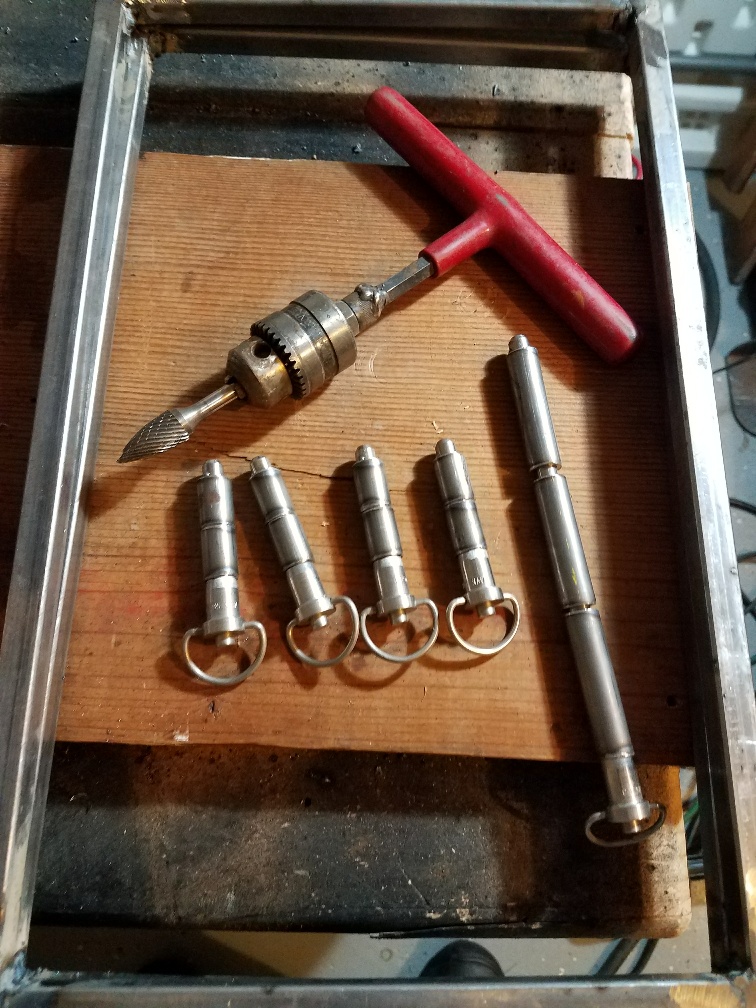 The tool for de-burring the innards. 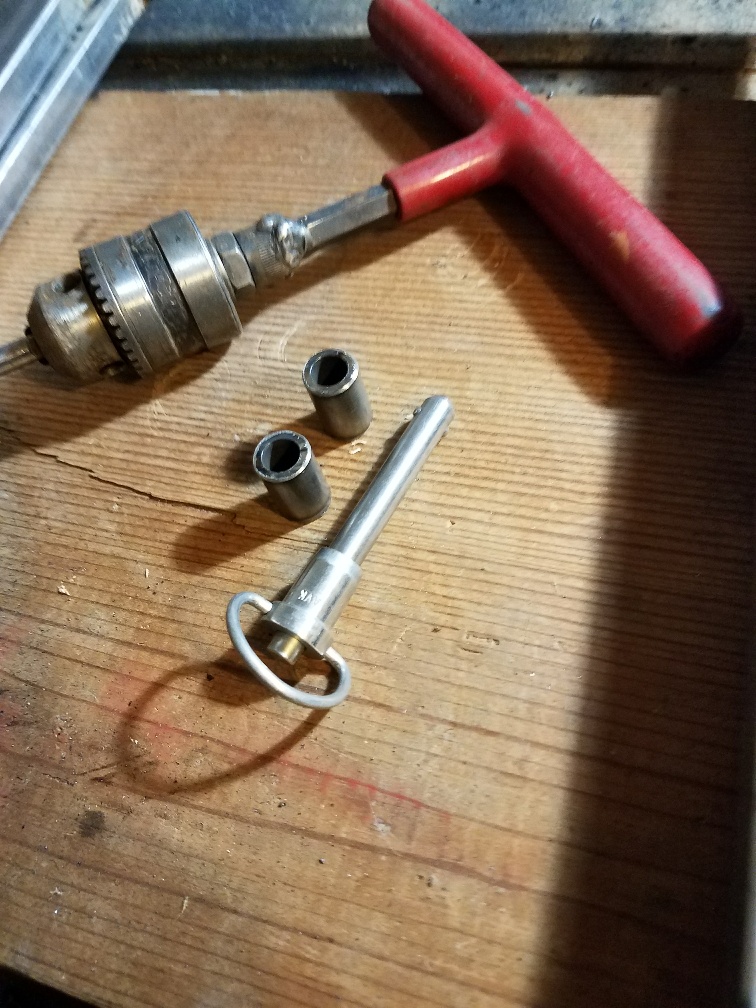 Going to weld lugs on the Ventura rack. 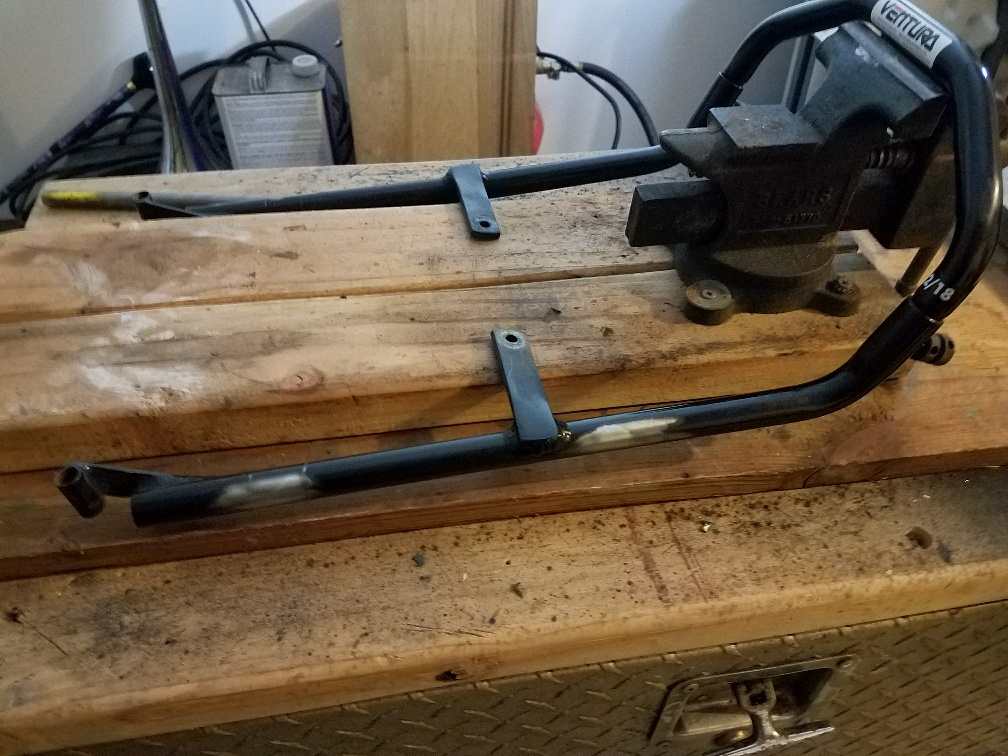 | ||
Ourdee |
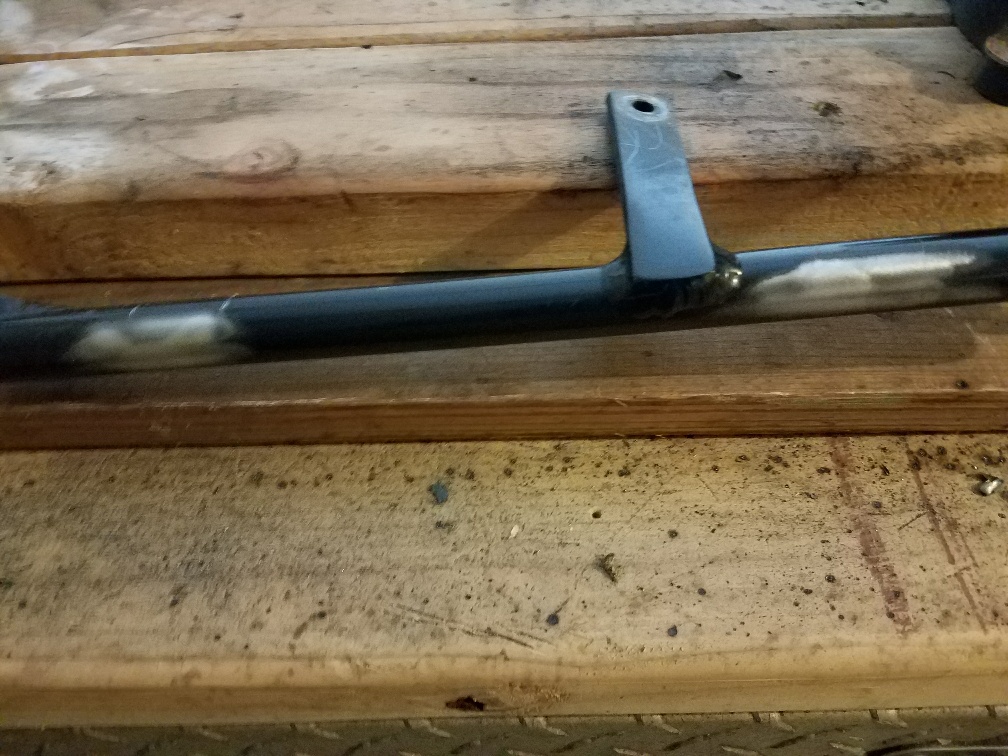 Here they are. 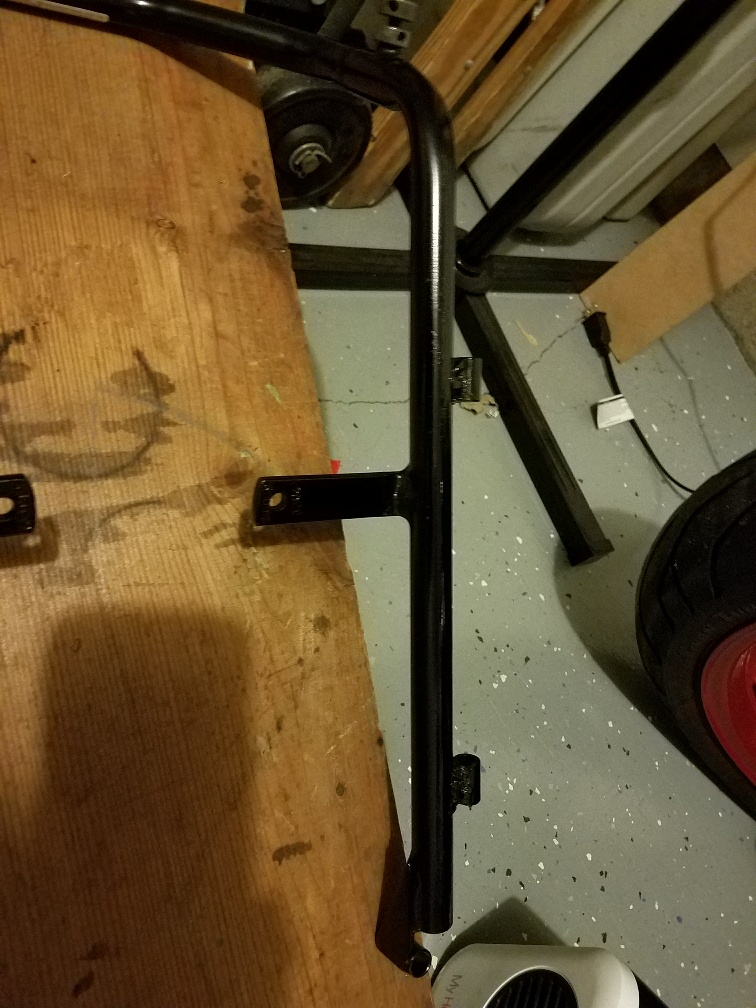 | ||
Ourdee |
 Note to self: trying to fill a pit with fluxcore out of a harbor fright welder gets ugly fast. And here is the lower mounting point.  | ||
Loose1 |
Looks good RD. I was in that same boat when I made brackets for my S2T this winter. I bought a tubing bender so I could have the least amount of joints. Matt | ||
Ourdee |
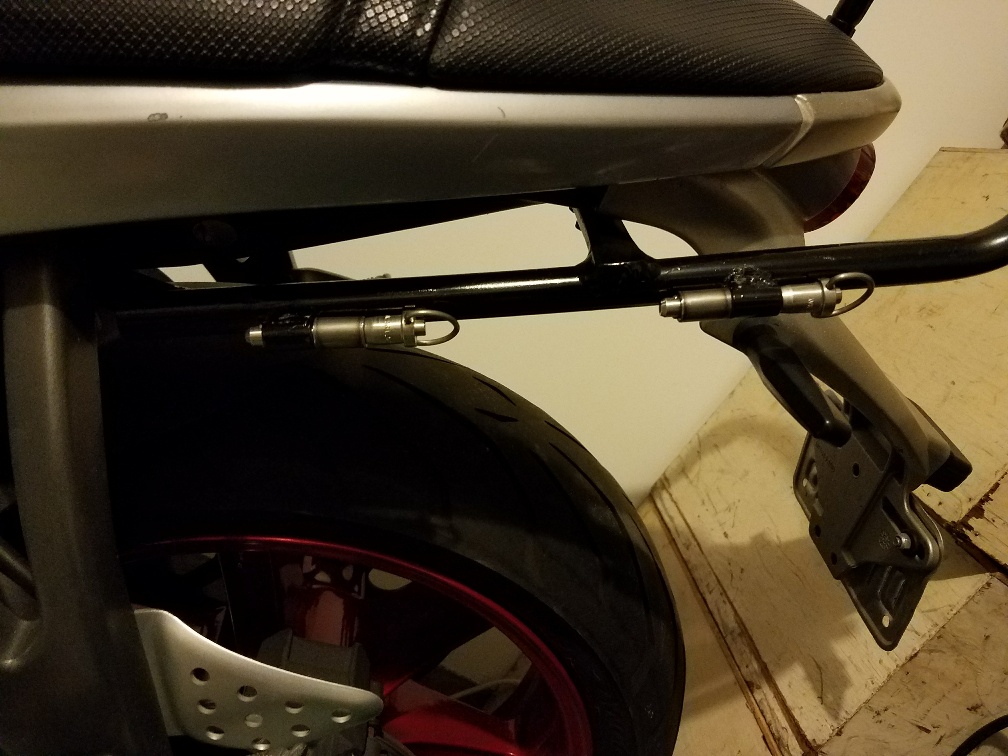
Mounting to the 2 top spots will get interesting. Ventura frame and pannier hoop are 27 degrees different in front to rear tilt and 3" apart side to side. Planning on 1/4" rod for triangulation of two top mounts from hoop. We will see. The goal is to only have 6" of 1/2" tube and the Ventura rack left on the bike after the pins are pulled. Still dreaming of an auxiliary fuel tank on the top rack. (getting side tracked) | ||
Ourdee |
   | ||
Ourdee |
   Need to make the bridge for the rear pannier to pannier brace. Need to bolt panniers to the hoops. Got to get a real welder. | ||
H0gwash |
I am enjoying the fabrication pics and getting welding envy. What sort of harbor freight welder do you use? | ||
Ourdee |
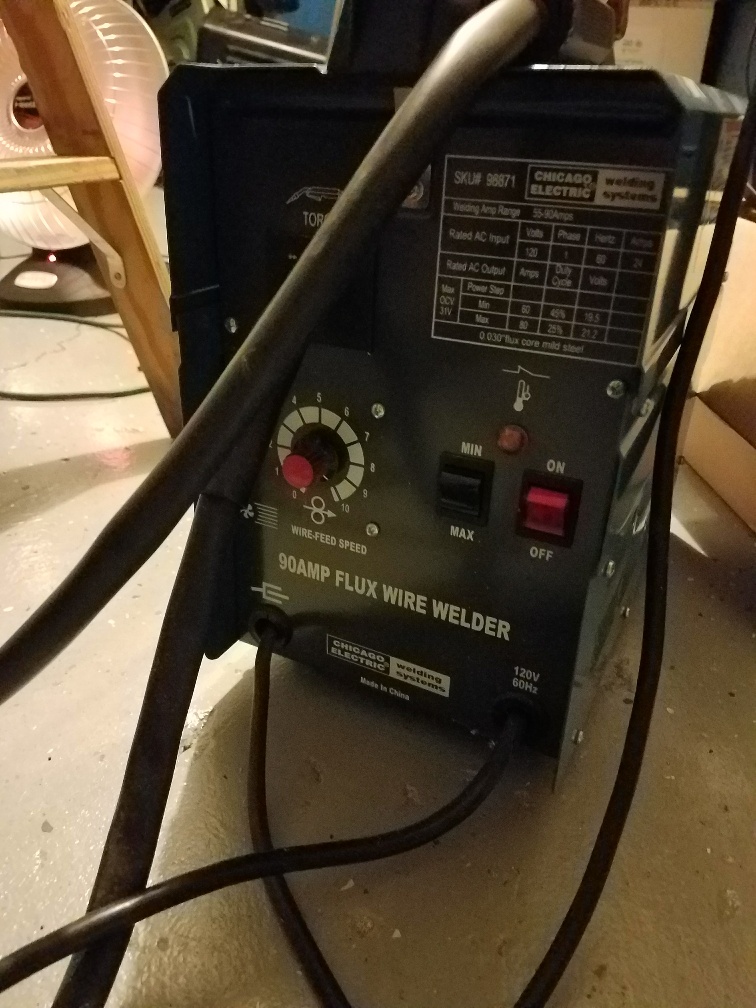 This is a bottom end welder. My Speedglas welding helmet costs 4 times what this welder cost. The welder has a rubber drive wheel for the wire feed making it very erratic. Using .030" fluxcore wire, every time the feed slows down or stops then starts there is not any shielding. That causes all kinds of splatter. The harbor freight fluxcore wire is also a low end product. I'm working with 1/16" wall, some .083" wall and 1/4" rod. In the pic you can see the speed and temp are at max. I haven't blown any holes in this project. This is a very light duty welder. It has a 25% duty cycle. That means that after welding for 2.5 minutes you are supposed to let the welder rest for 7.5 minutes. It says 90 amps, but is 80 or less. I have a Smith medium duty torch set-up. Problem is I haven't had tanks since I turned them in when I was moving. I started welding about 44 years ago as a hobby. Work found out I could stitch sheet metal together and took the fun out of it for a while. If I was learning today, I would use Youtube for the instructional videos. I was lucky in that the High School I attended had a complete shop to include a foundry. I took every course they had. I was very blessed. Their new building only has computers. For me, the magic is in oxy acetylene welding. I can get lost in it. | ||
Bluzm2 |
Ourdee, Do NOT pick up a TIG welder. You want to get lost??? If you are a good gas welder you will be a great tig welder. | ||
Hootowl |
Yup. I learned how to cast, and how to stick and gas weld in high school. They probably don't have that any longer...liability. | ||
Ourdee |
People tell me TIG would be easy for me. I have welded sheet metal with gas. Work had a TIG course scheduled for me. I had worked a deal with them. They got theirs and I got a call on Sunday to report to work instead of class. Incredible what that has cost them in the long run. My conscience is clear. | ||
Ourdee |
    | ||
Court |
I'm just enjoying watching you do this. Craftsmanship, at any level, is an art. Looks to me like you're doing a dickens of a fine job. | ||
Ourdee |
Thanks. | ||
Crusty |
It looks good! Cool! | ||
Ourdee |
Thanks. I will have to travel more than 50 miles to get to homecoming this year. This should be better than just strapping stuff on top. I need to quit taking everything with me. | ||
Ourdee |
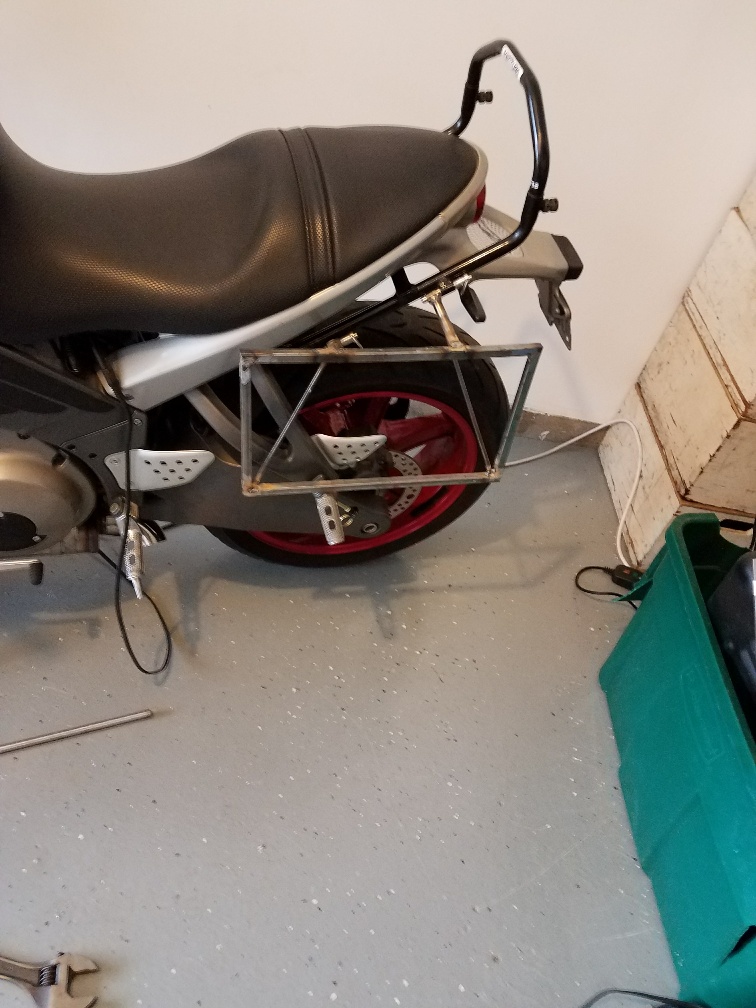
There is one more brace to make. It ties the lower rear inside corners of the Panniers to each other. It is just a 5/16" rod that slips into a sleeve at the back of the hoops. The sleeve is already welded onto the hoops. I have the rod and just need to beat it into shape. | ||
Zac4mac |
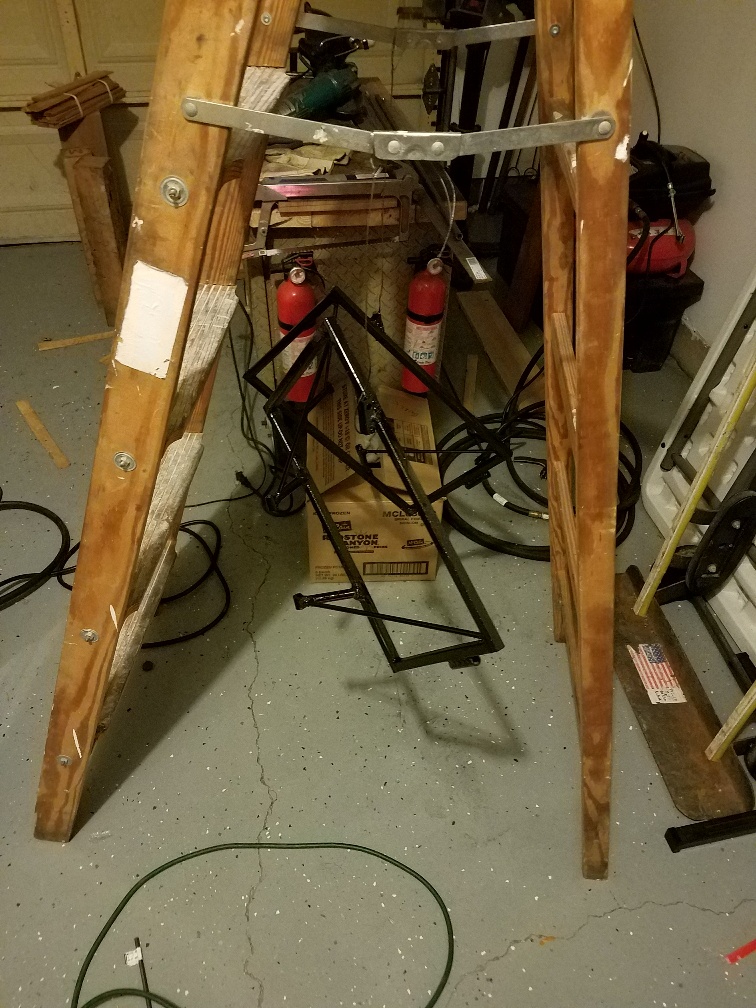
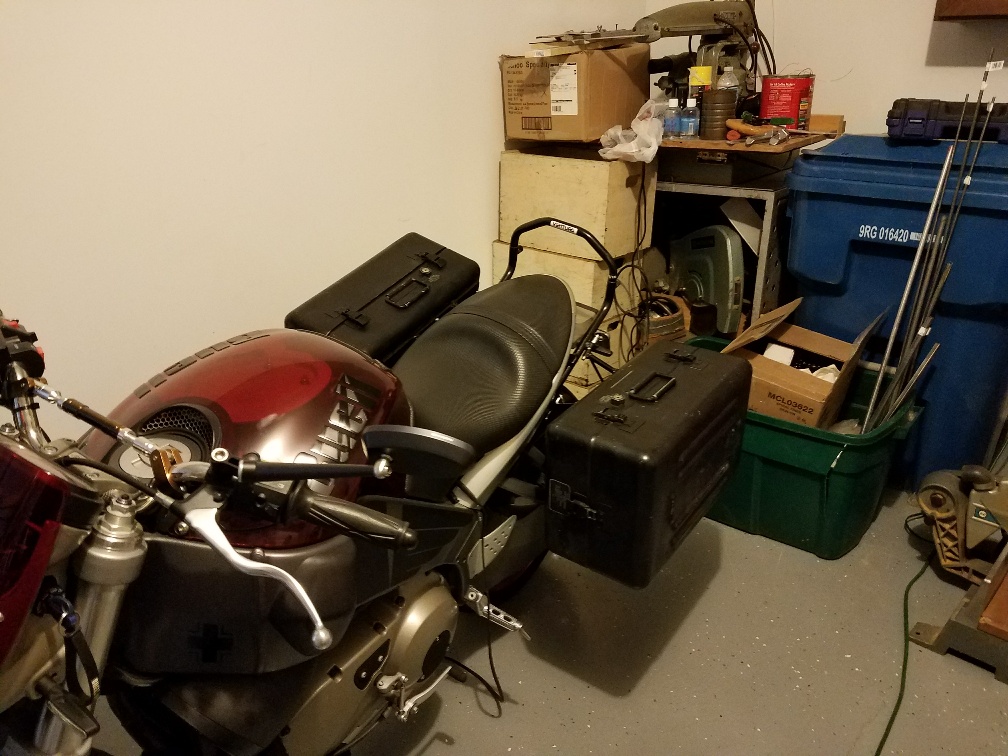
RD - I like how the frames stay with the bags. Nice and clean when off.  Z | ||
Ourdee |
Thanks. | ||
Two_seasons |
Yeah, yeah, yeah, but can you still carry the "kitchen sink" for Homecoming is what I want to know?   | ||
Ourdee |
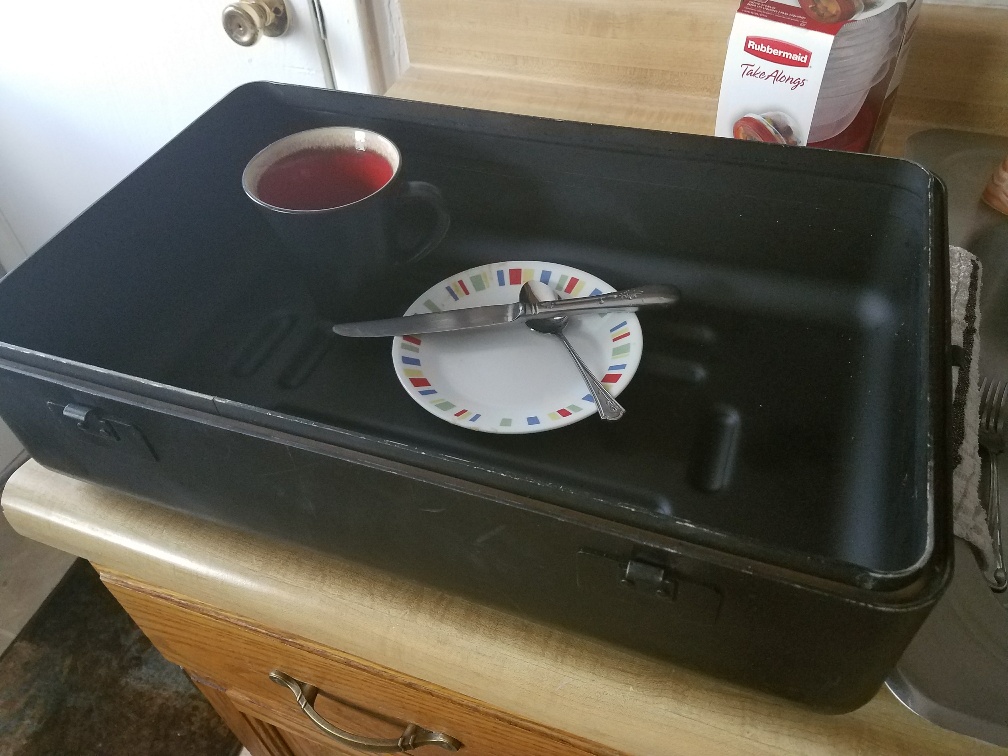 What do you think the lids are for? One for soapy water and one for rinse water. They are going on a Buell and should have more than on function. My hoops are not just the racks, but the quick on off feature. I was thinking about carrying a refrigerator to cut down on ice consumption when I realized I couldn't fit as much in it as my cooler. Seriously, I need to pack less, or build that mono wheel trailer I keep talking about...... | ||
86129squids |
"Seriously, I need to pack less, or build that mono wheel trailer I keep talking about......" Wasn't that a "Uni-Go" back in the day? I've always liked those very much, but I couldn't figure how one would mount to the swingarm of an XB. I do believe you're the guy to figure that out! (Insert popcorn emoticon...) | ||
Ourdee |
Already have. If you run a pin through the axle with the correct size tubes for shims, they can be mounted there. Not the way I want to do it. Down side would be either the front of the trailer is unsprung weight, or the pivot geometry becomes some kind of rocket science formula to get right with a suspension built into the tongue. My solution is to mount it to the rear pegs on the bike. They are sprung and allows the front of the trailer to ride smooth. Quick sketch not to scale, and pivot poit is too high:  Trailer pivots up and down in front at rear pegs. Pivots left to right on a 10 degree bolt just behind the rear tire. Trailer swing arm is a bridge like structure with the pivot attached to the frame between the axle and shock. I have the 4130 in 1 3/8" and 1 1/2" .058"Wall sitting in the shed. Tire and wheel are out there too. | ||
86129squids |
OK then! If that aint just cool as heyull, I don't know what is... I admire and envy your fabrication skills, buddy! About all I've ever done of any note was build a coffee table with a glass top, back in junior high woodshop class... sitting in my living room now. Someday I'd like to get back to that stuff. I remember first seeing a Uni-Go behind a BMW GS years ago in Helen, GA- been digging them ever since. IIRC they're dang expensive and hard to find... I'd love to see you work up that design. | ||
Mnscrounger |
Somewhere I recall seeing a one wheel trailer coupled by a yoke and u joint. The trailer yoke & tongue assembly slipped onto a splined shaft bolted (or possibly pinned) to the bike frame, and was held in place with what looked like a garden tractor PTO shaft pin coupler. (It sounds crude, but it actually looked pretty clean when the trailer was off)The trailer was able to turn by the u joint in whatever circle the bike was turning, transitioned over uneven pavement without creating a change in the bike suspension, but stayed in line upright with the bike. | ||
Ourdee |
The first one I ever saw was for bicycles. It was called a Bob trailer. |