| Author |
Message |
    
Cdnrider
| | Posted on Monday, April 22, 2019 - 11:56 am: | 


|
Oh, and harley is a mere 10 mins from my house so theyíre my parts catalog. Lol |
    
Gabby_duck
| | Posted on Monday, April 22, 2019 - 05:08 pm: | 


|
What is the condition of the fuel tank is their garbage in it? Does the blast have a fuel pump or is it gravity fed?how is the fuel filter? How old is the fuel?Check the carb for garbage again. |
    
Cdnrider
| | Posted on Monday, April 22, 2019 - 11:28 pm: | 


|
The, petcock, fuel line, and carb are clean - and Iíll be gettin an in-line filter ASAP to ensure any potential future debris doesnít gum the carb. Fuel is all gravity feed, and fuel is new. Iím going to get fresh 91 in the morning just in case. The gaskets in the petcock are good too and duel flow is very good. |
    
Kenny_gilgore
| | Posted on Tuesday, April 23, 2019 - 12:02 am: | 


|
CDN,
Have you checked the vent hose?
When my Blast acted like yours the vent hose was melted shut.
Kenny G |
    
Cdnrider
| | Posted on Tuesday, April 23, 2019 - 02:01 am: | 


|
Itís fine. Runs equally bad with the tank cap off too, but the vent hose is clear. |
    
Akbuell
| | Posted on Tuesday, April 23, 2019 - 09:57 am: | 


|
OK, now is the time to step back and do a mental re-set. Given what you have done/tried, I believe the fuel system is fine, and not the problem. After resetting the float level to factory specs (if it is not already there) . . .
1. Some sort of intake system leak.
2. An intermittent electrical issue, either a loose or weak connection, or something like a coil or other ignition component in a pre-fail mode.
In my time of fooling with internal combustion engines, I have encountered situations where I was positive the issue was fuel, and the culprit was eventually determined to be an ignition problem.
Hope this helps, Dave |
    
Cdnrider
| | Posted on Tuesday, April 23, 2019 - 01:04 pm: | 


|
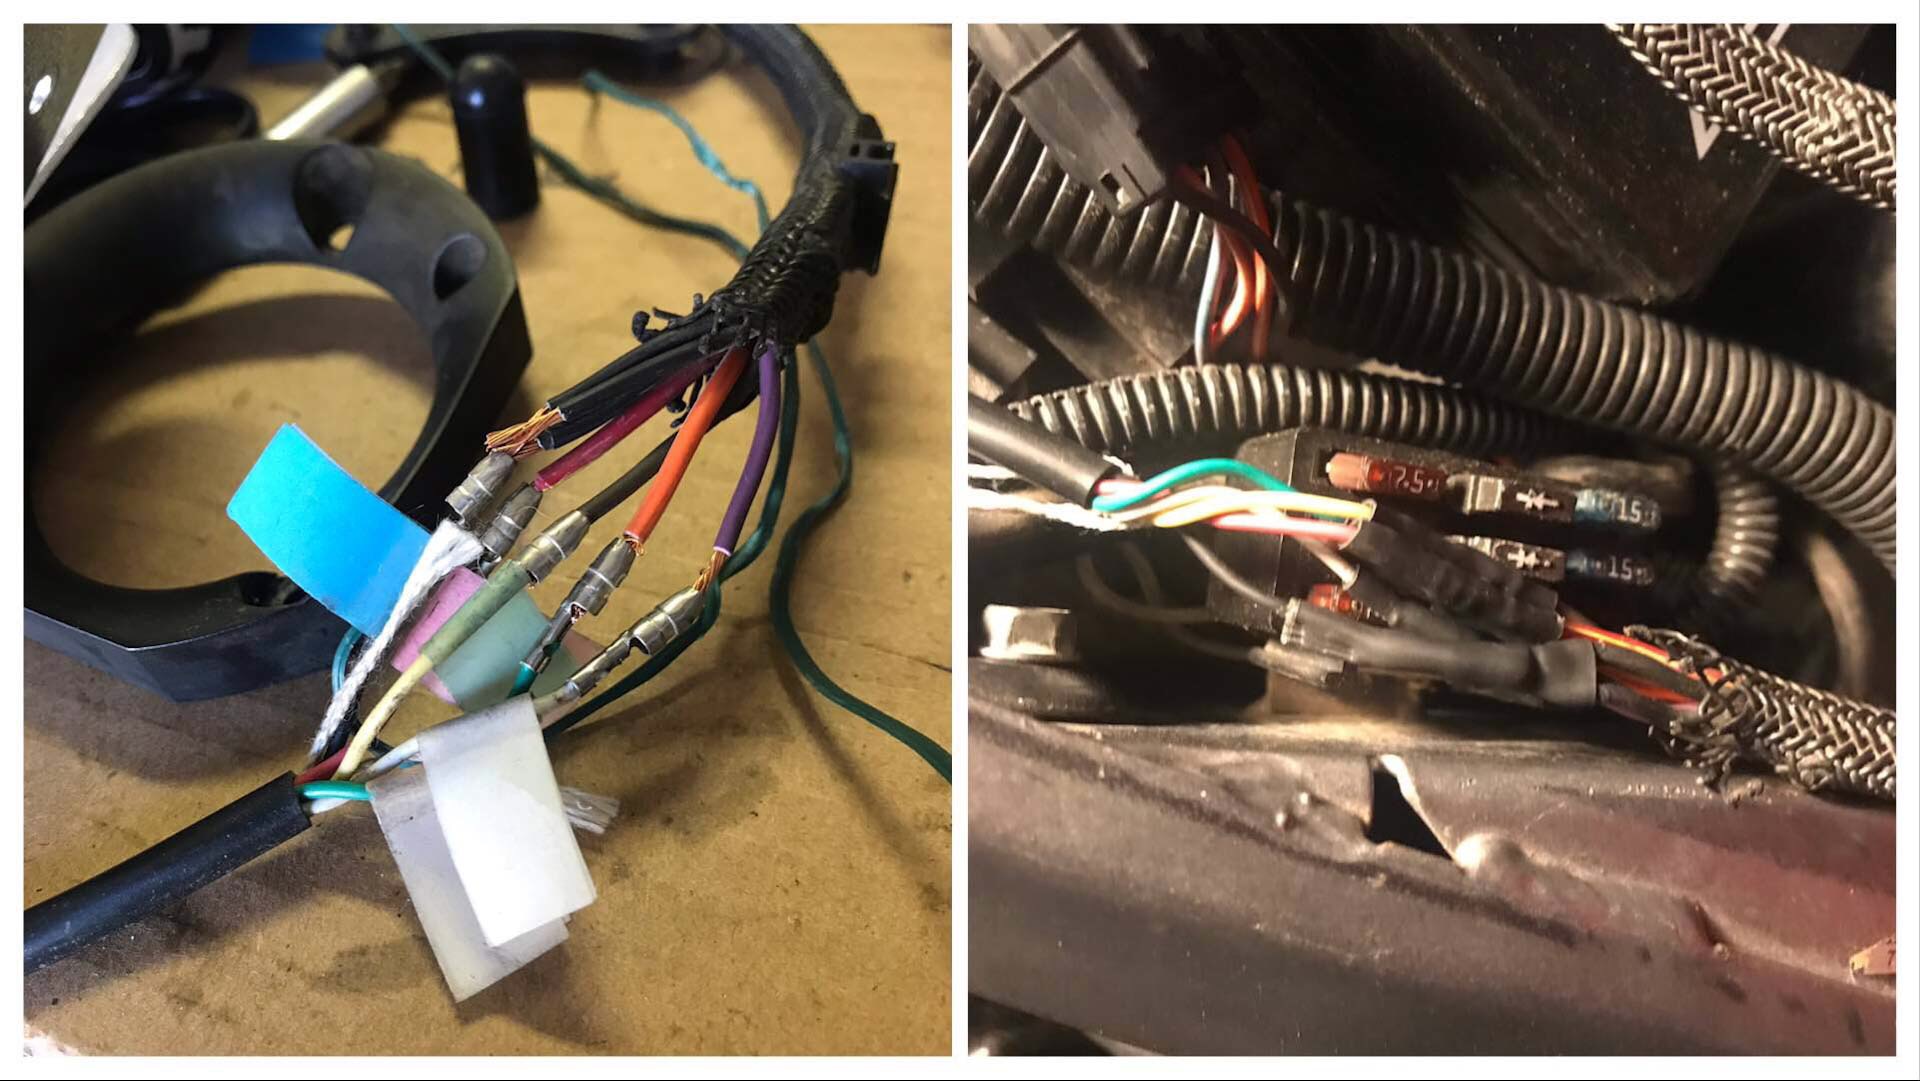
Damn. You could be right. The bike had an intermittent issue with starting due to some glitch at the fuses. Sometimes youíd start it fine, sometimes it wouldnít kick until you fussed with the fuses to get the right connection. I would literally jiggle my finger on top of the fuses until the right position was found. Since it kicked every time (after pulling the fuses and spraying contact cleaner into the terminals) i moved on.
So how would one go about working on this? Electrical is my kryptonite. |
    
Akbuell
| | Posted on Tuesday, April 23, 2019 - 03:42 pm: | 


|
My way of solving electrical issues is to start from the beginning. Not very enlightning, I know.
What I mean is - start at the battery. Ensure/confirm good connections, and ohm/wiggle the cables to make sure they are good. A light coat of dielectric (sometimes known as bulb grease at the auto parts store) on reassembly.
Since you have had to do the wiggle test, so to speak, at the fuse box, take it loose so you can look at the back, and confirm all is well. Then clean the fuses and fuse contacts, again. I like to remove/insert them 3/4 times, then the dielectric. If they look at all sketchy ( a technical term  ) maybe a soft sanding with a fingernail file, for example, then clean and dielectric. ) maybe a soft sanding with a fingernail file, for example, then clean and dielectric.
My X-1 has relays for various circuits; if you do, try the cleaning them and swap them around. Or replace, esp ignition related ones. Same with fuses.
As happened over in the XB board, Check Your Grounds! All of them. And the wires where they connect to the wire terminals.
Sorry to paint with such a broad brush, but my experience has been a very patient, step by step process actually saves time in the long run. Basically, pick a system, such as ignition, start at the battery, and work all the way through until you get to a ground so the electricity can get back to the battery, following the electrical diagram.
Sorry, no silver bullet (that I know of) to solve this. Hope this helps, Dave |
    
Akbuell
| | Posted on Tuesday, April 23, 2019 - 03:54 pm: | 


|
My bad ! It was the Old School Buell section; the poster was XB - - - guy. Anyway, have the wiring diagram to hand, and start.
BTW, a trick I was taught was to take the diagram, and place something like an acetate sheet over it, held in place with the tape of your choice. Trace the circuit you are looking at with a grease pencil. That way you don't accidentally 'cross wires' and end up somewhere not associated with the original starting point.
And when done, wipe the sheet clean and use again . . . |
    
Gabby_duck
| | Posted on Tuesday, April 23, 2019 - 06:02 pm: | 


|
Glad to see the Buell teammates jump in and help |
    
Cdnrider
| | Posted on Tuesday, April 23, 2019 - 08:46 pm: | 


|
Well, guess my first start point would be the fuse box. Itís very simple, just seven fuses and two relays, two of the fuses are spares. Iíll try pulling the wires from the backside - but I presume they have those lovely one-way fingers on them so as to prevent them from being pushed out by the fuses upon installation. Not really sure if this is necessary, maybe either new fuses and relays (to ensure theyíre not sketchy lol).
Goddam Iíve always hated electrical work!! This one is so tightly packed that I have almost zero flex to pull the box and spin it around. Gonna be a challenging process to be sure. |
    
Akbuell
| | Posted on Wednesday, April 24, 2019 - 09:38 am: | 


|
Just did a quick review of the thread. Not mentioned, but if you have a side stand switch, might do to bypass that and see if the problem goes away. The side stand switch is an ign system ground on my X-1, and they are known to be problematic, and cause weird faults when they go bad/go pre fail.
As to the fuse box, I found it worth the effort to remove the 'parcel tray' under the seat of my X-1 and then pull the fuse box. Six screws, and the tray is out; lots of room then to fool with the back of the fuse box.
Hope this helps, Dave |
    
Cdnrider
| | Posted on Wednesday, April 24, 2019 - 10:59 pm: | 


|
Iíll try the bypass again. I did it before when the bike wouldnít exceed 2000rpm without success but I donít recall test driving it with the bypass in place. I feel the likelihood that the issue is based in the electrical system is pretty high, but itís more likely to be in the fuses than the kickstand. Iíll run a test and see.
Thanks for the input!! I hate electrical, but am fastidious so at least I have that going for me. Anyone in the Phoenix area by chance? Lol. Beers are on me!!

|
    
Cdnrider
| | Posted on Thursday, April 25, 2019 - 12:29 am: | 


|
Tested the kickstand bypass again and it doesnít change anything. I literally make the 1/4 mile and it bonks. Every time. Exact same distance. WTF. Basically from stop sign to stop sign. If I rip open the throttle itíll live a little longer, but eventually will die 100% then it will restart right away. After I stop. Every time.
The bike doesnít like to be off the auto enricher or the TPS either. Gets cranky and revs super high, but if anything it conks faster than with the TPS/enricher plugged in. I even hesitate to think itís elecrrical at this point bc itís not a sporadic issue, itís by the odometer. 1/4 mile - die. Restart, ride, 1/4 mile - die. I may take the air filter off tomorrow and try rigging my GoPro to record whatís going on inside the carb while I ride. See if I can see something going on inside there at the point where it goes kaput.

|
    
Gabby_duck
| | Posted on Thursday, April 25, 2019 - 03:36 am: | 


|
I found a few things on line that might help
https://youtu.be/dW_gDKdOdcI |
    
Gabby_duck
| | Posted on Thursday, April 25, 2019 - 03:38 am: | 


|
More info
https://www.buellxb.com/forum/showthread.php?28032 -Blast-tips-mods-info-etc |
    
Gabby_duck
| | Posted on Thursday, April 25, 2019 - 03:39 am: | 


|
And more info
https://youtu.be/_YbDLFoXtLI |
    
Gabby_duck
| | Posted on Thursday, April 25, 2019 - 04:04 am: | 


|
Sorry I don't know the blast like I know 08 plus XBs buells. does the bike have an Oxygen sensor? If it does try unplugging it and riding. Or replacing with new. My 09 use to ride perfect until it reached 23 miles then it would backfire etc run really rich foul plugs. Check the spark plug every time you have the issue it probably is fouled. Been through the Buell frustration syndrome. |
    
Cdnrider
| | Posted on Thursday, April 25, 2019 - 02:47 pm: | 


|
No O2 sensor on the blast. This bike is like a Honda Civic of motorbikes, you know...steering wheel is an option? Lol. Iím gonna pop by the shop and get a fresh plug, but again - given the behavior itís not likely. Iíll get some fresh high octane too just to see if that changes anything. Canít be the petcock bc I have decent flow, lines are clear, and float has fuel.
I think Iíll rig my GoPro as mentioned and ride with the air filter off to see whatís happening inside the carb when it bonks. Then Iíll pull the cover of the ignition timing and record that when I ride. May need a digital thermometer. Will see.
I would consider some of the upgrades listed on GDís link but I hesitate to think that mods will fix a problem w the stock bike. If the fuel lines were blocked would a blocked exhaust choke down the bike after a fixed distance? This feels like fuel supply...but then again revving the engine wouldnít work. It would just bonk. Hmmmmmm. Found an ATV company moved next to my warehouse so their mechanic (whoís a harley guy) is supposed to call me today. Will see.
Really appreciate the support here gang....you guys and gals are great |
    
Gabby_duck
| | Posted on Thursday, April 25, 2019 - 07:30 pm: | 


|
When you get this resolved please let us know |
    
Cdnrider
| | Posted on Thursday, April 25, 2019 - 07:35 pm: | 


|
Ok. I am officially an idiot because I checked everything as listed above but not in order of having fixed them. I tested the gas tank when I still had carb issues. When I got angry and pulled the tank to swap spark plugs, and drain the tank for new 91octane the petcock hissed. Hmm. Pressure backup. Blooooooody Hell!! The fuel vent is jacked. Problem solved.
Now for new rubber, put everything back on, and Iím calling a friend who owns a detailing company to consider faux carbon fiber wrap on the plastics for a black-out look. Goddam Iím excited. From trash to treasure, a lot of sweat and one very serious face-palm!! Thank you. Thank you. Thank you!!! |
    
Cdnrider
| | Posted on Thursday, April 25, 2019 - 08:07 pm: | 


|
This was a super active and helpful thread. Iíve been on other sites before for other things and itís crickets. This site is great!!GD....you are on your shit!! Thanks. Really. I couldnít be more jazzed to get this little blast on the road...wifey wants me gone for a few days and we only have one car...NO PROBLEM. LMAO |
    
Cdnrider
| | Posted on Sunday, May 12, 2019 - 10:07 pm: | 


|
So Iíve got virtually everything locked, but despite having drilled out my roll-over/vent valve in frustration I still need to pop my gas cap from time to time to keep from stalling. Iím totally baffled. Why - when the valve now breathes freely, and the hose-to carb breathes feeely does my tank still create a vacuum? Do I need to add a T to vent the tank into the air??
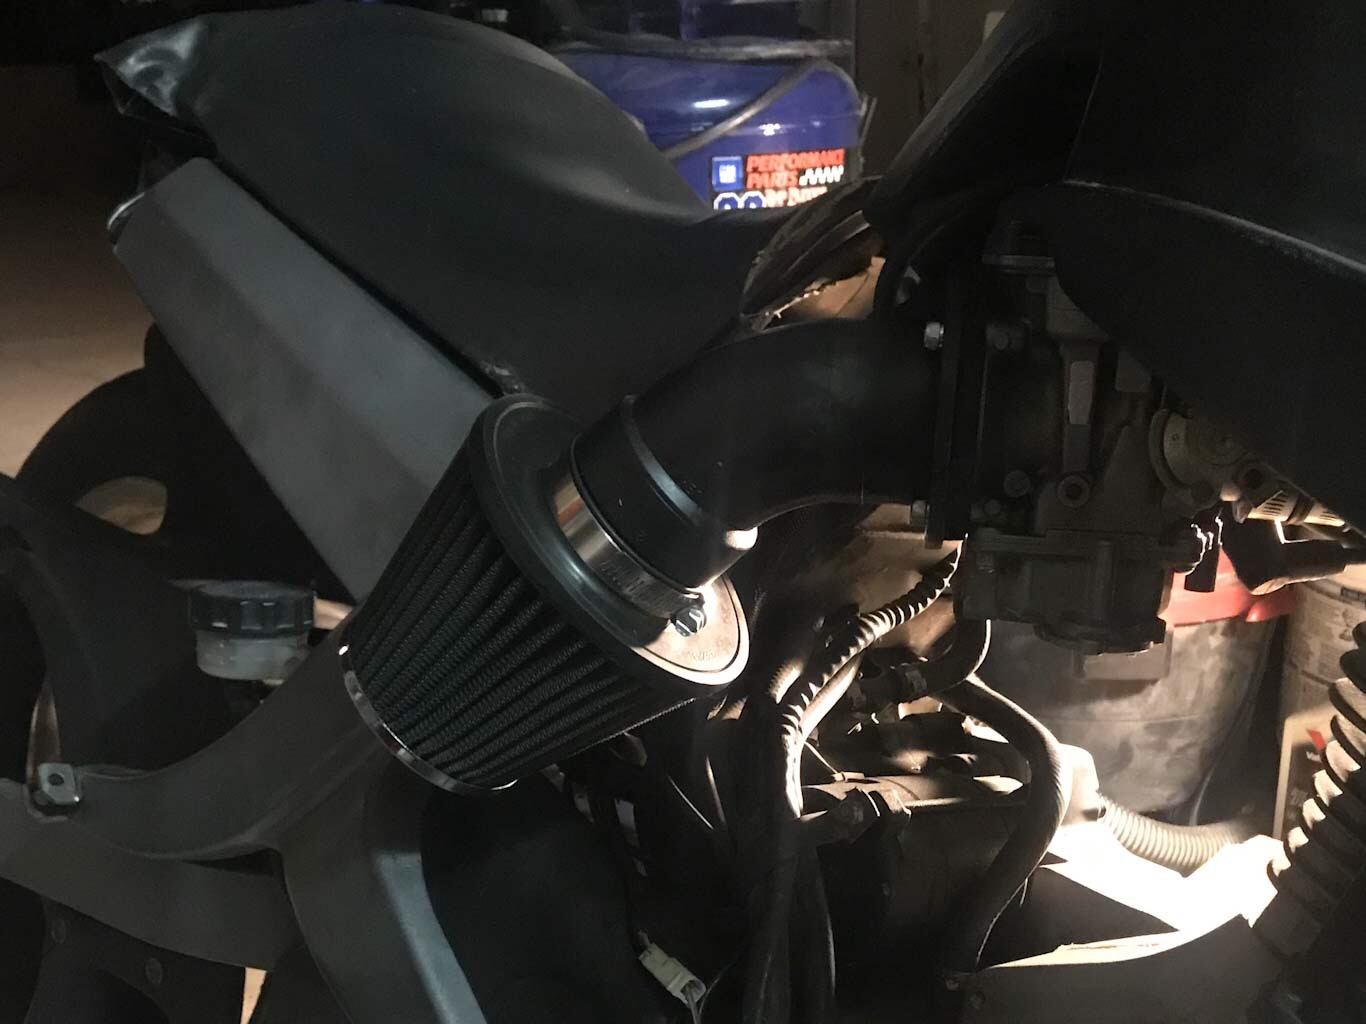
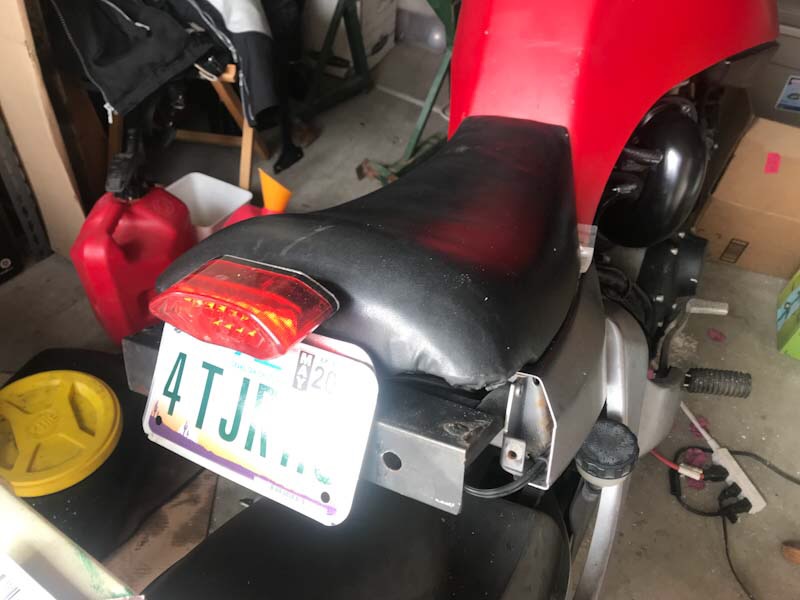
As an update I made a new cold air pipe and reupholstered the saddle w my slightly trashed but salvageable vinyl and will rebuild my shocks when the correctly sized seals arrive (thanks amazon! :-( ). Last item is to fabricate a back end out of a fiberglass bodywork kit....

|
    
Cdnrider
| | Posted on Sunday, May 12, 2019 - 11:03 pm: | 


|
My note above relates to the hose feeding directly from the tank vent valve and straight to the carb. Iím assuming that this is the best course to avoid fuel vapor from escaping, and in the case of a roll over (since I had to drill it) from leaking. Iím not entirely sure how the vacuum even is occurring when the system vents pretty freely when not in operation.
As a note of clarity, the bike stalls at speed only. |
    
Cdnrider
| | Posted on Monday, May 13, 2019 - 02:05 am: | 


|
Update - when I pull the vent hose the bike will run. Why would the vent hose being connected directly to the carb cause the tank to create a vacuum? I suppose I need to install a T-intersection and run another vent to allow the tank to breathe. Iím baffled.
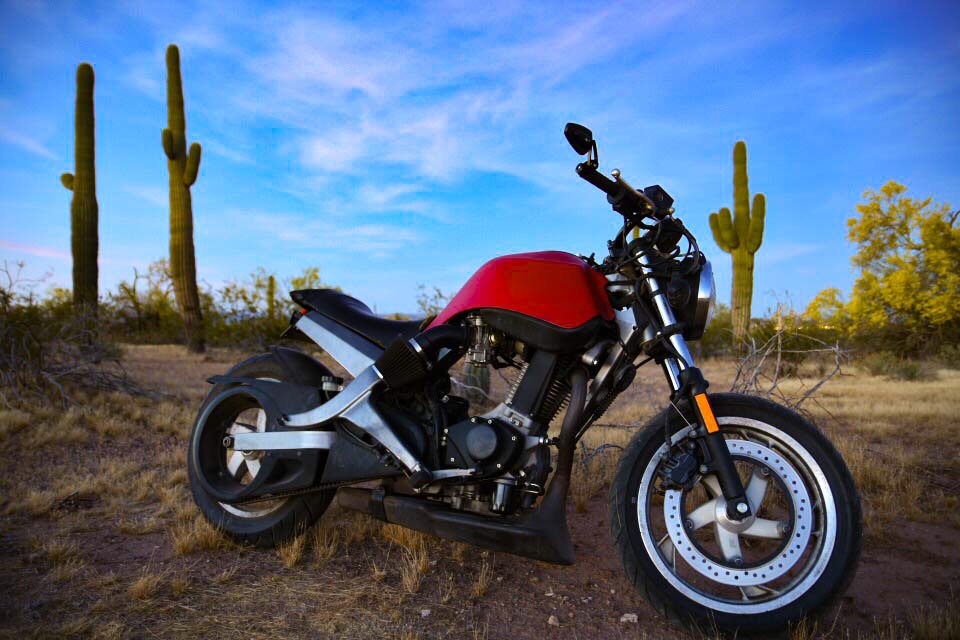
Side note - this pic will be Updated with the new intake, windscreen, and properly upholstered seat. Beautiful piece of desert 5 mins from my house.

|
    
Cdnrider
| | Posted on Friday, August 16, 2019 - 05:14 pm: | 


|
Well the bike is a champ and I just drilled out the stock exhaust - what a difference. No more hesitation and the power boost is pretty massive, plus it has a nice growl to the idle. Highly recommended!!!! |
    
Sarge2481
| | Posted on Monday, January 06, 2020 - 05:55 pm: | 


|
The only hose that should be connected to the carb is the fuel line, as for the carb vent, put a vacuum cap on it or the bike will stall from being too lean, it basically creates a vacuum leak. The fuel tank vent hose should run along the frame under the tank and go down through the left footpeg bracket, and end up near where the oil drain is. I just had to replace my vent hose because the inside of it melted shut so I followed it exactly as it was when it came off. If your bike is a california model then I might be wrong about the venting, but from what I've read the only difference in the california model was the evap from the crankcase to the carb. |
    
Sarge2481
| | Posted on Monday, January 06, 2020 - 06:01 pm: | 


|
Also, if you want a new OEM vent valve, the part # is P0114.8B, and they are still available. |
|
 Troubleshooting (Poor Starting/Running/Handling/Ride Issues) »
01 blast bleeding fuel from carb and wont rev
 Troubleshooting (Poor Starting/Running/Handling/Ride Issues) »
01 blast bleeding fuel from carb and wont rev