| Author | Message | ||
Rogue_biker |
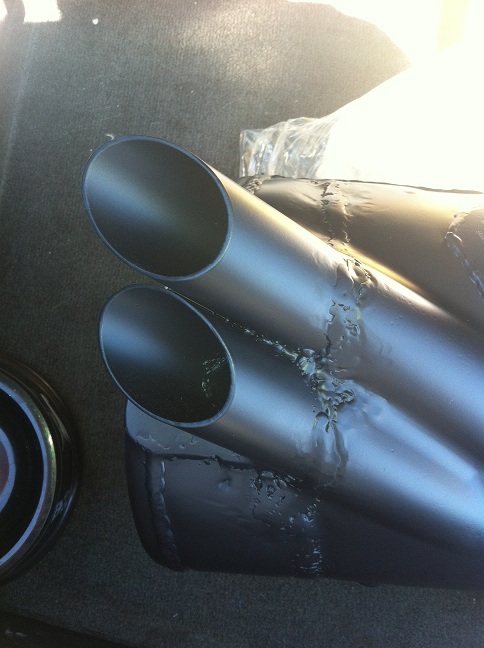
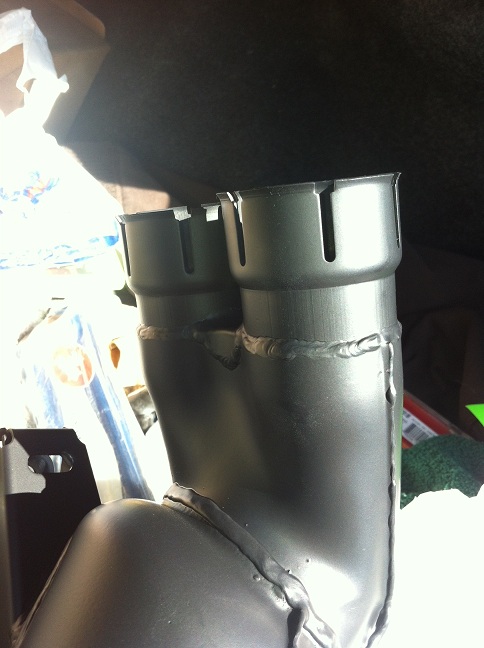
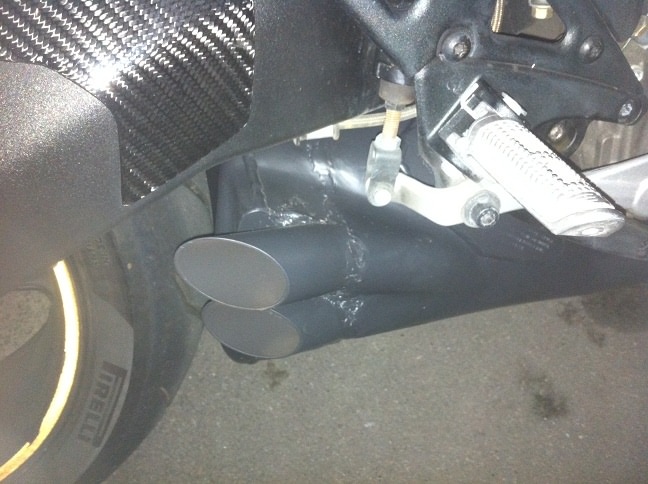
My 1125R is just about complete with its �updates�. EBR ECM installed, all wiring connected and secured, Active Intake Solenoid removed, bodywork secured, etc. All I need is to put the muffler on and I�ve just been waiting to get it back from the coaters. I got my muffler back from the shop yesterday with a fresh coat of Ceramic black. I started to install the muffler last night. I�m using two jacks to lift the muffler into place�one up front and one at the rear. I got the rear lined up and the bolts are threaded loosely in. The front however is proving a little tricky, mainly the act of slipping the headers to the collector portion of the muffler. I�m about � inch of lining up the front bolt mounting holes to the oil cooler brackets. The headers are in the collectors. However, I�m not sure if the headers are slipping all the way into the collectors at the proper distance. How do I know? Is there a trick or a proper method to ensure the headers are inside the collector at the correct distance? If the front mounting bolts light up, is this enough of an indication? I�m using new collector �ring� gaskets so the fit is a bit tight from header to collector. Thanks all. | ||
Nuts4mc |
did you install "new" (different brand of headers?....no) - alas the new "paint" may cause you some install headaches (old "wear/clamp rings" are gone)- but the 1125 is a child of the CAD generation...I'm sure the muffler/pipe interface was modeled in CAD and the bolt holes (once they align in the front) will ensure proper insertion depth. With the invention of CAD and N/C controlled tube bending equipment the fit up on exhausts are very repeatable...don't sweat it just do it! | ||
Mhpalin |
Hi what I do is put the gaskets on the exhaust headers just a inch or so then slowly wiggle the muffler on then install the rear bolt. This method works good for me.I also use my foot to hold the pipe up so I don't scratch it.Keep the shiny side up. Mike | ||
Rogue_biker |
Nuts, the new paint is only outside the muffler so it shouldn't be an issue for fit...theoretically. I'm ready to fit the bolts up. Just want to make sure the insertion depth is correct. Mhpalin, I have rags between the muffler and jack so no scratching. I hope! | ||
Nuts4mc |
with a grease pencil/crayon/lipstick/nailpolish- make a thin line up the exhaust header along the same axis as the tube's centerline... make small cross lines every 1/4"... you'll be able to tell how far up the muffler is inserted by what is exposed after the front bolts are in...wipe off the "lines" with some WD40 before you start her up. | ||
Xtreme6669 |
don't start the bolts at the back at all until the pipes slide into the muffler all the way. Take them back out and try letting the back tilt down some and then push the front up... | ||
Dhays1775 |
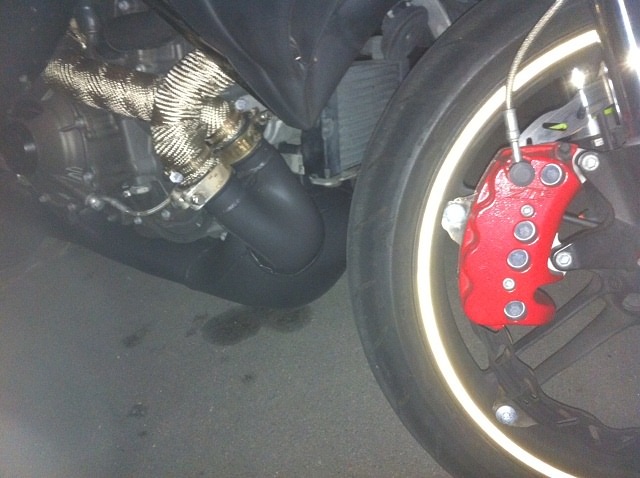
another thing to look for is the oil cooler bracket falling down a little bit. i just had mine ceramic coated as well, and i had a couple issues also. new gaskets too. wasn't that bad after i saw the cooler bracket was dropping. i'll post a couple pictures shortly. | ||
Rogue_biker |
I'm down to one bolt, the left-front one. I need to get a 13mm wrench with a 90-degree bend to screw the non-captive nut in. I must say installing the front part of the muffler was a Royal PITA! I had to lower, then lift (repeat multiple times) the front, with a bit of wiggling and shaking to get the collector to go in and line up the bolt holes! Thank heavens for the hydraulic jack! That Buell should have done was make the collector part of the header and have that mate to the muffler. This way, you only have to line up one pipe into a muffler like all other sportbike mufflers. I've never had any muffler be this time consuming to install! | ||
Dhays1775 |
You can use a regular open end wrench to hold the nut. Make sure the smaller portion of the wrench is on the bottom though or you'll have a difficult time getting the wrench back out. It's not that difficult, just take your time so you don't cross-thread. | ||
Dhays1775 |
     |