| Author | Message | ||
Toysgarage |
i noticed that these engines are fairly noisy from factory so i didn't bother questioning it until one day curiosity took over so ended up pulling off the LHS engine cover to have a look if my stator nut had loosened. this is what i found... check out the heat marks on the balancer gear  | ||
Finedaddy1 |
Wow! While mine is torn down at this time, I'll take a look and see if it resembles yours. | ||
Boogiman1981 |
that's got to be from manufacturing. | ||
Toysgarage |
long story short, after being refused warranty on what i think is a factory fault. i decided to order the parts and do it myself .. hears how i did it.... 1: remove -oil line from oil cooler to block -front drive belt cover above -crank sensor on the side of the stator cover -then the 8mm bolts around the stator cover -gently slide to cover off ,try not to break to gasket like me ..hang the cover to the side, be aware a shim from the top balancer gear could fall out now you should able to see all the gears inside 2: remove the stator nut anticlockwise with a 32mm deep socket for easier installation place a mark the nut and crank  3: pull off stator and starter drive gear.. you should be left with this...  4: the fun part removing the crank gear...the aim is to take off the rear rocker cover. start by removing the seat/air box /rear fairing 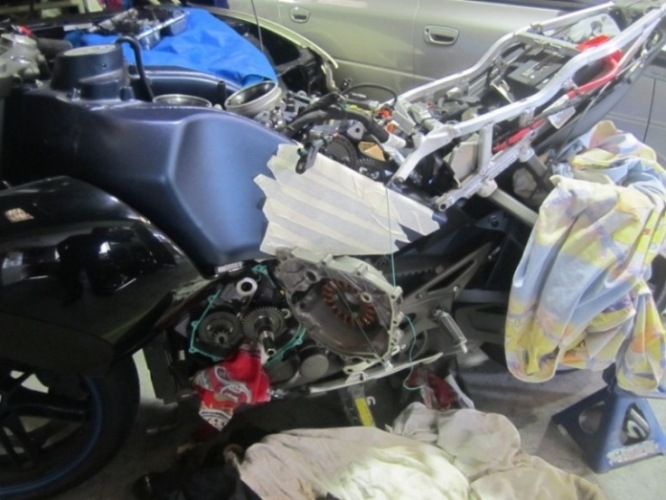 5: remove allen key bolt holding the top of the rear shock .note make shore shock is not loaded on the swing arm 6: unplug loom on top of the cover 7: rear injector has to be removed and fuel line moved aside 8: remove rocker cover bolts and jiggle the cover off .. it may seem impossible but it will come off!  9: make sure put you OWN marks the cam chain/gear along with the crank/chain gear to insure it goes back in the right spot..if your not sure of were they factory marks should be email info@erikbuellracing.com this is exactly what the answer i got when i asked for info..quote! we work out of the service manual. 10: mark the 6mm cap screws on the cam pulley to insure cam timing stays the same then hold the inlet cam with a shifter/spanner and crack the three 6mm cap screws on the cam pulley..DO NOT remove them just yet  11: remove chain tensioner bolt on the side of the block . you should see the chain guide move back then chain will loosen 12: now remove the three 6mm screws on the cam pulley and gently lift off the cam gear to give enough chain slack to remove the crank pulley 13: when chain is loose enough ,remove and replace the crank pulley.note .. remark the new pulley the same so that it goes back in the same position on the chain  14: now its time to install the cam pulley back on the cam gear put the three cap screw back on hand tight (make sure you use lock tight) 15: install the chain tensioner 16: make sure the chain hasnt moved off the marks ,now use a shifter/spanner to align the cam timing to is original position then tighten up the three cap screws 17: make you double checked the crank/cam timing, one mistake could cause major damage!!. 18: reverse to process and reinstall all the parts ... here are some thing to look out for when reinstalling 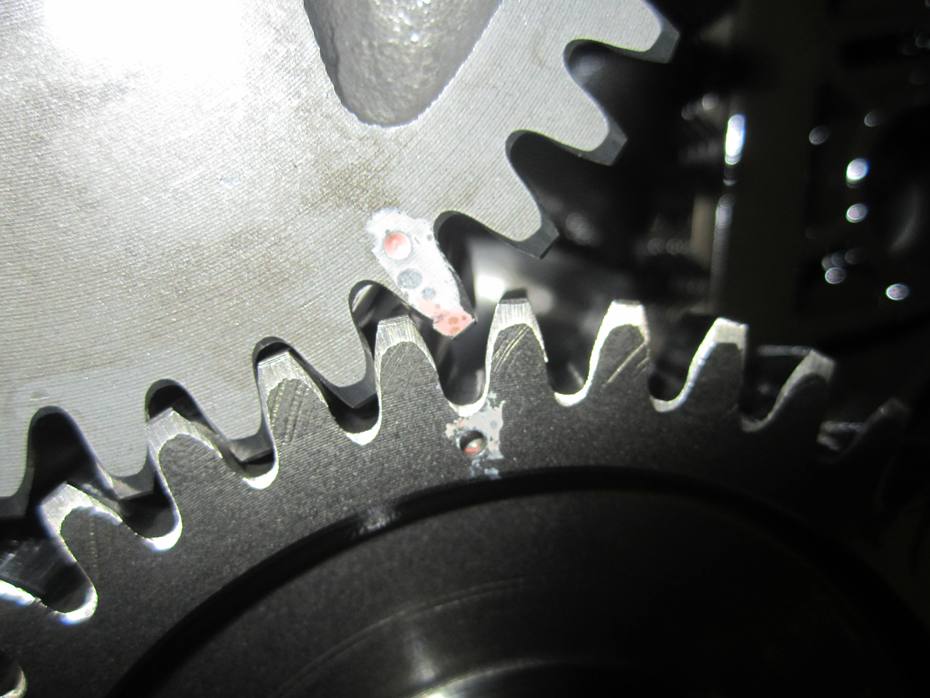 balancer gear is aligned dot to dot with the crank gear 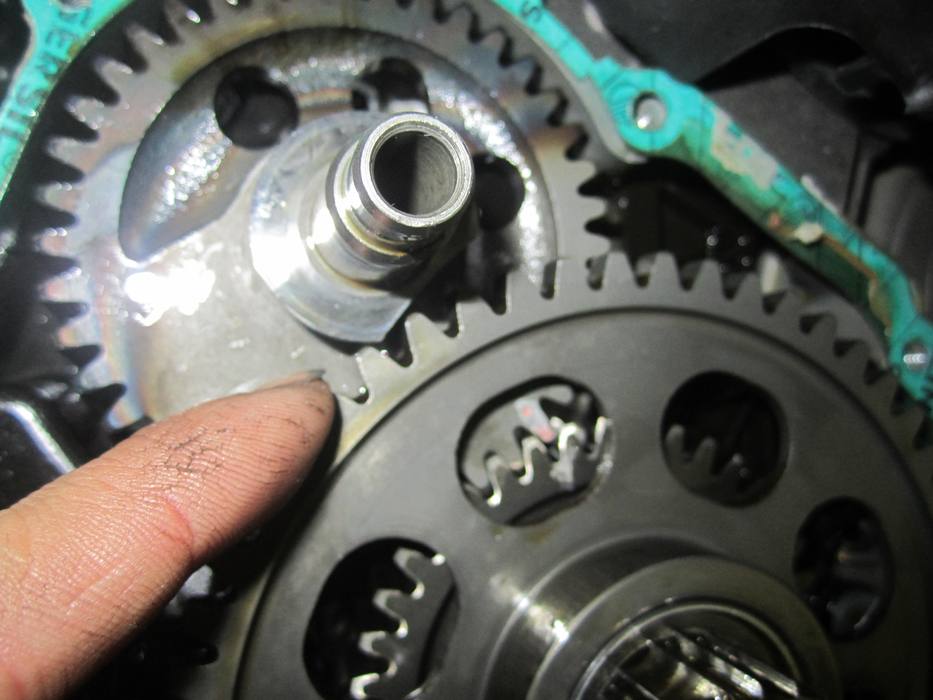 turn engine so that starter gear fits through the cut out on the balancer gear dont forget the shims on the balancer gear put the starter gear on the stator first then install them together on the crankshaft to avoid damaging the one way clutch baring use loctite on the stator nut and torque it down ..there was a link some were about how much to give it ...i just went with my old marks.. this forum has helped me alot with information on my 1125r so thought i'll contribute my part in return... ohh last of all makes sures you replace the oil and filter also clean out the strainer cause mine had abit of metal in there... | ||
Two_seasons |
I believe that someone who did this torqued the stator nut to 300 foot lbs. Thanks for this post. Nice work. | ||
01_turbowolf |
in the last picture with the timing marks showing is that the new gear cause it looks like it has the same discoloration as the old one. could you post maybe a parts list of what you replaced and end result, and did it get rid of some noise? | ||
Toysgarage |
turbowolf. last pic was of the old gear.. i just used it to point out the position that balancer should be in order to install the starter gear i'll post up some pics of the metal i found during the oil change | ||
Finedaddy1 |
Nice post. BTW checked mine and all is well, wish I could say my stator looked as good as what I can see of yours. | ||
Toysgarage |
expect to find this in your oil if you hear excessive gears noise .remove the strainer and clean it.. 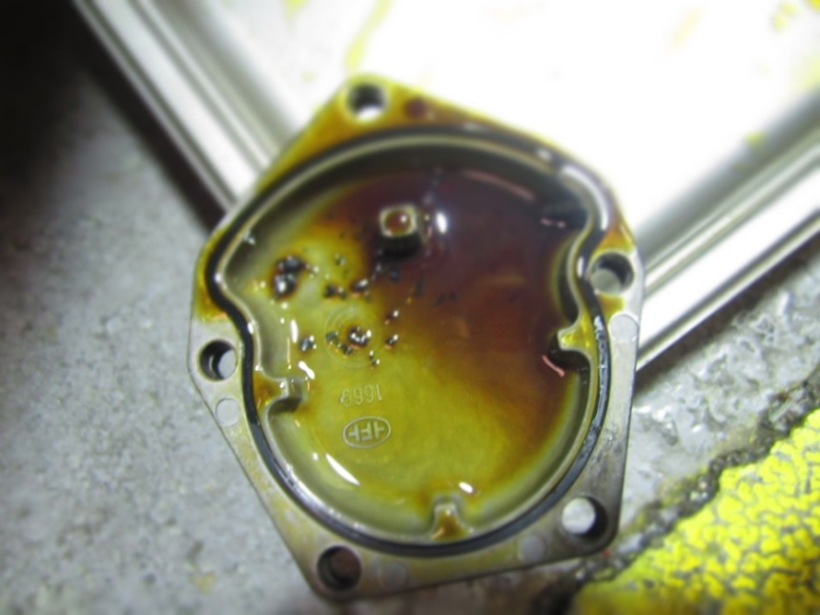 make sure you clean out the metal stuck on the sump plug  | ||
Redbat |
Toysgarage, does the engine seem quieter after you finished the the repair? | ||
Dcmortalcoil |
Toys, How did you lock the engine to take off the 32mm nut? Did you use the locking tool? | ||
Toysgarage |
yes i notice it was a little quieter, still can hear some noises ( sounds like im still a bit paranoid ) i undid the stator nut with a air rattle gun, marked it first and locked it back up to the same spot because i dont have a torque wrench that goes to 300lbs.. i dont know of any locking tool that would properly hold engine.. im sure buell might have something though. | ||
Toysgarage |
there it is .. http://www.erikbuellracing.com/store/models/1125r/ crankshaft-locking-tool.html |