| Author | Message | ||
Jeepinbueller |
Really nice product. Ordered a pair in black with a 1" drop and they're pretty. Solid but not heavy with plenty of grip. Easy install for those who don't know: 1.) Remove C-clip from bottom of peg pin. Sometimes the C-clip likes to get a little airborne on removal, so be careful not to let it fly into that hay stack or into your eye. 2.) Remove peg pin from the top being mindful of the spring flying out. 3.) Remove spring and peg. 4.) Place spring in new peg (make sure it's the right side, lol). 5.) Use thumb to hold spring in place while installing on bike and inserting pin as much as possible through perch and spring. 6.) Tap pin lightly with hammer while positioning peg/spring to get it all the way through to other side. 7.) Install C-clip. Fantastic quality, easy transaction, and informative CS (order confirmation, shipping notice and tracking #). Overall pleasant experience and boy it feels a lot better saddling up now. You know that "oh yeah" feeling when you sit in your favorite TV chair? ... that's about it. With my ~33" inseam, these fit me like a glove and I can already feel those 1.5+ hr cramps drifting away. The black anodizing goes really well with the black frame, but the clear anodized would look great as well. KnightDesignLLC.com Obligatory pics: 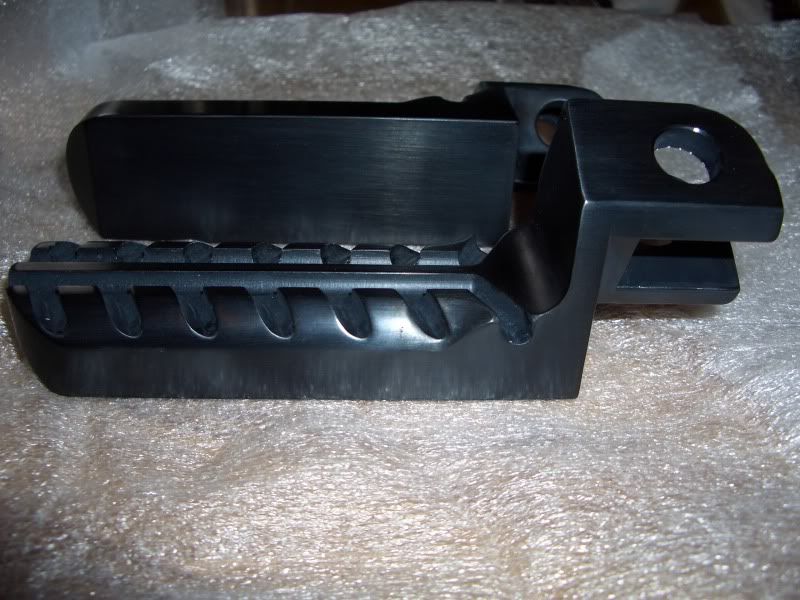 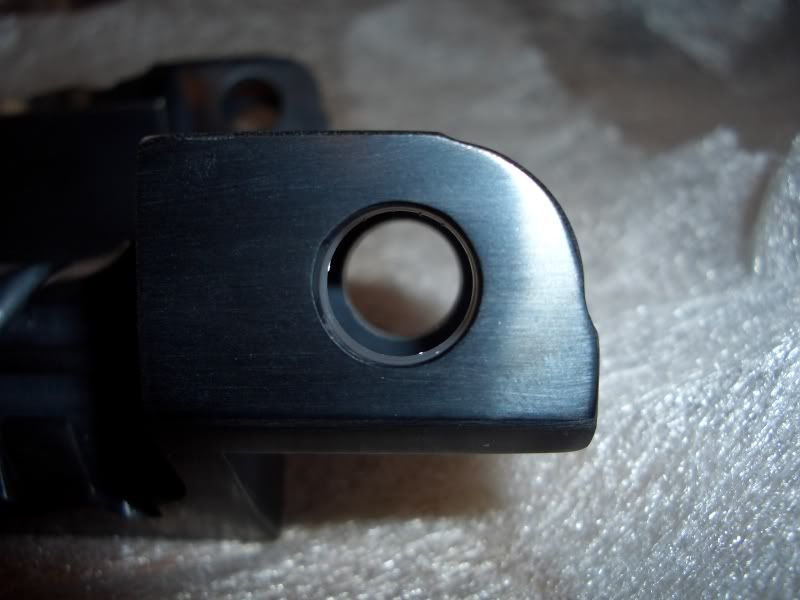 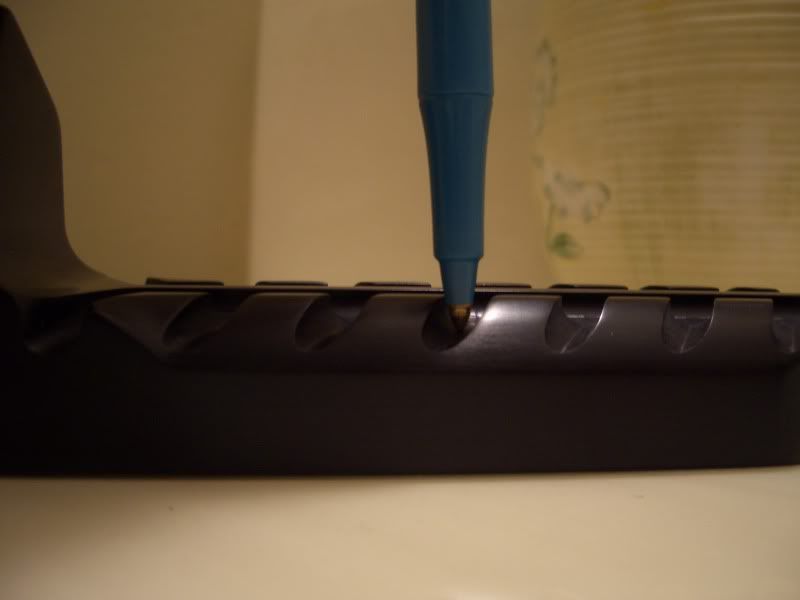 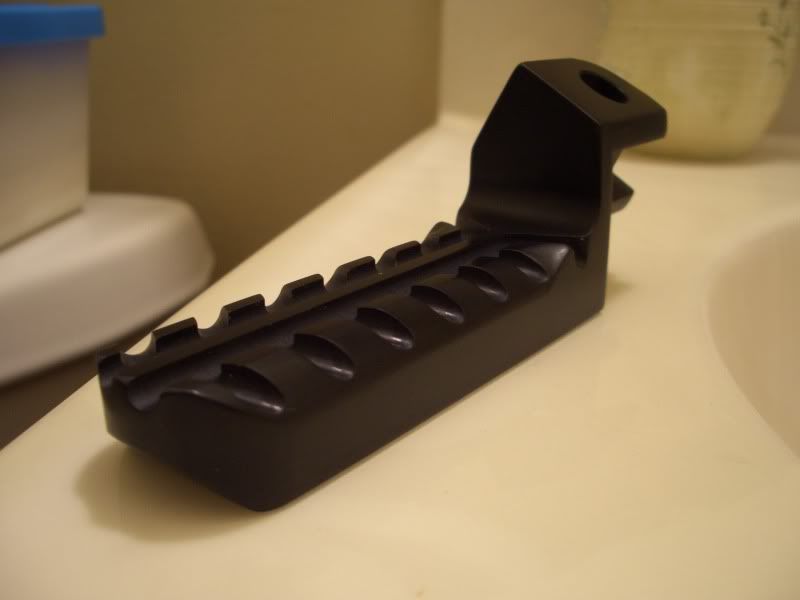 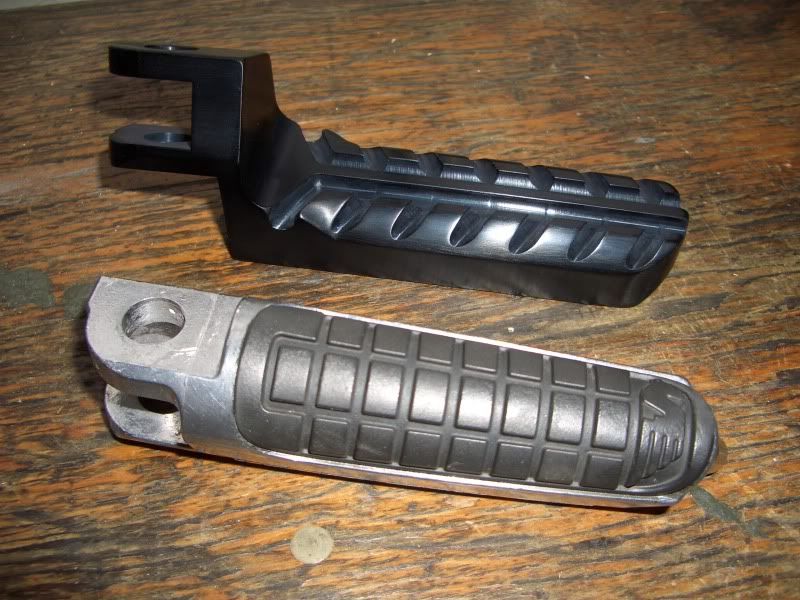 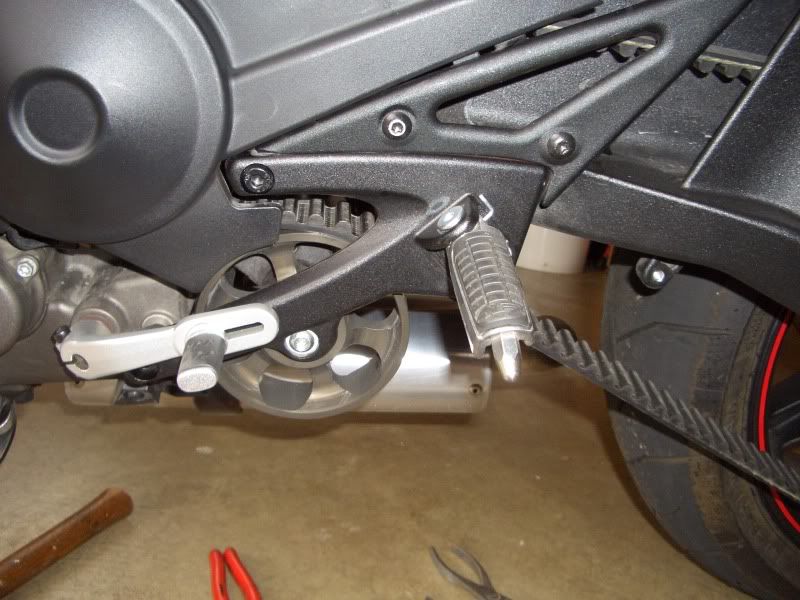 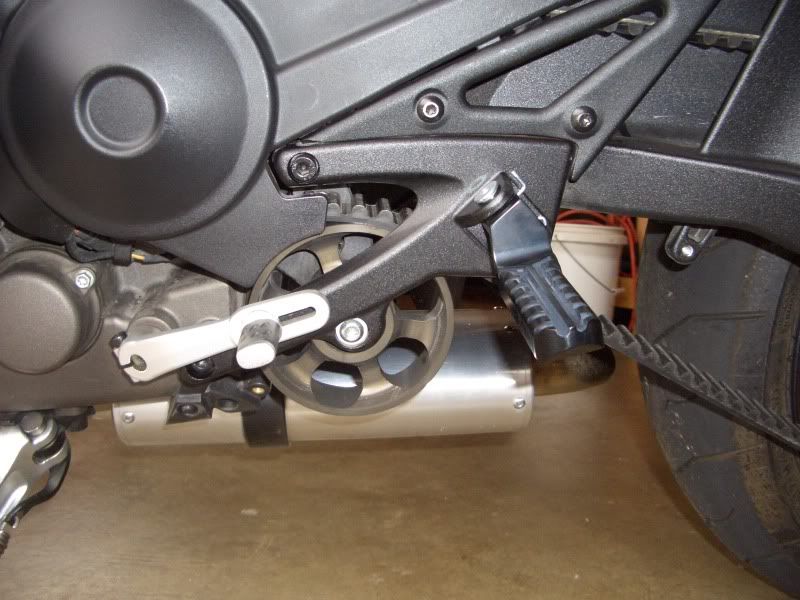 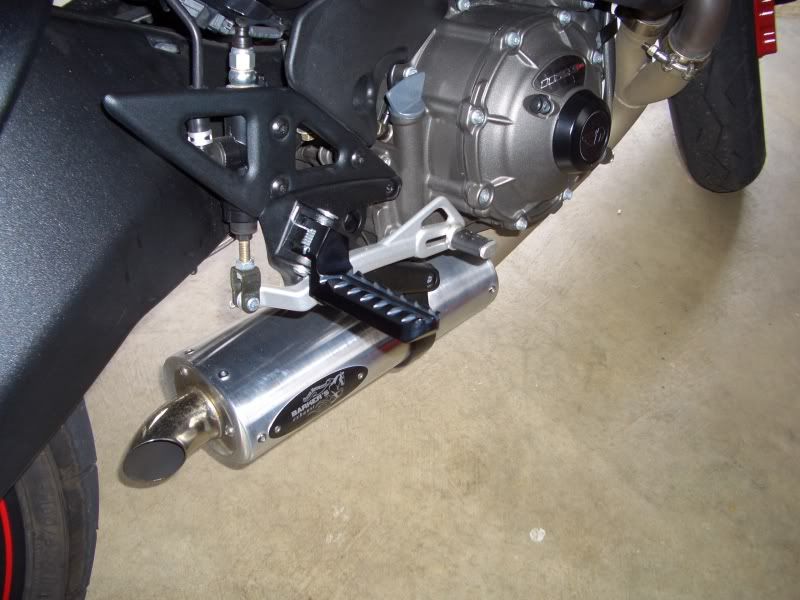 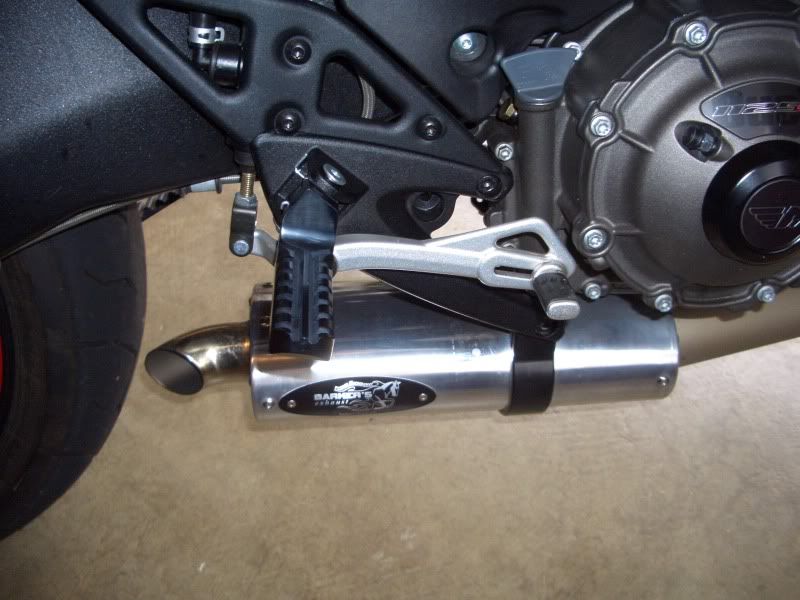 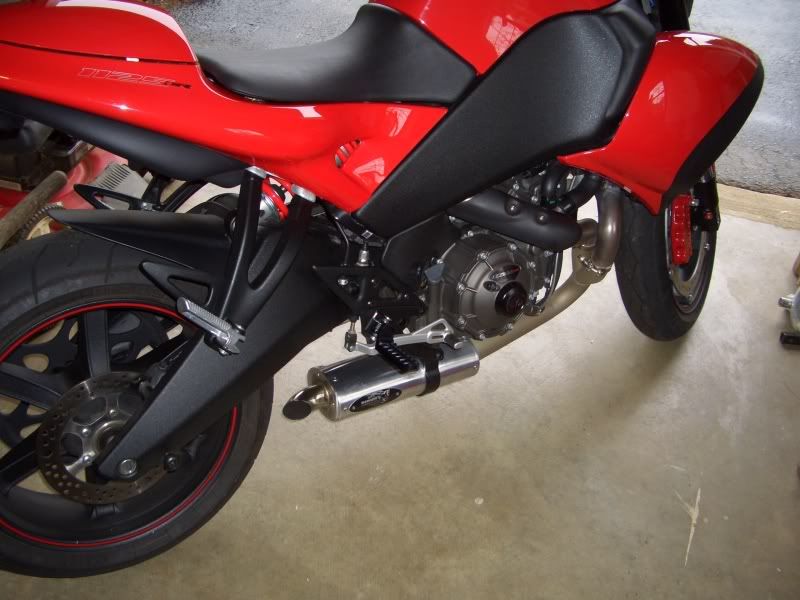 (Message edited by jeepinbueller on April 27, 2010) | ||
Petethekiller |
Man those look good.... I think I'll have to get me some. | ||
J_copeland |
I might actually be able to get my size 12 under the shifter with those. NICE !!! | ||
Hogzilla |
Nice DIY info! I would only add, to get the pin to go through a little easier if it's getting hung up (mine did) put a little oil on the end. I just dipped it in motor oil. Slid right past where it was getting snagged. Those looks great! | ||
Americanmadexb |
Just ordered those! Had plans for a month now, but never did! Thanks for the reminder! | ||
Thefleshrocket |
Funny, I have a 36" inseam and am perfectly comfortable with the stock pegs. Now I wouldn't mind a softer seat.. | ||
Kevin_stevens |
I got a set of the Knight pegs with no drop, in red to match the other accents on my bike. They work fine as well, also great quality. The only issue I have with mine, and I don't really know how to avoid this, is that the anodizing on the tread surface wears off fairly quickly. Let us know how yours holds up. KeS | ||
Mac_inger |
KeS, you got pictures ? id like to see how they look on the bike. thanks mac | ||
Porky |
I just put a set of Lightning pegs with their 1 inch drop on my CR and it helped but I'm ordering the 2 inch drop pegs from Knights design and I feel this will be even more comfortable. Just a quick word of advice---be careful with the C clips as they tend to turn into flying saucers and can fly a good distance and hide, if you're not very careful with them! One of mine landed in a hay bale in my barn--not as bad as the "needle in the hay stack, but close! Sam  | ||
Jeepinbueller |
Haha, great advice that I forgot to add, Porky. I edited the procedure in my OP to add that little tidbit. There is surprisingly little tension on that C-clip though: I removed and reinstalled mine with my fingers, no tools needed. That spring like to pop out once you remove the pin though ... my forehead will attest, haha. I REALLY love these pegs! I just had a chance to take them on a ride to work this morning and, man, the difference in comfort in unparalleled. Of course, any dropped peg is going to relieve the hunched up feeling of us taller guys. One unmentioned benefit of doing this is that I can tuck in a lot tighter to the airbox because my knees aren't as close to my chest causing me to look like a monkey ••••••• a coconut in previous attempts. WOuldn't have thought that, but it's the truth. I definitely need to adjust my foot controls lower, which I'll do at lunch time today.} | ||
Jreinke |
looks great man. If anyone is intrested i have a pair of blue ones id sell... Bike looks killer... | ||
Jeepinbueller |
I just adjusted the foot controls, now everything's perfect! SO much more comfortable even for around town. I don't look like I'm trying to get my feet up onto mini-bike pegs any more pulling away. Shift pedal is a piece of cake: 1.) Remove metric allen socket head set screw (I think it was 5 or 6 mm). 2.) Shake, rattle, and roll shift pedal while pulling outwards to remove from spline shaft. 3.) Clean area and apply a small amount of anti-sieze to the inside of the shift pedal splines. 4.) I loosened my toe peg as well to get everything just right (10 mm hex head bolt). 5.) Reinstall and tighten up! I needed to drop mine about 2 splines down. Brake pedal was a bit of a pain ... unless I was doing it wrong: 1.) Bend and remove cotter pin from end of pivot pin and remove pivot pin. 2.) Loosen/tighten upper hex nut (NOT the black nut under the rear brake master cylinder) to set downward height. 3.) Remove brake pedal pivot end from fork assembly. 4.) Rotate fork assembly to rotate lower nut until snug against upper nut. 5.) Reinstall pivot pin (with brake pedal in there of course) and cotter pin. Bend cotter pin to secure. 6.) Snug down upper nut. Soooo much nicer now that I don't have to lift my feet off the pegs to get to my controls, lol. (Message edited by jeepinbueller on April 27, 2010) |