| Author | Message | ||
Blackflash |
Who sells the best fit kit? | ||
Hughlysses |
American Sport Bike sells the only kit I know of. | ||
Dwiggs |
The American Sport Bike kit is fantastic. Weill worth the money in my opinion. | ||
Badlionsfan |
+1 for the asb kit. Are there any other options to compare it to? | ||
Marcodesade |
+2. $20 SEEMED outrageous for what appeared to be 2 nuts and bolts. But it's actually much more intricate than that. And I've not spent more than 10 seconds removing my seat since. More important, while I was waiting for the thing to arrive, I crossthreaded the OEM bolt and nearly destroyed the "nutsert" in the frame. I managed to salvage it (took a lot of patience). I have not had another scare since, because I haven't had to bring a Torx wrench anywhere close in nearly a year. Pay the man. (Message edited by MarcoDeSade on December 19, 2009) | ||
Puredrive |
Is the kit really necessary for the install? (Message edited by puredrive on December 19, 2009) | ||
Milleniumx1 |
Speaking of nearly stripped threads ... I bought this kit from A S B but couldn't get the bolts to go in. I'm thinking I could force them in there, but it felt like it would be cutting new threads in the 'nutsert' (stealing Marcodesade's word). My factory bolts are right on the edge of going back in cleanly - Any little variance and they stop half way down. It's as if I'm nearly stripped the insert, and I was leery of trying to jam the A S B nuts in there. I don't want to make them completely unusable. Mike | ||
Marcodesade |
Puredrive, I don't understand your question. American Sport Bike makes a seat retention kit (http://www.americansportbike.com/shoponline/ccp0-p rodshow/A16501.html) that consists of a couple of quick-release mechanisms (on wire lanyards) that replace the 2 Torx bolts which secure the seat. The whole thing is a kit of sorts. It's not really NECESSARY for anything, but as often as I've taken my seat off, I'm sure glad I got it. As stated in my last post, I was almost very sorry I waited as long as I did. | ||
Bobbuell1961 |
I made my own, i had the time, and $20+shipping is expensive, BUT with the custom seat it is in your best interest to use a retention kit as it is very stiff and the chance of cross threading is v high | ||
Marcodesade |
Millenium: That's exactly what happened to me. Al at American Sport Bike walked me through the procedure. You might want to ask him more, but here it is in a nutshell: You're going to GENTLY use the quick-release pin to tap out the threads in the nutsert (not my word, by the way). You want to just go in a tiny bit at a time, very carefully, then back it all the way out and clean out any shavings (hopefully none). Each time just go a baby-step further, back out, and repeat. The danger is that if the nutsert breaks loose it will spin freely, and then you are really buggered. Be careful, but not afraid. Good luck! (Message edited by MarcoDeSade on December 19, 2009) | ||
Renzo750 |
Can you see the pins or clip when the seat is on the bike? Is the hardware fully hidden like the stock stuff? I havn't been able to find a photo of the seat installed with this kit. Thanks! Jim | ||
Ron_luning |
I just installed the seat retention kit the other day and had to run a tap through the 'nutsert'. Multiple installations with the stock torx screws resulted in minor crossthreading for sure. After running the tap through, the American Sport Bike bolts went in just fine. The tap I used was 6mmx100. | ||
Marcodesade |
Renzo: No, the bolts are hidden (same as the OEM Torx), and you just tuck the wire lanyards inside. Invisible. | ||
Buellsrule |
This kit is excellent and well worth the money. BR. | ||
Xbud |
The first day I got my bike, the rivet nut that holds the seat on started spinning when I tried to take the seat off, I had to punch the rivet nut out and threaded with some 5/16 all thread and installed 5/16 knurled thumb nuts. I did both sides to make it convenient. | ||
Sportryder |
There are two sizes of seat retention kits for these bikes sold by American Sport Bike. You need to order the correct one. One size is for the Firebolt and the other is for the 1125. The one for the 1125 is a much finer thread. I'm not sure the exact thread pitch but it is a 6 mm. You should not have to use a tap at all if you can get the OEM bolt threaded in. My 1125 kit from American Sport Bike fit perfectly. Well worth the $20 spent IMO. I could have ordered bolts from one of our providers, machined them, drilled small holes in them, made a wire with loops and bought some clips too but all of the thinking and work had been completed already. My time is worth much more than what I spent on the kit. (Message edited by sportryder on December 20, 2009) | ||
4cammer |
The stock solution for seat retention really made me wonder. My XB9R to me is an engineering marvel, and then they go and mount the seat with screws. Huh? The kit from American Sport Bike is worth the $$ and well put together. I say "thanks Al" pretty much every time I take off my seat... | ||
Milleniumx1 |
Glad to see it wasn't just me. My thinking was in line with Sportryders ... If you can get the OEM bolt in, then the A S B bolt would have to go in. But reality is that mine didn't work out like that. I even started looking for the Candid Camera crew, thinking someone must be messing with me! I'll give it another try now that it's too cold to ride. I don't like those OEM bolts, but it beat the alternative of messing things up by force. Mike | ||
Jumpinjewels |
My hubby made 2 sets for our bikes. Works well and very inexpensive. | ||
Puzzled |
After having the seat off of my bike recently to install the GPS I noticed there was a decent amount of "room" under it for small items. The problem was gaining access to it easily. I had recalled seeing the mini hood pin style hardware somewhere for the 1125. It was while browsing American Sport Bike that I came across the kit. After receiving my order is when I realized how small the parts actually are, tiny. The install is straight forward and comes with comprehensive instructions. This is the space I have under my seat. We (the forum members and I) have come to discover that some bikes actually have a canister for the fuel overflow in this area, I don't. So I'm going to use the space as it is a premium on this bike. 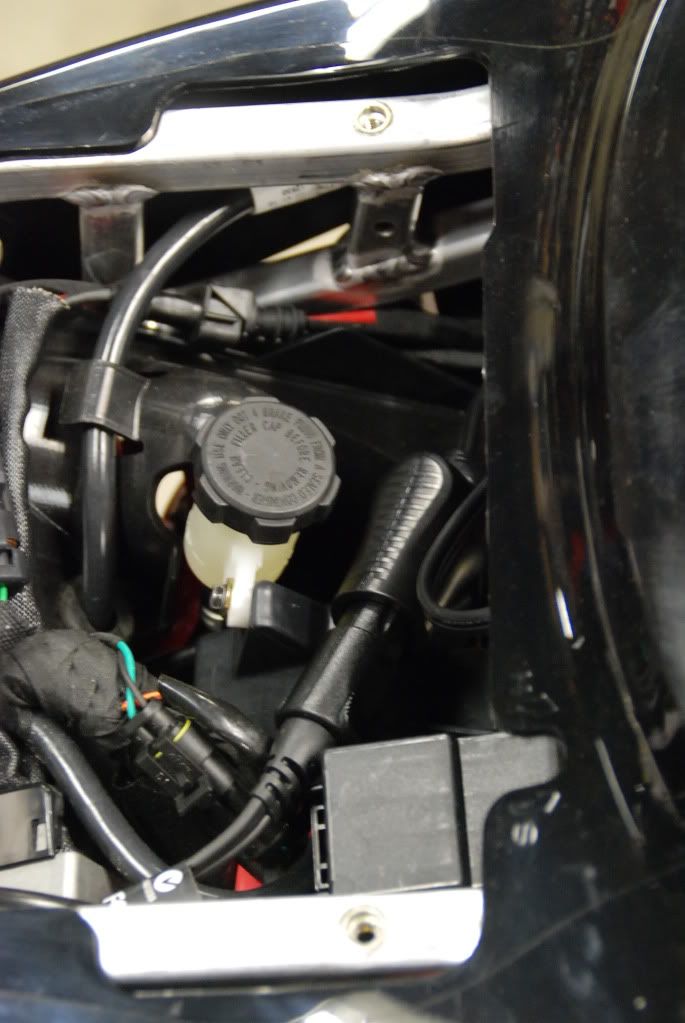 | ||
Puzzled |
The pin! 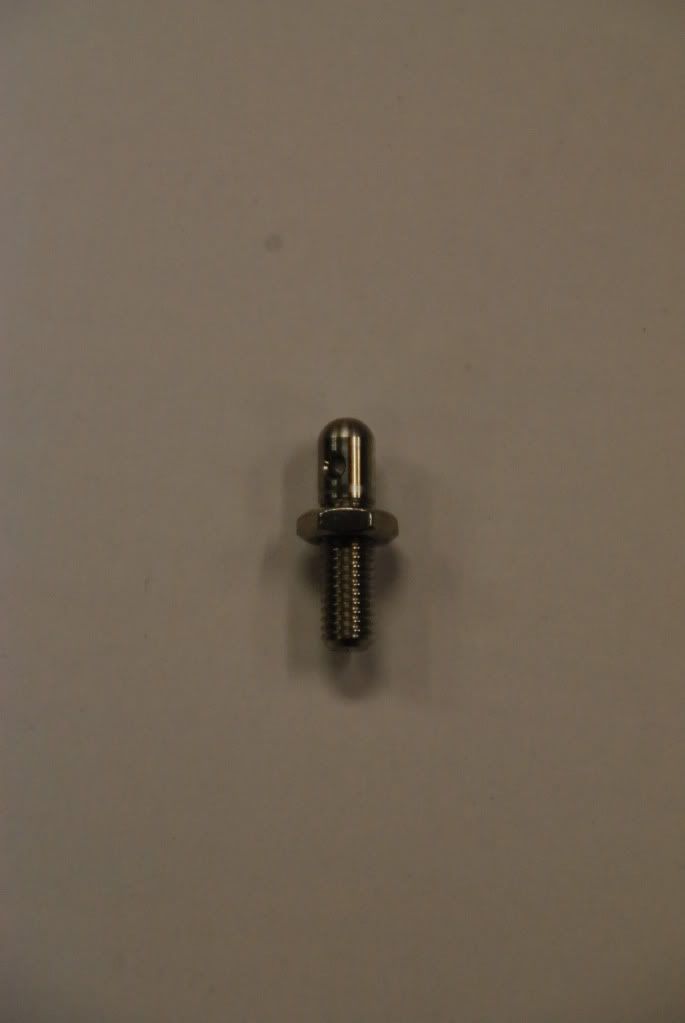 | ||
Puzzled |
Installed. I wrapped the tether twice as if done as the instructions indicate the tether wanted to pull back through itself when not fastened. I imagine that over time the tether will "settle" down. 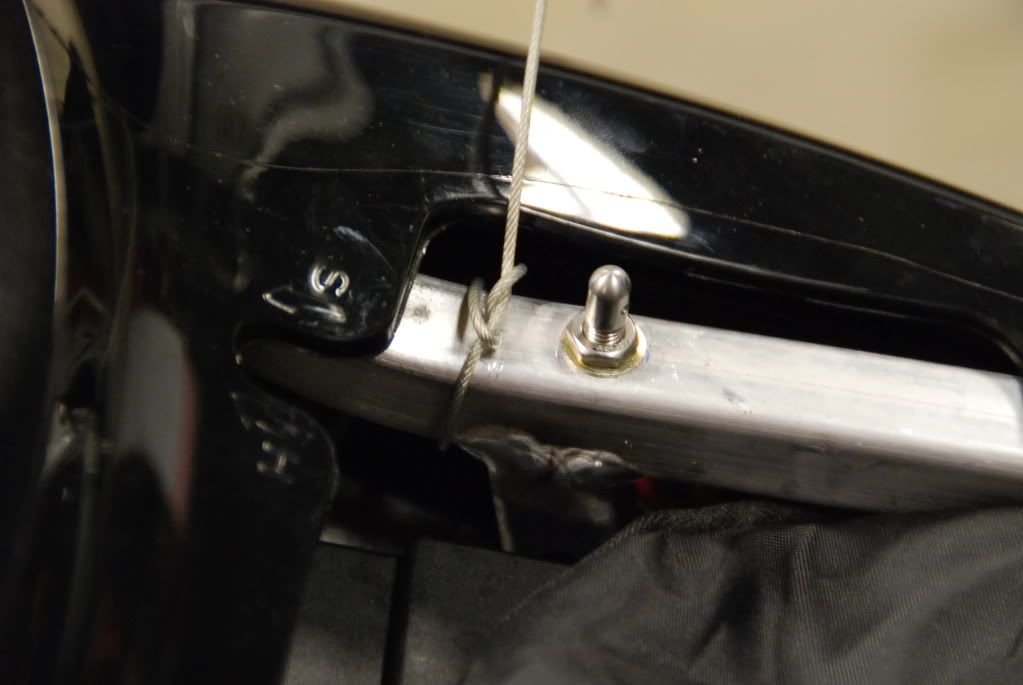 | ||
Puzzled |
Tool set, rotor lock and cable gear lock.  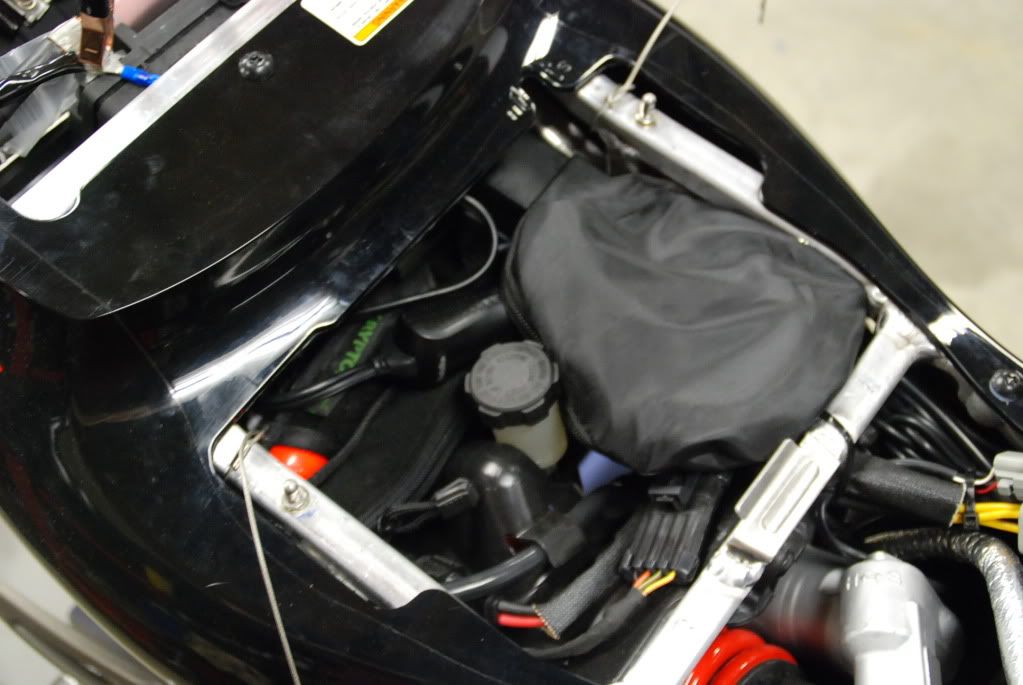 | ||
Marcodesade |
Puzzled, I like your "double-wrapping" of the lanyards. Having installed mine over a year ago, I can tell you they don't really "settle down over time." Not really a big problem, but that's a tidy solution. | ||
Hdwrenchtx |
i used zip ties to control the lanyards | ||
Milleniumx1 |
DONE - Install completed. Cross-threads ... Nothing a small pair of vice grips and a little willpower couldn't handle. I sure won't miss removing those OEM bolts and wondering if the next time is the time one or both will strip for good. Not the best seat installation design I've ever seen from the factory. On the lanyard cables, I looped mine around the vertical part of the subframe (the one ending at the insert spot) instead of the horizontal bar. That kept it tidier in the area where you insert the pin, and made the cotter keys/lanyard stand up and out while putting the seat back in place. Worked for me ... I might sneak out there later and remove the seat since it's so enjoyably easy now. Mike (Message edited by milleniumx1 on December 20, 2009) | ||
Bobbuell1961 |
i used a zip also, you should have put some tin in the pic for reference , they are tiny | ||
Blackflash |
Good info thanks guys | ||
Kc10_fe |
I think its too late for me. I was putting my seat back on and used a tad to much of my retard strength and noticed the nut was cocked of and spinning. American Sport Bike was super cool on the phone and said I should try some JB Weld to fix my self induced retard episode to a functioning seat again. Has anyone went this route and could you snap a pic of the correction. I have a few days for the kit to make it 3K miles. Thanks for your help. |