| Author | Message | ||
Torquaholic |
Moderators - I think the 1125 board should include a *sticky* master DIY page, specifically related to install or repair how-to's on the 1125R/CR. It would be a helpful resource for the do-it-yourselfers like me, who come to this board for info and advice. In that spirit, I'll pitch in my first DIY article. Buell 1125R GPR Damper install guide: Read entirely through before beginning install. Pay attention, make sure you have all tools necessary for the job. Note: The GPR instructions call for the installer to loosen all pinch bolts on the upper triple tree with the bike standing firmly on the ground. No lifting of the bike is called for in the GPR instructions. The instructions listed hereafter are a combination of the directions in the service manual on how to tighten the steering stem and the GPR directions supplied in the kit. If you are experiencing a clicking sound coming from the steering stem when braking hard, this might also remedy that issue. Note: I used thread locker blue on all bolts/nuts involved. It might be overkill, but I feel that it is better to be safe than sorry when dealing with suspension and steering. To do it exactly as I did, one must set the bike up so that the front end does not touch the ground. Here's this poor man's way of lifting the front end: 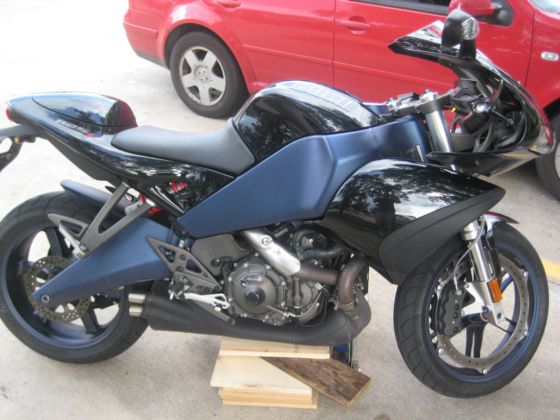 1. Remove steering stem pinch fastener at upper triple tree. (6mm Allen wrench) 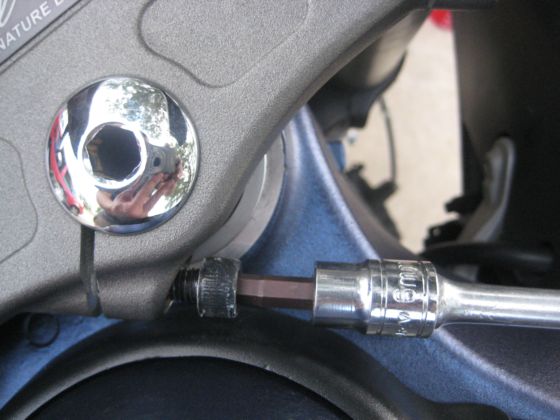 2. Loosen steering stem cap nut, back off several turns. Remove completely for GPR install(I used 3/8" Allen wrench, 9mm might work too. ). Have fun with this step  3. Remove pairs of triple clamp pinch bolts (lower fork pinch bolts, two per side)  4. For GPR install, install the supplied GPR steering stem nut and torque to factory spec's of 51.5-56.9 Nm (38-42 ft lbs). If only tightening up front end, re-install steering stem cap nut and torque to same factory specs listed. 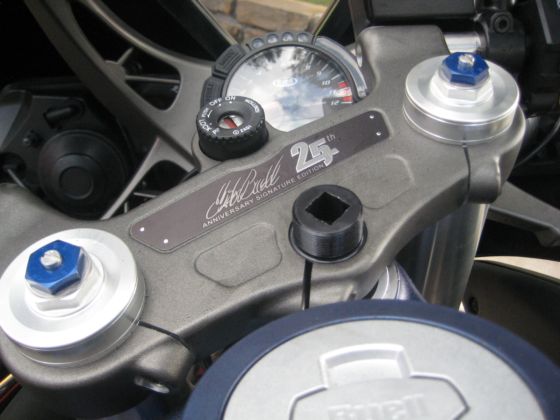 5. Now, Turn front wheel all the way to one side. 6. Using a spring scale, such as the type used to weigh a hanging fish, hook the scale to the handlebars or fork tube and pull to the other side to turn the direction of the forks. Watch the weight on the scale. Between 1-7lbs is in range. Anything more than that means the neck bearings need to be replaced. 7. Install steering head pinch fastener and tighten to 27-30 Nm (20-21 ft lbs). (I started with 18.5 ft lbs and then went to 21 ft lbs.) 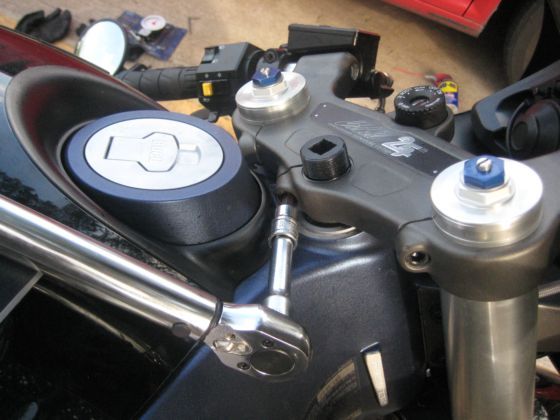 8. Install and tighten the lower triple clamp pinch fasteners to 27-30 Nm (20-21 ft lbs). (I started with 18.5 ft lbs and then went to 21 ft lbs.) 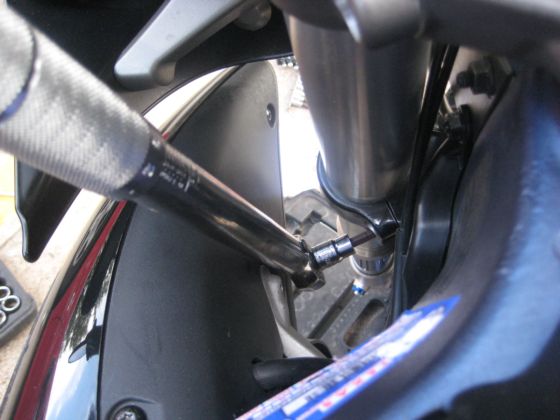 This concludes the portion required to tighten the steering stem and hopefully remedy the clicking sound. From here on, the GPR install is rather simple. 9. Install the base plate using the supplied steering stem nut (1 3/8" socket required). Tighten down to about 40-45 ft lbs. Make sure that everything is seated evenly and tightened down to spec. The underside of the base plate has relief points that fit into the factory upper triple tree; there should be no guessing on how this piece fits. 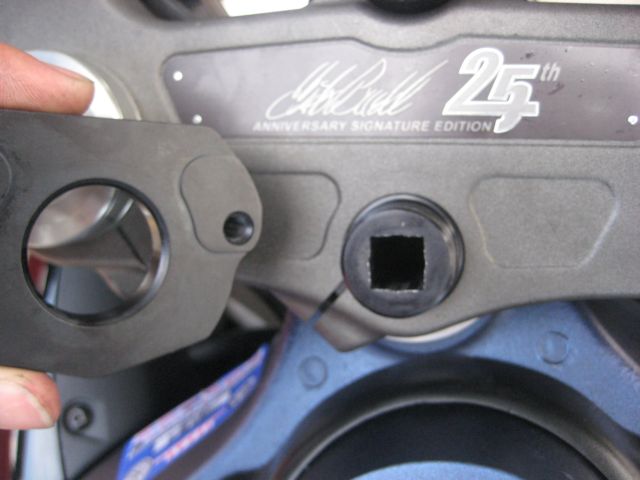   10. Locate and remove the forward bolt, throttle side, that holds the airbox cover in place. 11. Install GPR post mount using supplied bolt. "Only" snug this up for now. Installer will tighten up in remaining steps. Loosen pinch bolt as well. 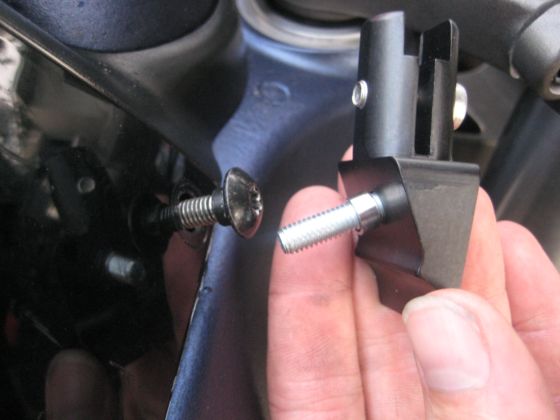 12. Now install GPR stabilizer unit using the two supplied bolts (they should be 5mm Allen head). At the same time, make sure that the arm is seated in the post mount nice and straight. I tightened my stabilizer bolts to 10 ft lbs.  13. Now, tighten up post mount bolts... Keeping the post mount seating evenly on the stabilizer arm, slowly tighten down the main bolt. Make sure there is no binding, pulling of any sort, again making sure that the arm and post mount sit nice and straight in conjunction with each other. Then you may snug up the pinch bolt. Go back and double check all bolts, making sure they are properly secured. Rotate bar full left to full right, checking for any clearance issues and/or bind. Address as necessary... Any questions, call GPR. Final result: 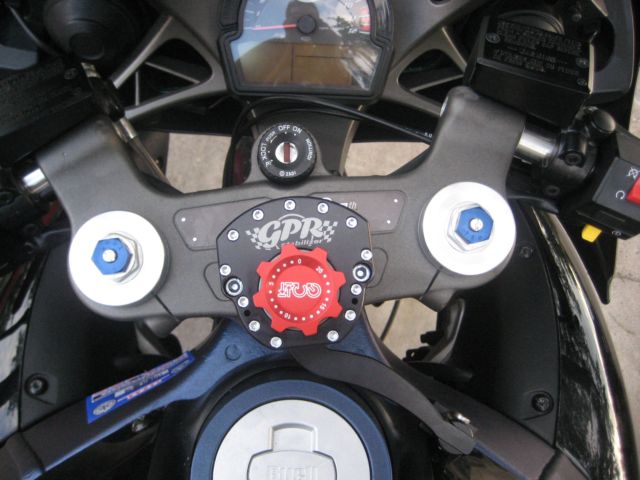 Most Important: Be very very careful tightening the triple tree pinch fasteners. It would be easy to strip the threads, or break the triple tree during those steps. Let me know if you have any questions. I took a few more pictures and would be happy to share any info that someone feels I should have included. Thanks to GPR for including a Buell-specific page in their installation Instructions & Owners Manual. Big Thanks to Spectrum for posting the procedure to re-torque the head bearings (http://www.badweatherbikers.com/buell/messages/290431/383320.html) ***This DIY is only meant to be used as a helpful guide. As always, do this procedure at your own risk. I am not responsible for any mistakes that you make.*** (Message edited by torquaholic on August 23, 2009) (Message edited by torquaholic on August 23, 2009) | ||
Rockstarblast1 |
great write up!!! we doneed a diy or sticky sec!!! | ||
Crowley |
I'm a Moderator on UKBEG, and we have a discrete 'How To' Forum that has been quite successful. It started when someone suggested I photographed and documented the cutting down of Cam covers on Tubers to enable oil lines to be routed sensibly and not chafe away under the swinging arm mounts. Spam and other comments are removed reasonably quickly to keep it a 'clean' information resource. How about a motor rotation one with valve check here? | ||
Tq_freak |
There is a section for DIY write ups and such, the knowledge vault. | ||
Bigblock |
Good Job! I would also recommend checking the fork tube height and make sure they are identical, left to right. When I installed my GPR unit, I noticed my tube heights were off by around 2mm, and you are right about re-torquing the pinch bolts, my lowers were nowhere near the proper torque. | ||
Jak49 |
Nice write up, the pictures were very helpful. |