| Author | Message | ||
Josh_ |
Call Al at American Sport Bike and buy the Heated Grip Switch Assembly ($56.99) Heated Grip kit ($29.95) and Gel Regular Grips ($9.95) note that the directions below are with the Dual-Star/Symtec grips that I think Al is going to start carrying. The wiring for the Heated Grip Kit he carries now will be slightly different. 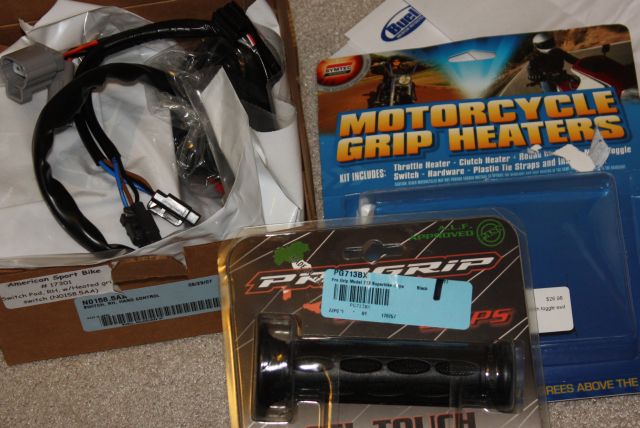 | ||
Josh_ |
Disconnect the battery. Remove the mirrors and fairing. Cut the old grips off and clean the surfaces. Remove the stock right switch module (two hex bolts) and pay attention to how the throttle cables fit inside. Install the new switch assembly and tighten. Cut the tie holding the wiring harness under the fairing support bracket (note it is attached to the bike) 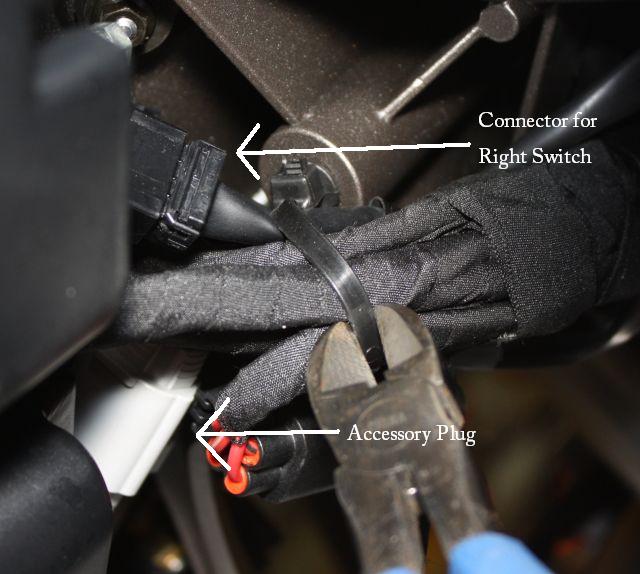 Find the black connector on the wiring harness for the right switch module. | ||
Josh_ |
Disconnect the right switch module cable and route back through fairing support and remove old switch. Protect the radiator pods with towels. Remove the two bolts holding the fairing support to the bike. 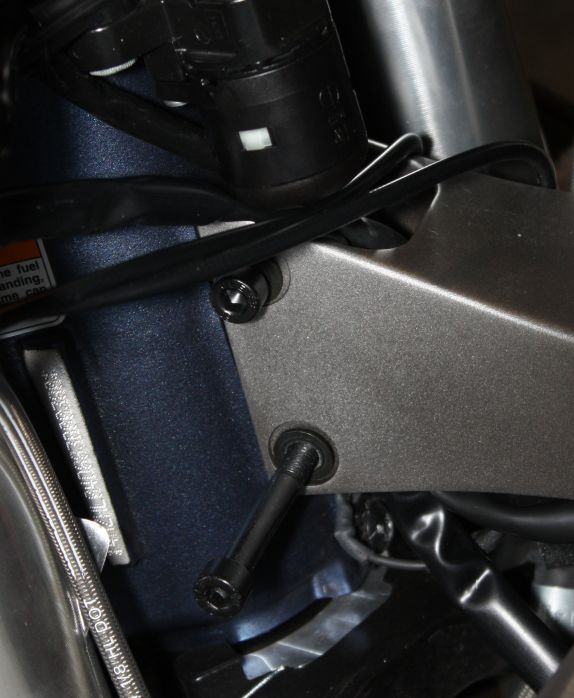 | ||
Josh_ |
Run the harness from the new switch inside the fairing mount. Reattach fairing mount. Note the aluminum spacer on the lowe clutch side. 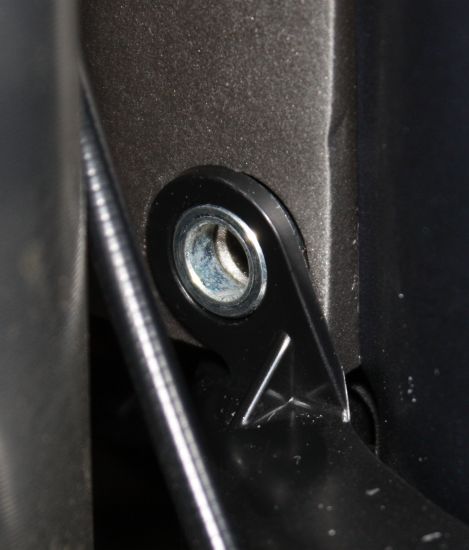 | ||
Josh_ |
Install the new grip heaters per the included instructions. Note you may want to insulate the clutch side using black electrical tape to reduce the change of shorts (mine shorted). (many thanks to ccryder for helping me find the short last night) Make sure there is a loop for the throttleside to move easily.  Install the new grips. Arrange the new wiring harness. 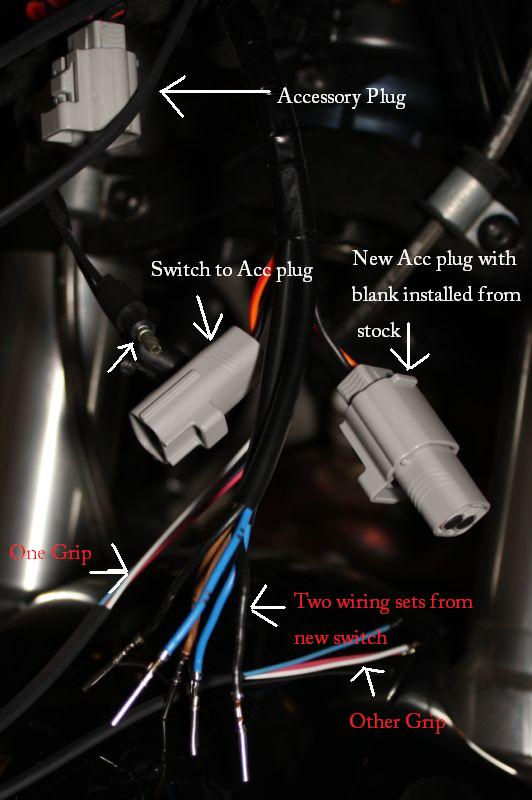 (Message edited by josh_ on May 16, 2008) | ||
Josh_ |
unlabled arrow is a turnsignal wire Connect each grip to one wire set from the new switch. Grip -> Switch Red -> Black Blue -> Brown White -> Blue 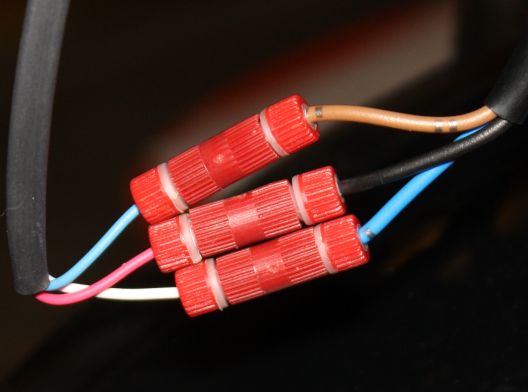 (Message edited by josh_ on May 16, 2008) | ||
Josh_ |
Zip tie and arrange new harness. Reinstall fairing and mirrors. Enjoy. 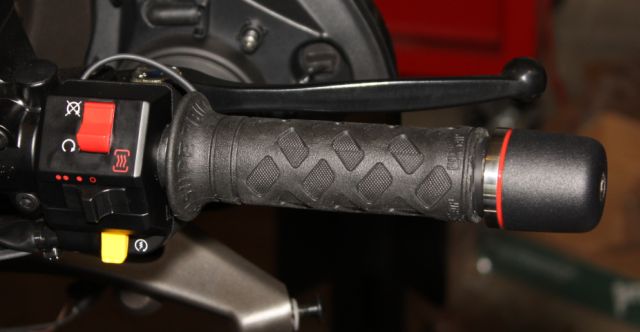 (note ThrottleMeister Installation not included) (Message edited by josh_ on May 16, 2008) | ||
Ccryder |
You make it sound so easy now!  | ||
Josh_ |
editing a message is almost as hard. I thought I had the "loop" image added twice already. Thanks again for the help, and showing me new tricks for my voltmeter  | ||
Ccryder |
I had to make sure that "Hubby" didn't have any cold hands for his "Sweety". Don't need to shock her anymore than we have to. Enjoy | ||
Bigblock |
I have the Buell grip kit, and it may install slightly different than yours, but on mine I found routing the wire under was the least obtrusive way to go, as opposed to over the top, as in your pic. YMMV, and your wiring kit may vary... |