| Author | Message | ||
Ryanco |
Hey, everybody. I have finally gotten around to upgrading to the Mosfet VR. It was a royal pain finding a way to get the new cable run from the VR to the battery routed, but I think I have something that will work. Like much of the wiring on a Uly, some of mine runs fairly close to the rear cylinder fins. My question is, what products and methods have you found to be successful in protecting wiring from the heat generated in this area. There are so many different products out there claiming to work, that I'm not sure which route to take. Thanks for any thoughts. Ryan in New Mexico | ||
Phelan |
If possible, you should run those wires with the other wires under the left side scoop. | ||
Ryanco |
Phelan, Thanks for the encouragement. After your post, I decided to give it another go with routing it along with the other wires. Much knuckle-busting and bleeding later, I have it routed in a much better path. However, even with wires behind the LSS, they are pretty darn close to the engine. Still curious what people prefer as a heat protective approach, but feeling much better in general about the routing. Thanks again! Ryan | ||
Twisteduly |
I recycled the heat shielding cable covers from the stock rectifier onto the mosfet unit | ||
Ryanco |
Well, that has common sense written all over it! I was so glad to get the old VR out of my sight that I never took the time to think of scavenging from it. Thanks for pointing out the obvious, Twisted. | ||
Medi |
would you mind sharing a few pictures of your routing? I did a quick and crappy routing job last year and thinking of redoing it this spring. | ||
Ryanco |
I'll try to get some pics posted. I've not posted pics on here before, so I'll just have to see how that is handled on this site. Still trying to decide how I want to mount the actual VR. Thinking about using the oil cooler mount like I've seen a couple other people on here do. Ryan | ||
Ourdee |
I used the location that the OEM occupied. I drilled and tapped a pair of 1/4-20 holes. Then bolted it on. Xbimmer had one of the best looking brackets I have seen in this thread: http://www.badweatherbikers.com/buell/messages/142 838/667134.html Couple more options here: http://www.badweatherbikers.com/buell/messages/142 838/698290.html | ||
Jim2 |
I used a product called Titanium Protect-A-Sleeve from a company called Design Engineering. https://www.designengineering.com/category/catalog/design-engineering-inc/ignition-wire-protection/titanium-protect-sleeve-lr-technolo I can't comment on how effective this is, I'll report back in 5 to 10 years or more. "Developed specifically for any application where extreme high heat is present, these Titanium� sleeves will protect wires, lines and cables when exposed up to 1800�F direct heat/2500�F radiant." 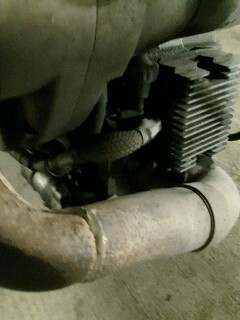 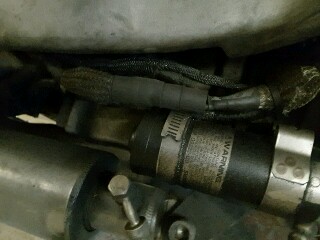 (Message edited by jim2 on March 03, 2016) The OEM head shield does ok but after awhile it hardens and becomes brittle. Left undisturbed it's probably not a problem but if you move the wires around during maintenance the OEM heat shield will eventually crack and leave a sharp edge that will cut into your wires insulation. This happened to me in multiple locations along the run between the Stator and the Voltage Regulator over time. However, where I really had a problem was inside of the Primary cover. The Stator wiring insulation crumbled and fell off where the wire exits the primary on the inside where you can't normally see it. The Stator shorted to ground sending rampant A/C through my system. My Voltage Regulator died, I don't know if it was before the Stator short, or after, or because of but the end result was an expen$ive disaster. (Message edited by jim2 on March 03, 2016) | ||
Ryanco |
Thanks, Jim. I ended up deciding to replace my OEM shields, because they didn't look too good. I got something similar to what you recommend. They are sleeves made by Heatshield Products made to withstand continuous temps of 1100F and intermittent up to 2000F. Should arrive tomorrow via Amazon Prime  | ||
Jim2 |
The stuff can be compressed to fit a larger diameter (up to a point) and stretched to fit a smaller diameter. Take care not to pre-cut a piece as you cannot be sure how much you will be compressing or stretching ahead of time and this stuff is expensive. On the stuff I used the ends will frey so I expanded the end and then wrapped tape around several times to keep the frey under control while I worked. Don't forget to feed the heat shrink pieces on as you work on the tubing. You can see on my bottom picture where I messed up and the heat shrink tube came off of the VR plug end. | ||
Ryanco |
Medi had asked for some pics of my VR to battery cable routing. This first pic is of the cabling heading forward from the underseat area. This is where the stock harness goes as well as several other lines. It is a tight fit. 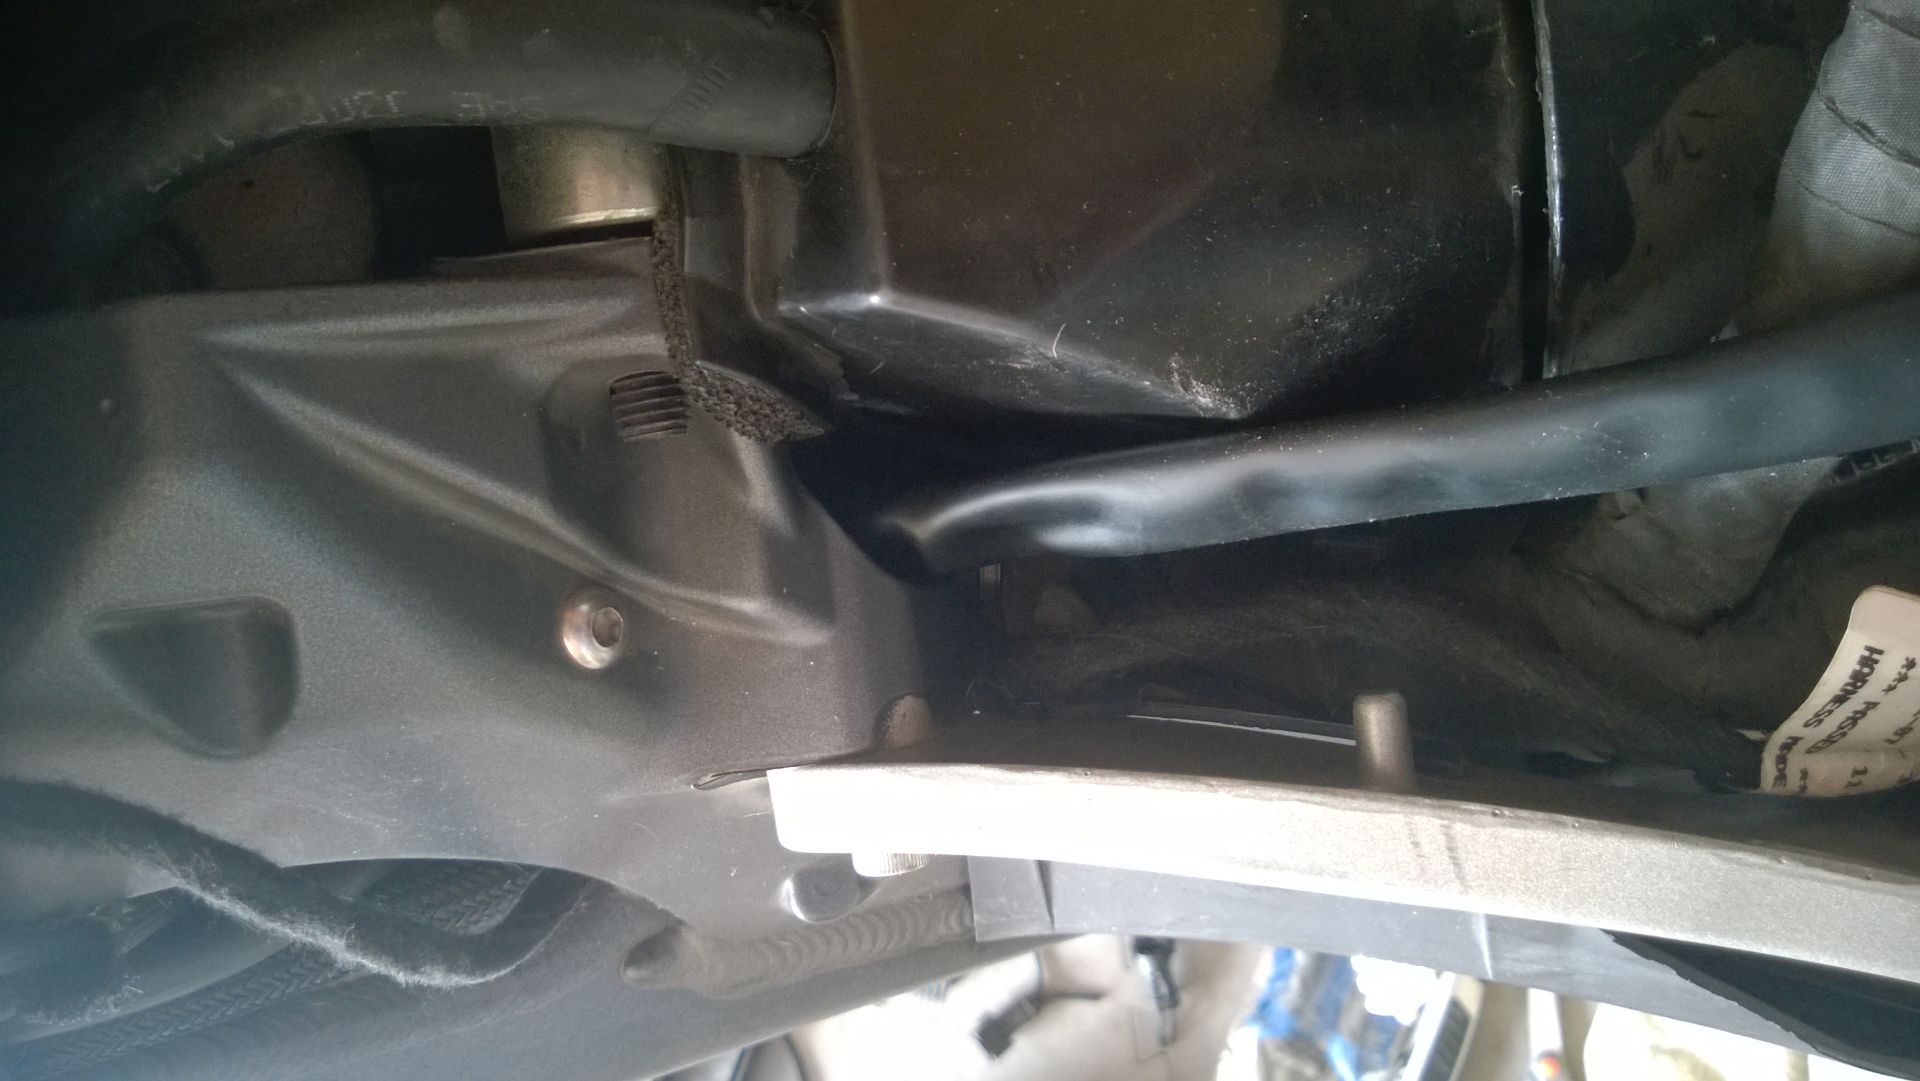 Second pic shows the S-curve the cabling has to make to head down with the rest of the wires. The glossy black housing is my new cabling. 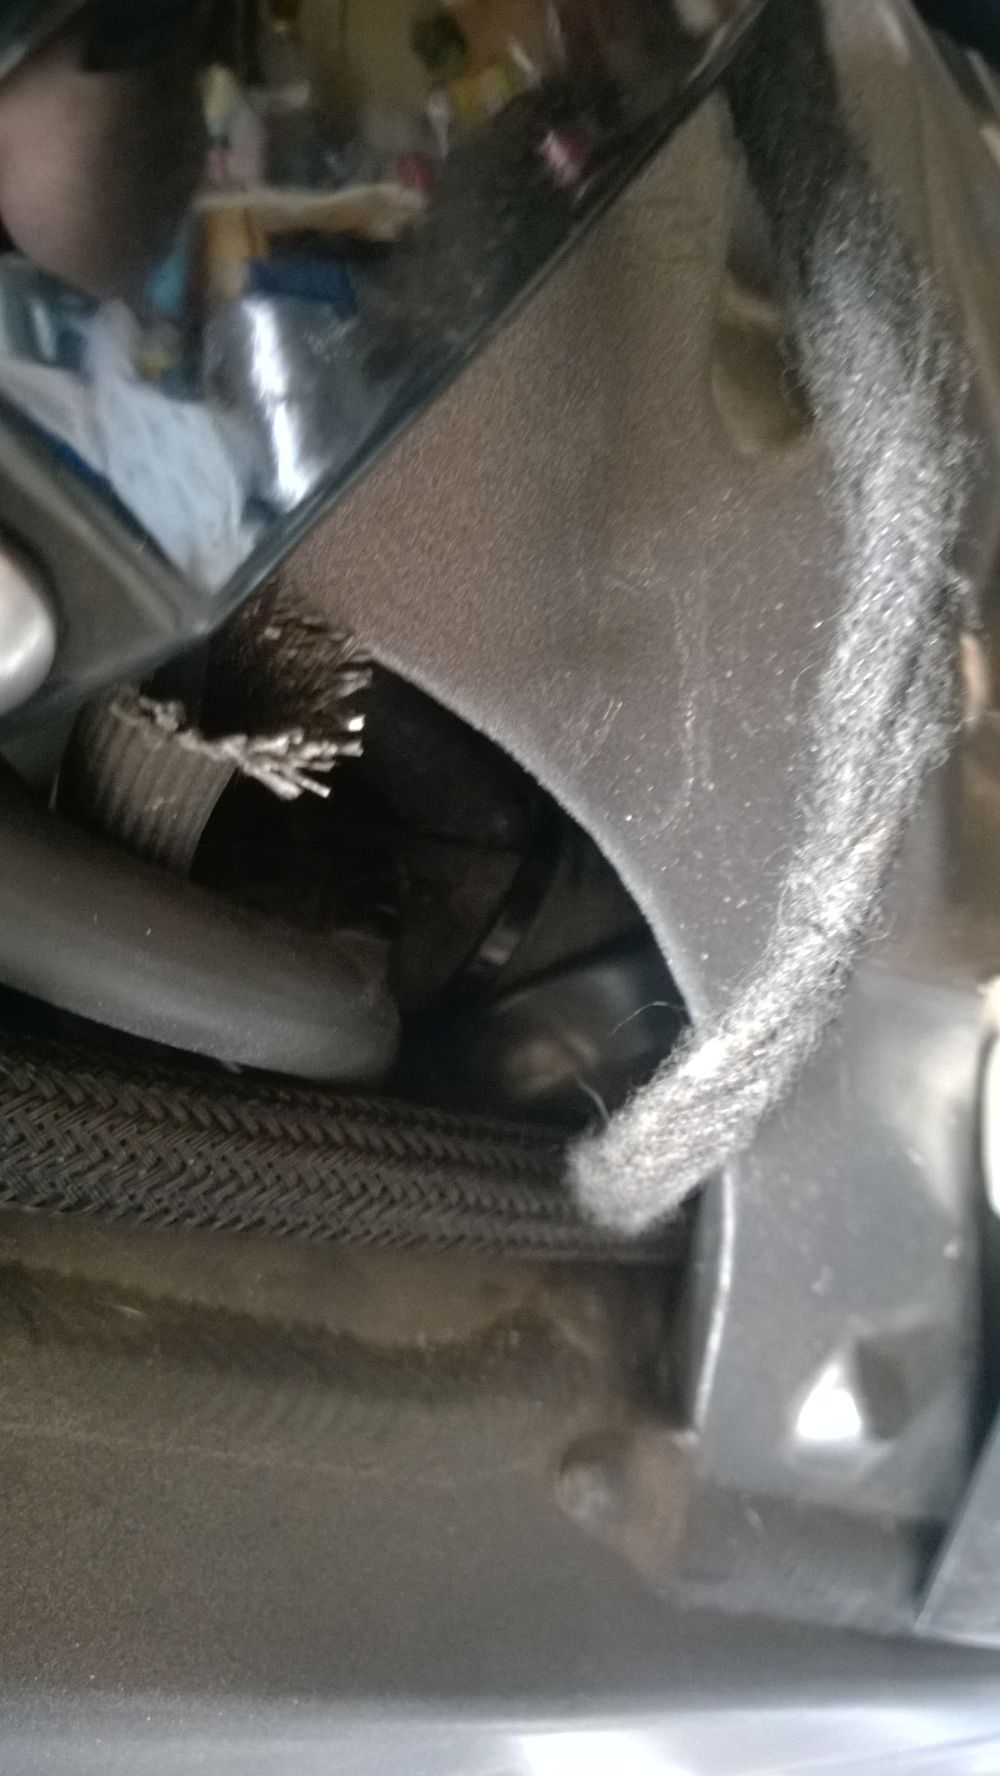 Here we see the fruits of my labor, with the new cabling emerging with the rest of them. 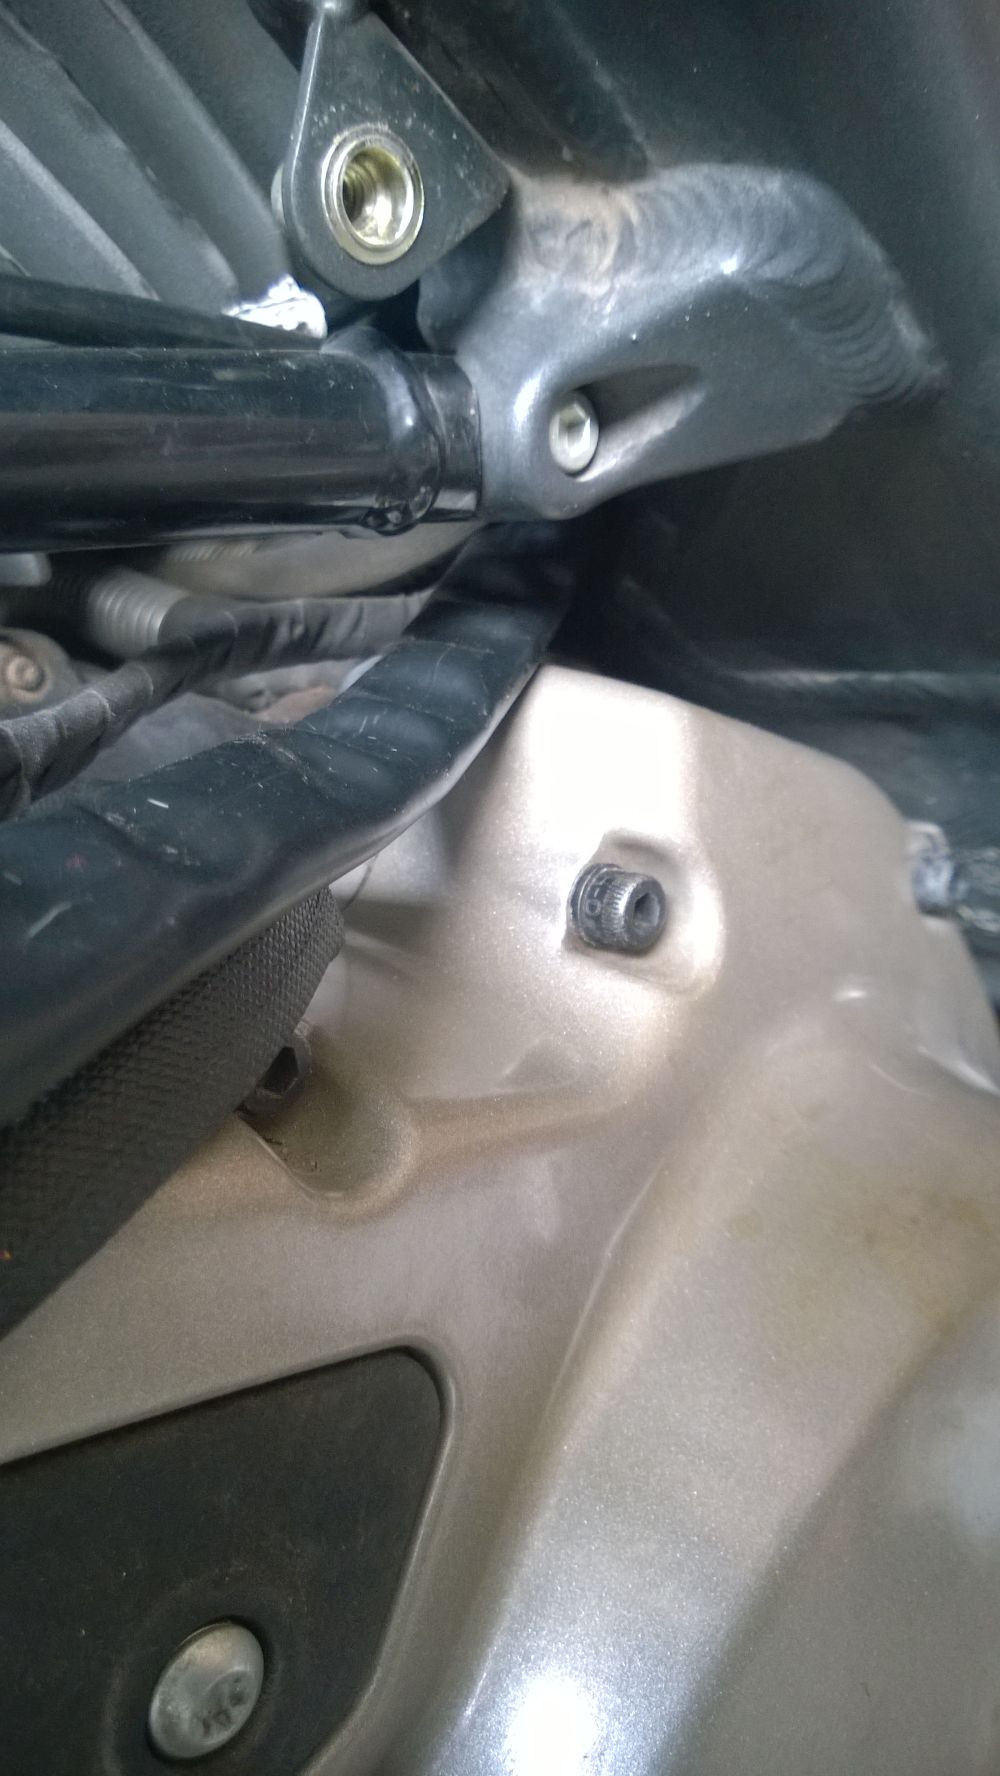 I think I will go with this mounting option for now. I like getting some more airflow to the front cylinder, and it doesn't require any fabrication on my part. I just added a longer bolt, and a locknut on the inside. I will run a ziptie to the opposite mounting hole of the VR. Should be plenty solid, but I will watch it at first to be sure. 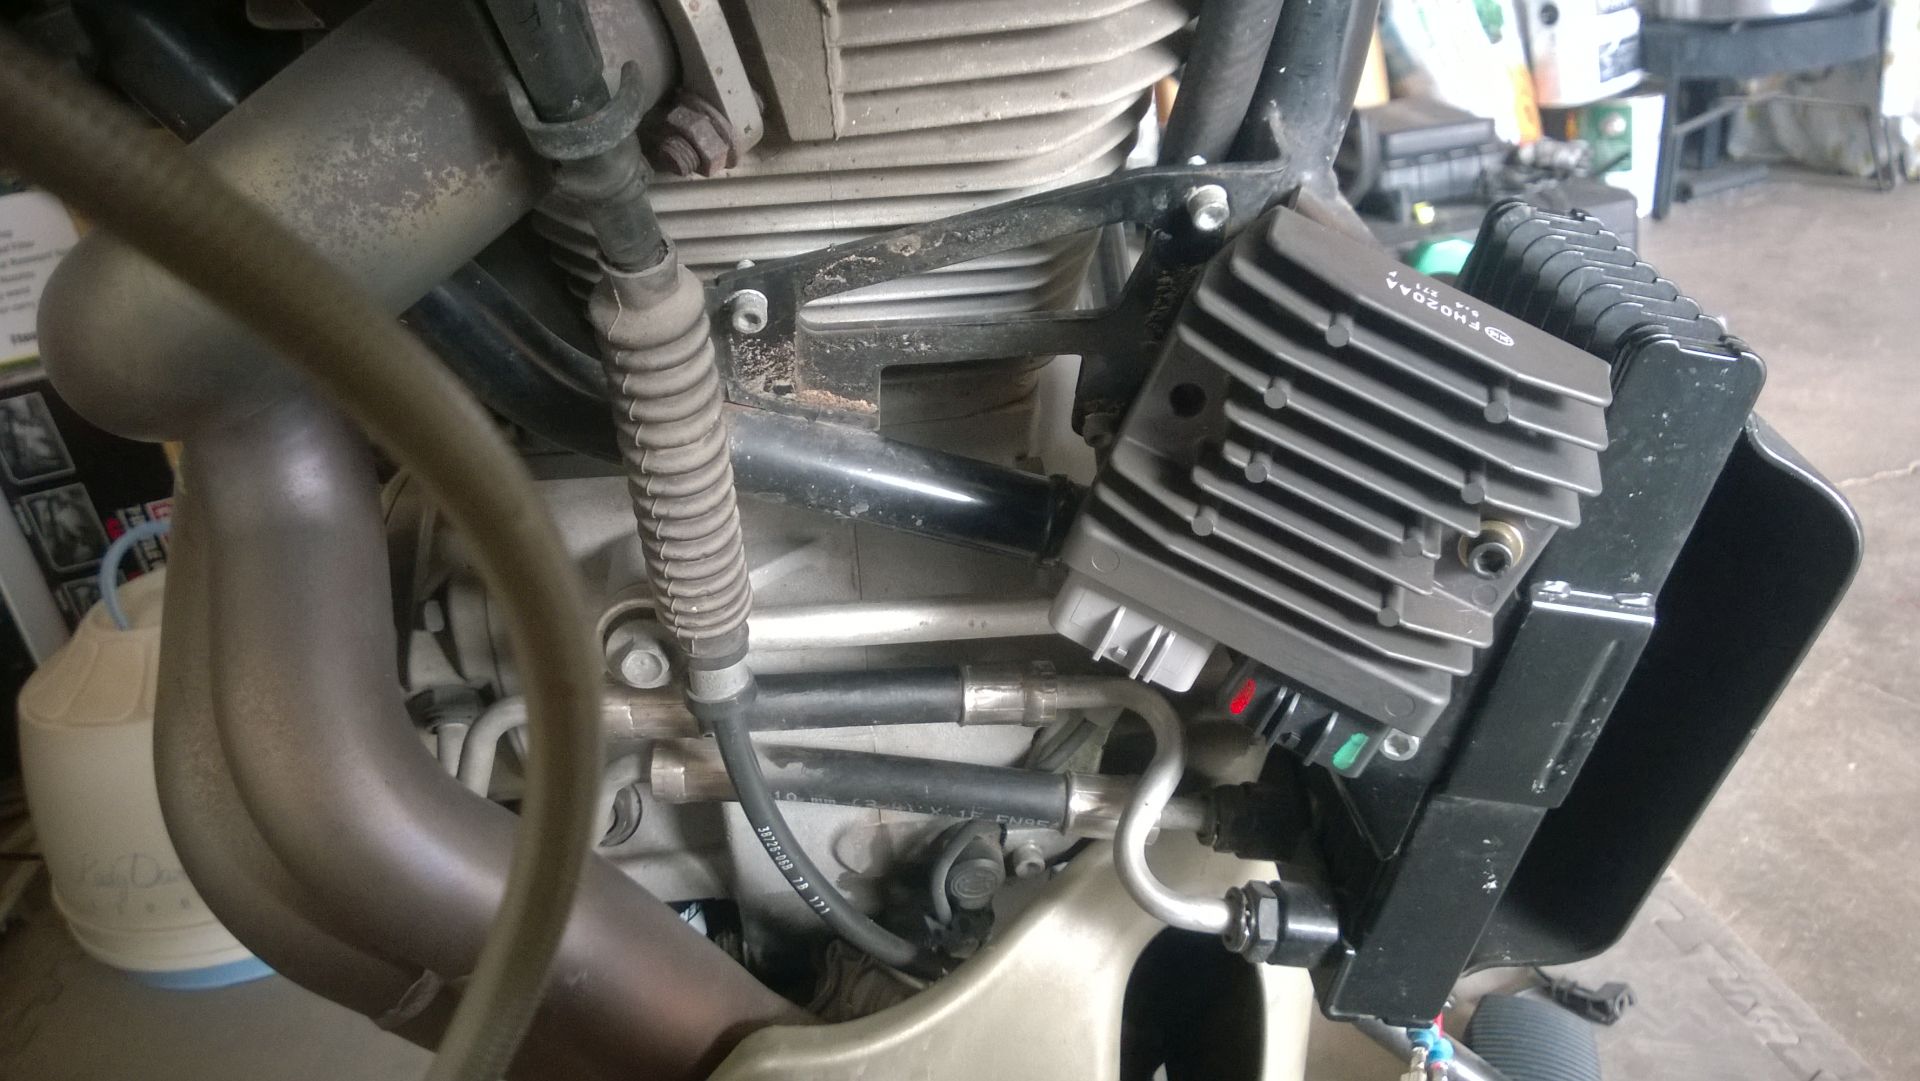 Ryan | ||
Medi |
Thanks! Interesting... I went through the air scoop on the other side (right side) and mounted the VR the same way you did. I hate the way it looks...maybe one day fabricate an adapter plate to mount to the original spot | ||
Glenn |
I mounted mine to the original location. I had to space it out with an approximately 1" square piece of TS. I tapped the original plate. I ran the wires along the original path and then over the top of the motor as shown. 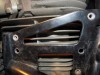 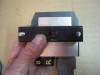 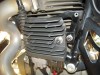 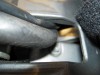 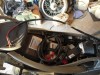 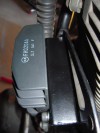 | ||
Ratbuell |
I documented my install on here a couple years ago...maybe Froggy can help find it in an archive? | ||
Ryanco |
I think I came upon your install while researching, Ratbuell. I have everything pretty well set, and will test today. I am really happy with he Heatshield Products sleeves. They expand quite a bit when needed to clear thicker sections, and came with heat shrink for the ends. I'm a little nervous, but it's time to see if it works! -Ryan | ||
Ourdee |
Ratbuell, Who's Froggy's daddy? Here is your install thread.: http://www.badweatherbikers.com/buell/messages/142 838/712127.html | ||
Ourdee |
Worth finding it just for the two alligator clip soldering tool you made. | ||
Ourdee |
I am getting ready to put one on the SCG before I have any problems. Watch for a good OEM VR in the classifieds in a couple of months. | ||
Ryanco |
2 green lights at idle, with fan running, and grip heaters on high. Very consistent voltage. 12.29 at startup, 12.24 with fan on, and 12.19 with fan and grip heaters, all at idle. Very happy so far! |