| Author | Message | ||
Rdkingryder |
Well, nearly 55K on the bike, it was bound to happen. I was almost at work when the clutch felt weird and had a lot of play. I figured the primary cover broke, it did. 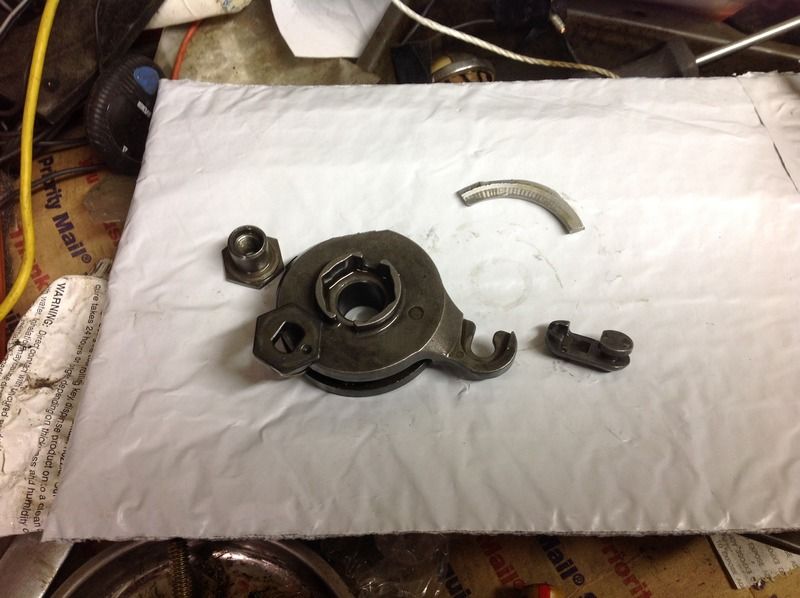 Wondering if anyone has ever installed a Sportster primary as they never seem to go bad. Prices seem to be around $234 on fleabay, but half that for Sportster covers. Of course, I could just get mine repaired and updated. http://www.badweatherbikers.com/buell/messages/3842/282980.html What say you all? (Message edited by rdkingryder on September 03, 2015) | ||
Zac4mac |
I had mine welded by an old aircraft fitter in my Firebolt. That was at around 25k, I think she's at close to 60k with the welded cover. It cost me a binocular microscope. I say fix it. Z | ||
Phelan |
Sportster Primary doesn't have the right shape to fit. | ||
Natexlh1000 |
I vote fix it. Mine broke about 10K miles ago and I patched it up with the cutback electrical box method. Seems to be holding up OK. I drilled through the cover mounting holes, tapped them and installed coupling nuts on the outside with threaded rod going in to nuts. Looks really bad but uly stronk! | ||
Rdkingryder |
I'm talking to a friend's dad that was a machinist and seeing if he could do the job. I really like the plate Odie's friend did. Seems the stoutest of all the ones I've seen. Also, I posted my problem on Advrider and someone sent me an email of a guy in NY that can do the whole thing. Looks very nice. Ship him your cover and he ships it back repaired. https://lh4.googleusercontent.com/z43UvW_VAw1vptzf zsKlnhNVB7V7BO9HBi5ftFGKzaY-fJVTzcMF-tHfkw7HJAY0fp sh4qwYGkJohl0=w1646-h748 https://drive.google.com/file/d/0B4Kk9zGyiAkDU2dCb nltN1lPTVU/view | ||
Rdkingryder |
Started removing the cover to send out. This came out with the plug. I've no idea what it came from. Last time I changed the oil, it wasn't there. 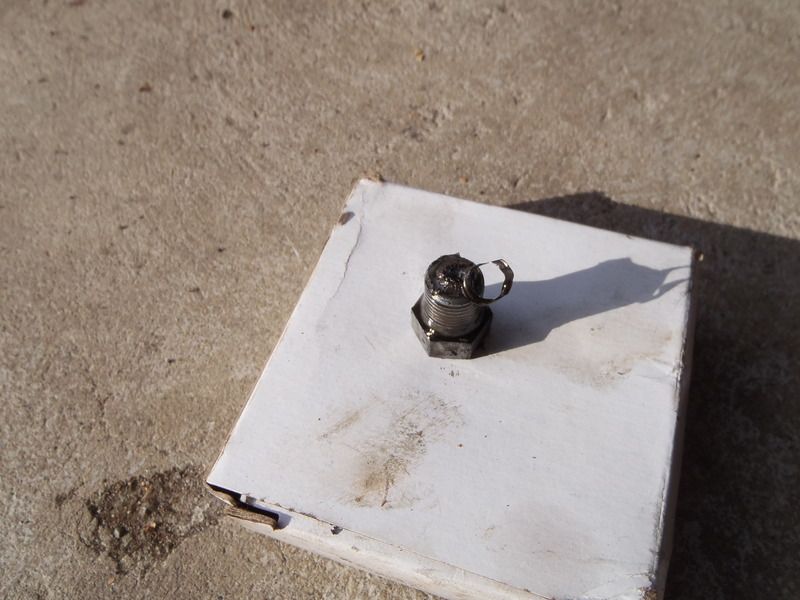 You can see how little support this provided and how the repair plate is much stronger. Wonder why they thought this was strong enough? 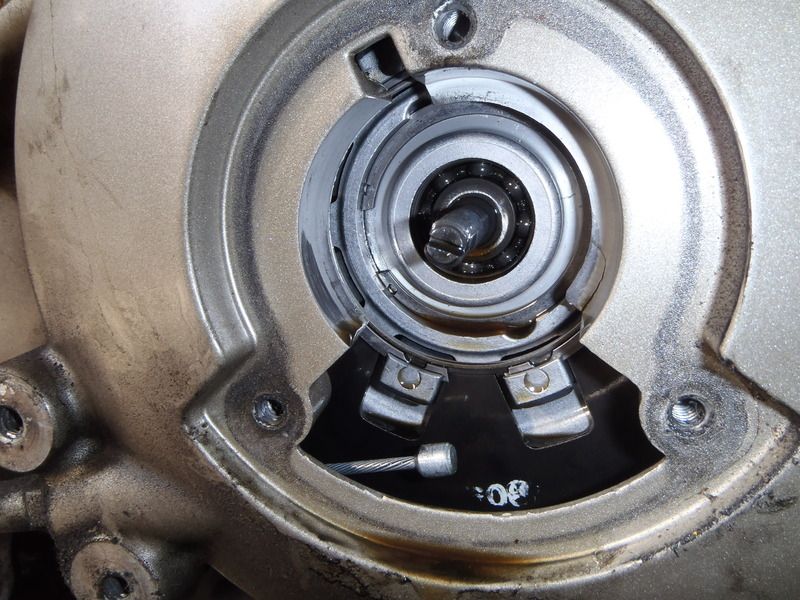 I know since I repaired the engine I had shifting issues and would not hold 5th gear anytime I backed off on the throttle, so I decided to recheck the positioning of the shifter/neutral detent relation. Supposedly pretty critical. Also, 3rd gear effort was greater than any other gear and neutral was difficult to find and sometimes I had to rock the bike to get it unstuck from whatever gear I was in. PITA and do not recall it shifting this badly prior to the crank repair. 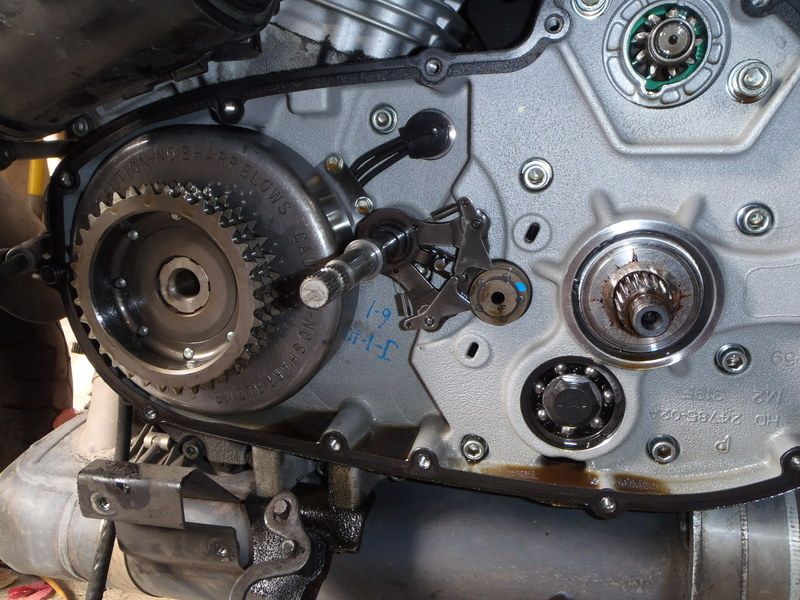 Still need to get out the neutral switch on the other side, which entails at least the removal of the belt for wrench access. But at least the cover is off and boxed and sent off. 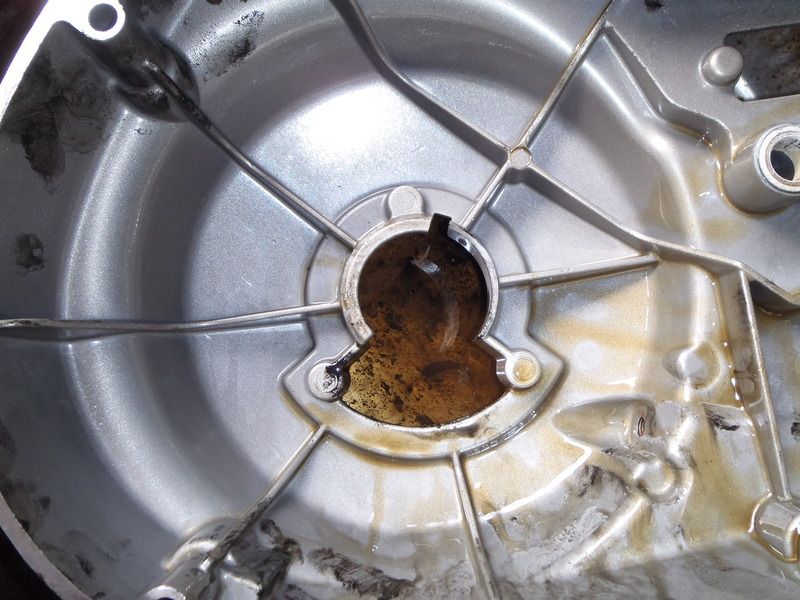 | ||
Timberwolf |
Wonder how hard it would be to make a reinforcing plate to put on these BEFORE they break? | ||
Rdkingryder |
Took the bike down further to see why the shifting has been so dodgy. 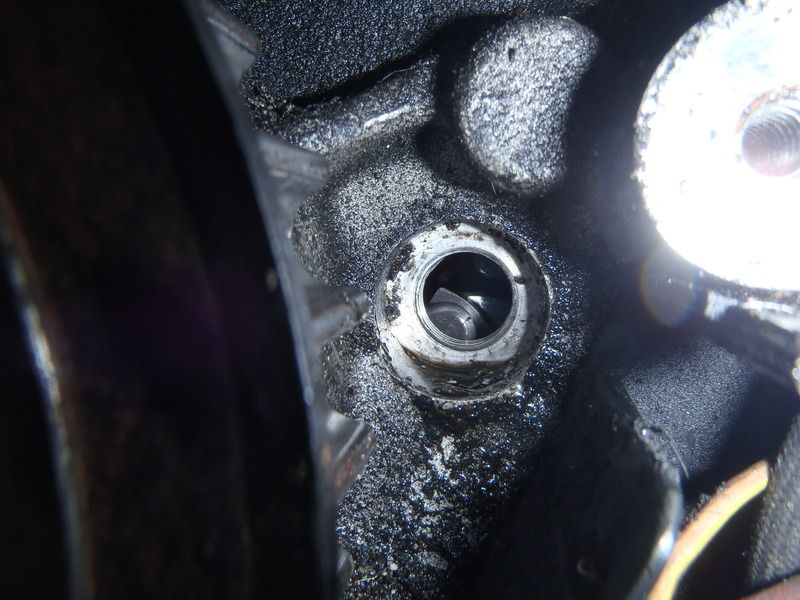 I can freely spin the shift drum in neutral several degrees. I am certain this isn't normal and probably why the trans shifts weird and drops out of 5th. The detent is probably broken and the scrap on the drain plug is most likely the wheel that rides on the detents. You can just make out the wheel. 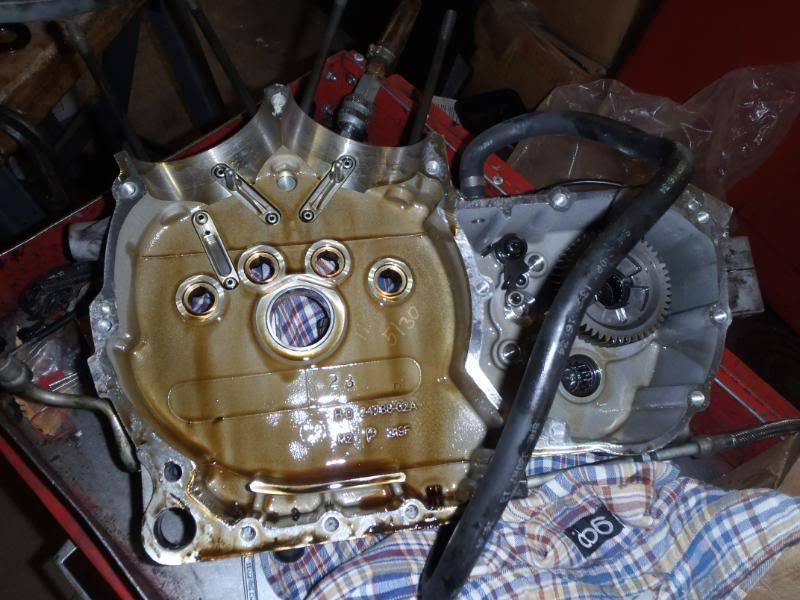 This would take disassembling the entire engine to get to it AFAIK. Since I've already ridden like this for well over 20K, I'll just leave it for when I overhaul the engine. | ||
Rdkingryder |
Cover came back in the post yesterday and looks pretty good. 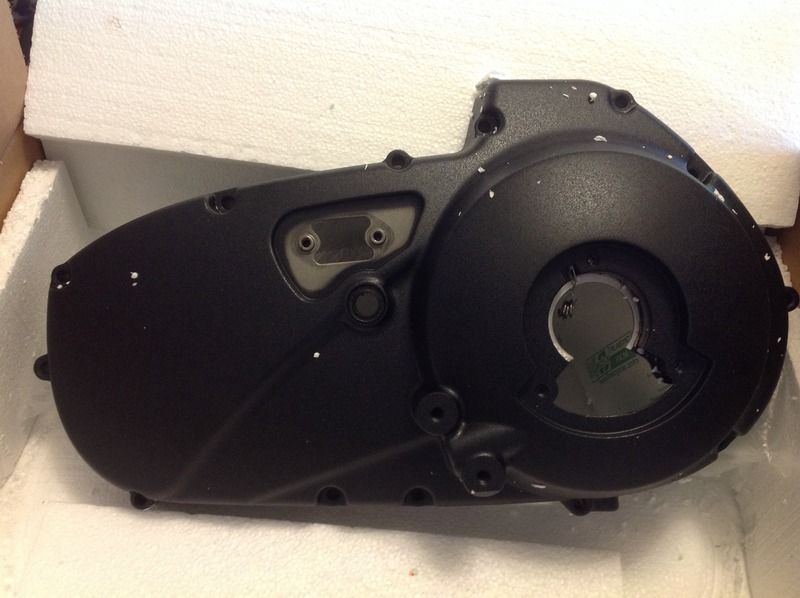 I'll be installing it this weekend. 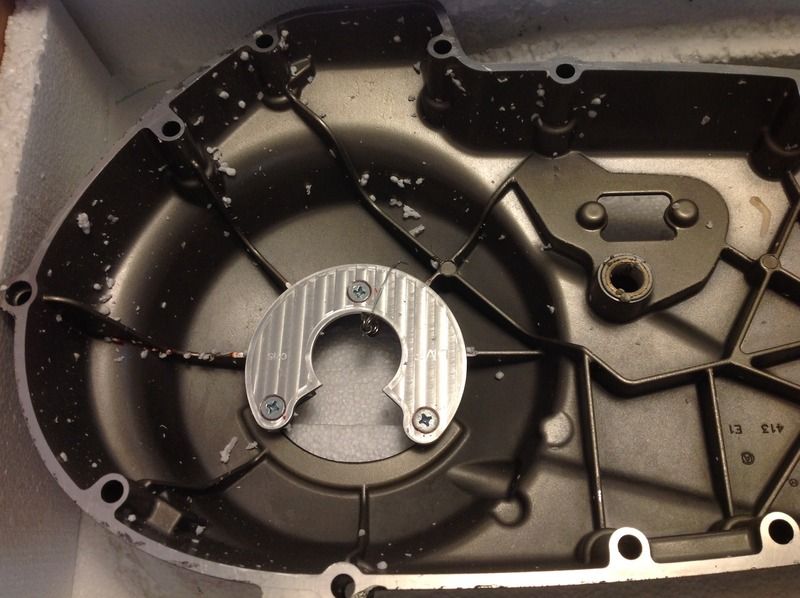 | ||
Rdkingryder |
I hope I'm torquing the primary bolt correctly for an '08 crank. 150ftlbs should do it. | ||
Brother_in_buells |
Looks very good ,who did the work? | ||
Rdkingryder |
A guy recommended by an Advrider inmate. Dave, in NY. Pretty reasonable too. (Message edited by rdkingryder on September 26, 2015) | ||
Rdkingryder |
I can provide his email if anyone wants. I went ahead and installed the cover. The shifting pawl went in first, then the chain and clutch basket. 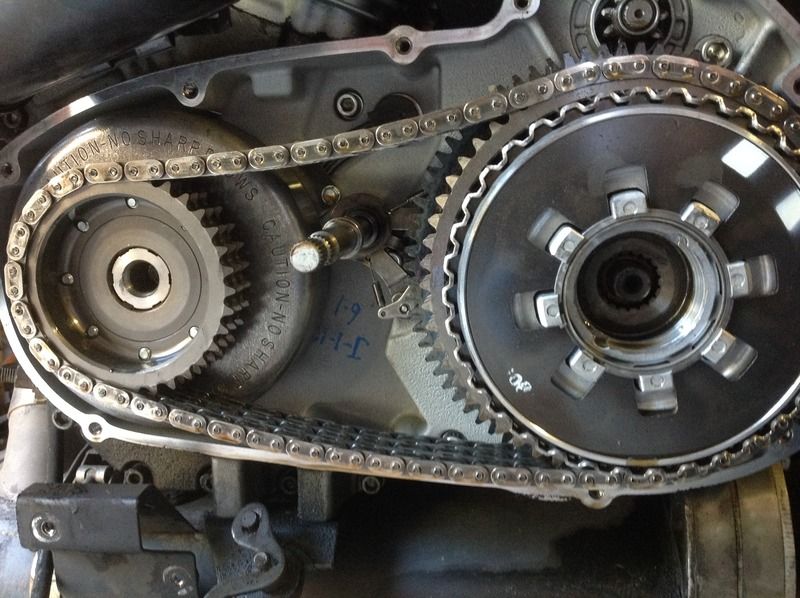 The concave washer has a "out" mark on it. Nut is left hand thread 70-80ftlbs. 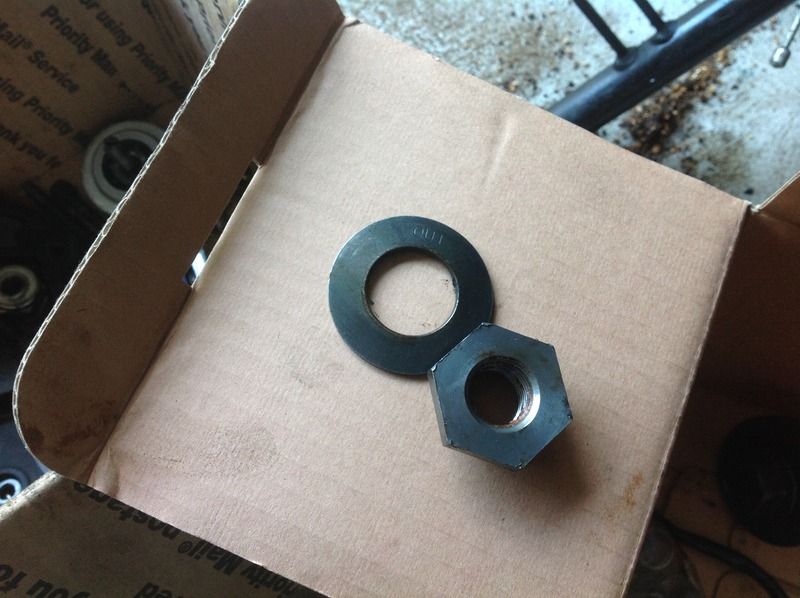 Cover on, chain adjusted and oil added. Unfortunately, it was short a couple of ounces so I need to get another quart. It was also a good time to lube the clutch cable since it was off at each end. 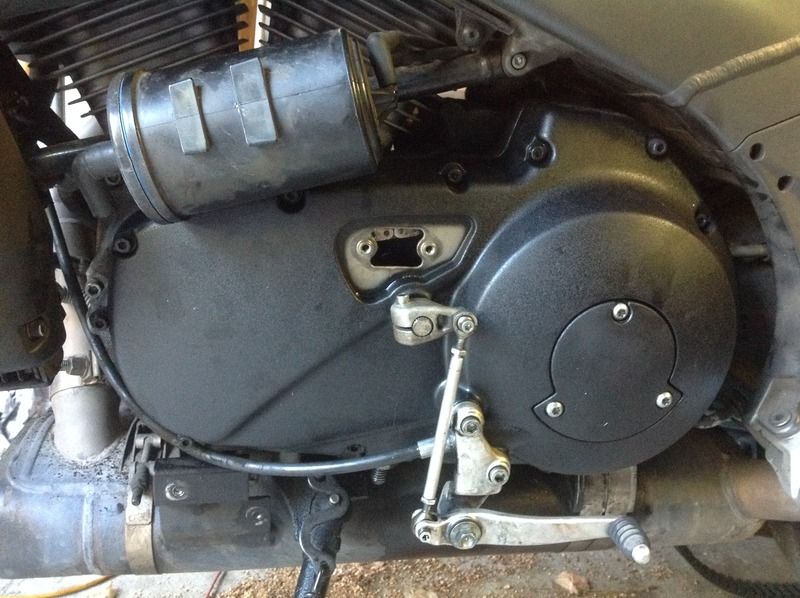 Tomorrow, I'll reinstall the neutral switch, replace the drive belt and rear tire. | ||
Natexlh1000 |
That cover patch looks really sweet! | ||
Rdkingryder |
Thanks Nate. I changed the rear tire and removed the old belt. 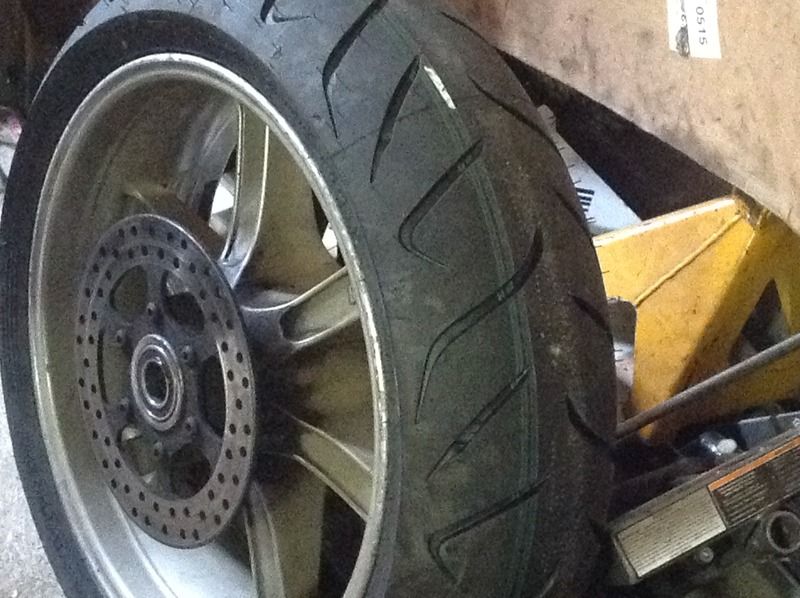 New Roadsmart 2. I got pretty good mileage out of these in the past, while the Contis got just over half of what the RS gets. I had always wondered what was causing these marks 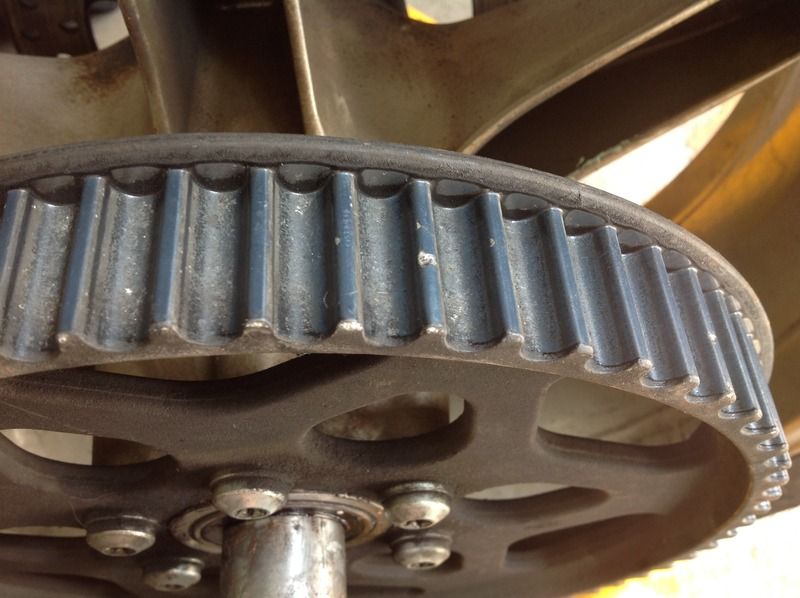 Now I finally know 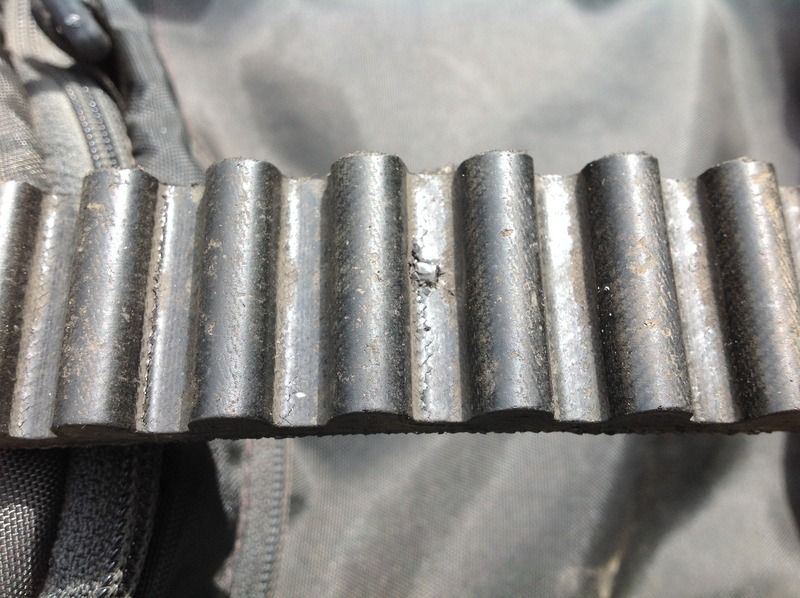 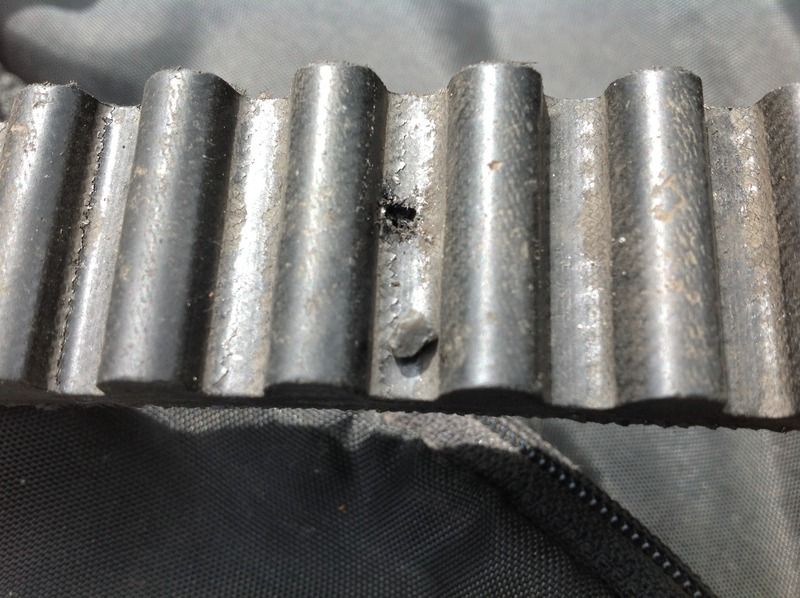 Not sure if it's a rock or a piece of glass. Didn't really hurt anything. | ||
Rdkingryder |
Friday I got everything back together. 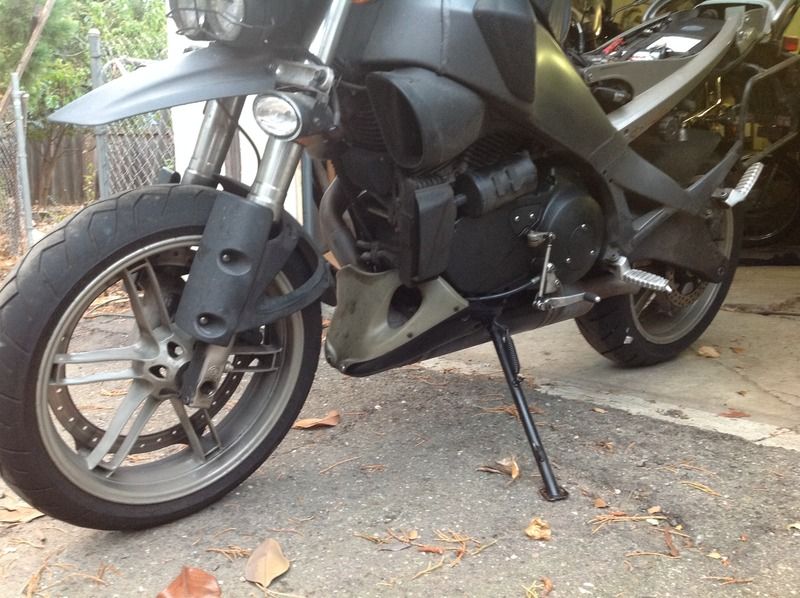 It took a lot of effort to get the axle back on with the new belt. I literally had to use a pry bar to lever against a sprocket bolt and the swingarm. There is no way I could have gotten the axle in without doing that. I even rechecked I have the right belt, g0500.1afk. Spinning the wheel after bolting it seemed to have more resistance that I feel is correct. Everything looks right though. I had modified the mounting holes in the idler a while ago, but can see how the Freespirit Tensioner makes sense. What does everyone think? Will it stretch enough in time to relieve the tension? It's been awhile since I installed a new belt and cannot recall. 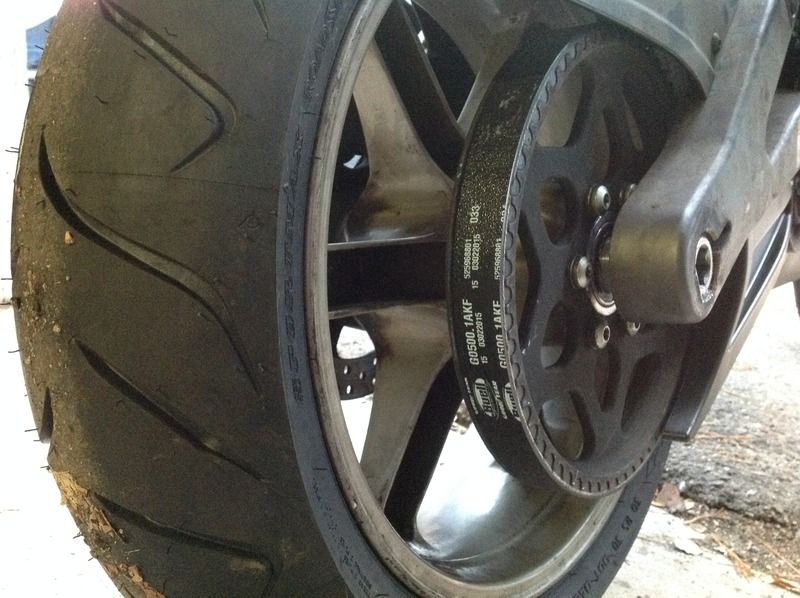 | ||
Hughlysses |
The newer series belt is definitely stiffer and tighter when new compared to older series belts. It should loosen up considerably after you ride it a bit. That said- I noticed my last belt doesn't seem to be holding up as well as the one before that, which was one or two series earlier. I replaced the original belt at about 8000 miles when I noticed cracks between the teeth and kept it as a spare. The next belt lasted something like 35,000 miles before it broke. The current belt (newest series) has about 12,000 miles on it. When I was reinstalling my muffler after a repaint a few weeks ago, I noticed cracking between the teeth (easy to see where the belt goes over the idler roller). The previous belt had no noticeably cracking even at 30,000 miles. I was really hoping this belt would last even longer than the previous one. Who knows? This belt might last up to 40,000 miles or it might break on the next ride. | ||
Rdkingryder |
Thanks Hugh, makes me feel both better (normal new belt) and worse (shorter life of new belt).  | ||
Rdkingryder |
No Reep. When I change rear tires, I usually leave the tensioner on and remove very little. I don't even take off the rear mudguard or belt covers or even the rear caliper. Just the axle and slip the belt off the sprocket. This is from the previous tire change. [URL=http://s103.photobucket.com/user/rdkingryder/media/Ulysses%20Mods/AnotherRearTire004_zps5eb7321f.jpg.html][IMG]http://i103.photobucket.com/albums/m135/rdkingryder/Ulysses%20Mods/AnotherRearTire004_zps5eb7321f.jpg[/IMG][/URL] (Message edited by Rdkingryder on October 04, 2015) (Message edited by Rdkingryder on October 04, 2015) | ||
Reepicheep |
(I deleted the post before you replied because I thought the way I said it came off wrong...) Without removing the tensioner, a new belt will be somewhere between difficult and impossible to get on or off. If you bore out the holes where the tensioner goes over the studs, so the tensioner can skew slightly, it will be easier. I think I went up two sizes on my step drill bit. | ||
Rdkingryder |
No worries reep. I did mod the tensioner, but was pretty conservative how much I hogged out the holes. Took it for a ride and got a check engine light. Code 21, exhaust actuator. Sigh. | ||
Rdkingryder |
I have a question about the mod I just had done on the cover. I wondered about the square hole where the tab for the clutch cover pull rests. Did they leave that open so it would get oil splashed up there to lube the area? Is closing it off partway going to limit the amount of oil needed to lube it? Probably over thinking things. | ||
Natexlh1000 |
My first attempt for a steel patch had that part filled in. I didn't see a use for the cutout so I didn't make one. The cable and arm need that cutout. I ended up just copying everyone else. Lubrication might very well be another thing but if you've ever run the engine even at an idle with the cover off you would see quite a messy show. | ||
Rdkingryder |
Thanks Nate. If I notice abnormal wear of the parts, I may drill a hole in the plate for oiling. | ||
Rdkingryder |
Finally got tired of the check engine lamp. Took the air box off to check the movement, none, just buzzing/clicking. Checked for power and ground and all is good wiring/fuse wise. Since I understand the actuator could be plastic geared, I was pretty sure I'd have to replace it with the metal geared on. At the cost of $160+, I had nothing to lose and took it apart. 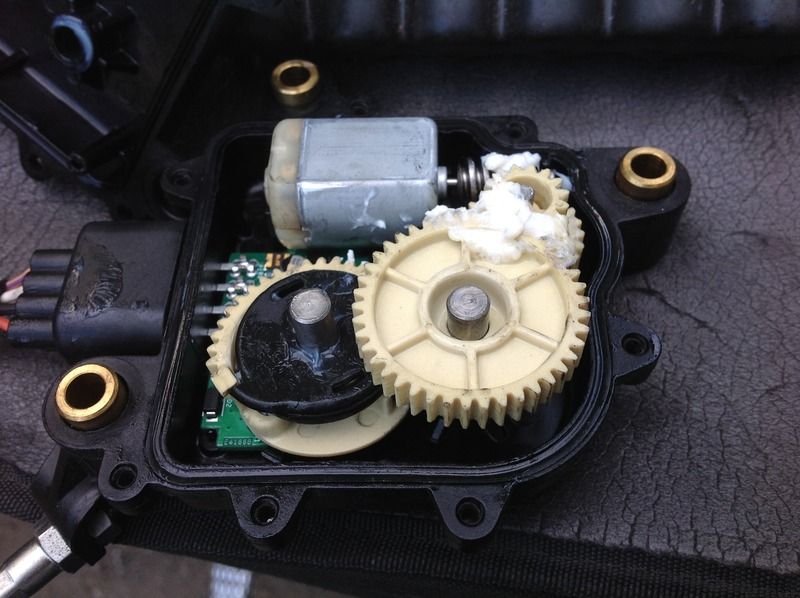 Yep, plastic geared, but not broken. I tested the motor with the idler gear out and it works fine. Seems the blakc piece popped out of place and I just reset it. I put it all back together and it works and the light is out. I also lubed the gears and the cable just for insurance. Glad it was a simple fix. 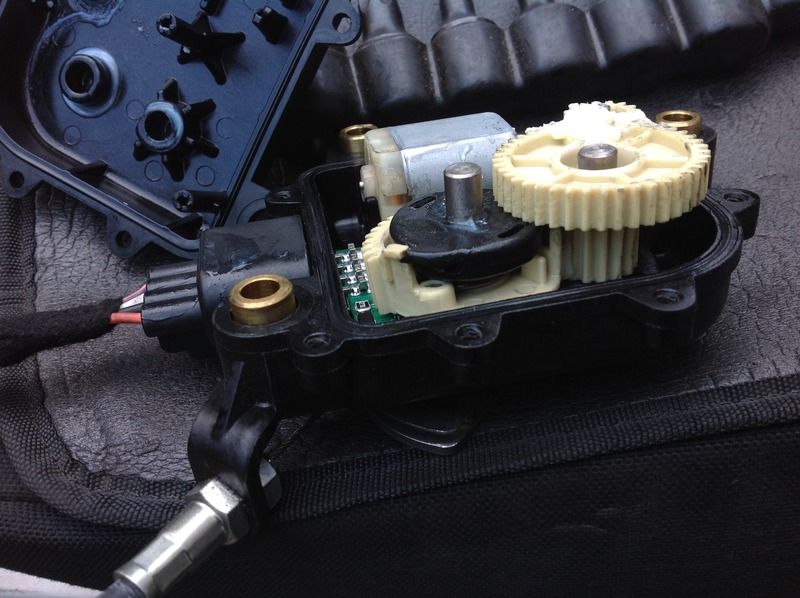 I didn't get a picture of it out of place, but the black piece popped out and was sitting on top of the gear. It's in place in the photo. |