| Author |
Message |
    
Rdkingryder
| | Posted on Monday, March 26, 2012 - 10:17 pm: | 


|
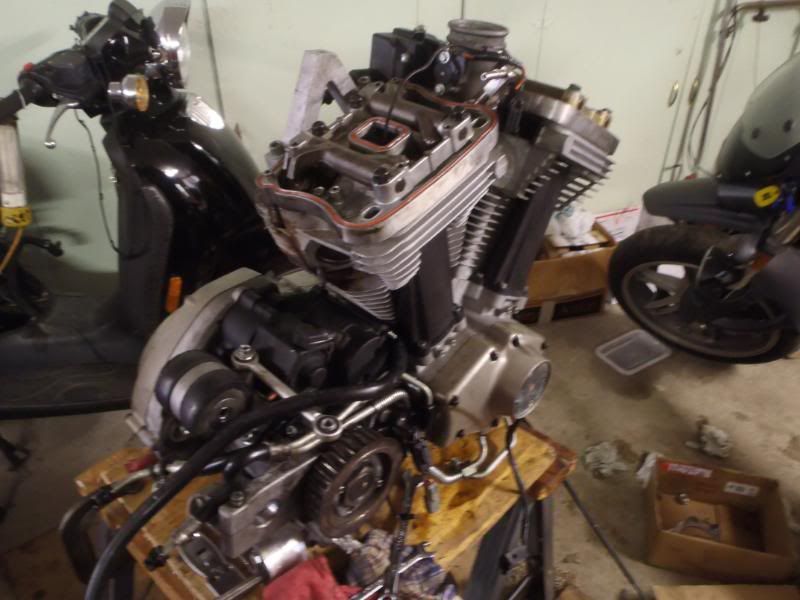
Time for the rear head, didn't want it looking like a Blast.
Done.

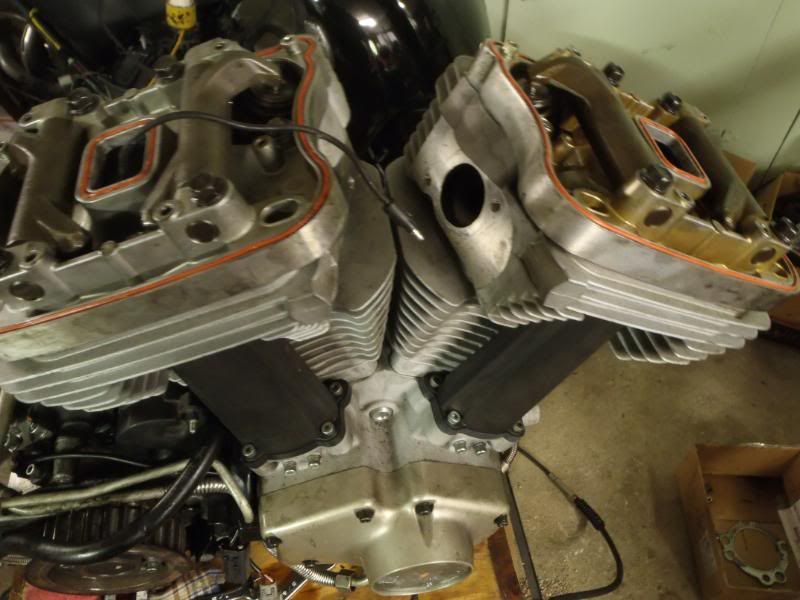
Looking like an engine again. Placed the cams in and timed them.
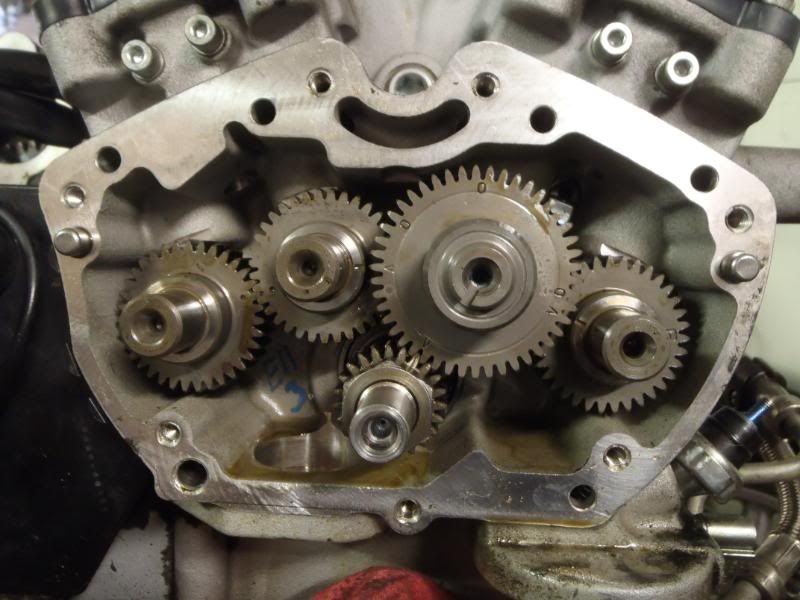
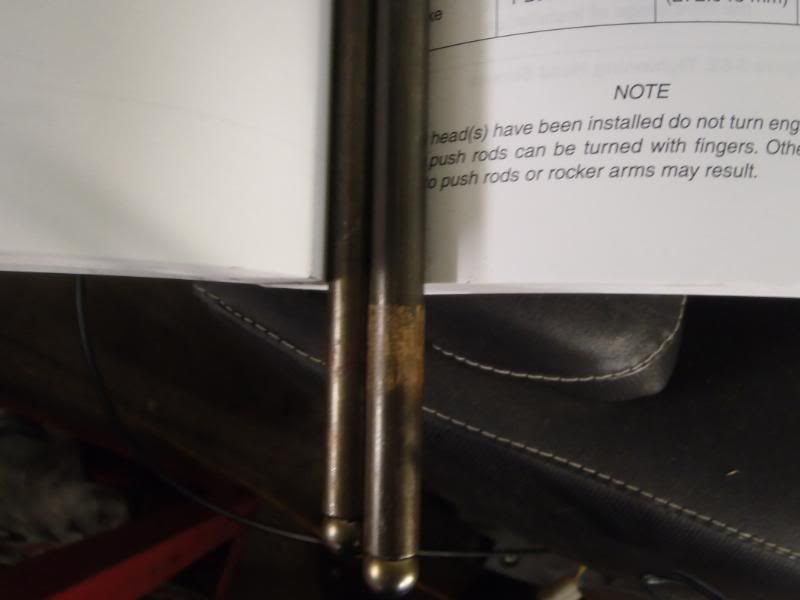
The push rods are different lengths and they are color coded, but mine didn't match the book.
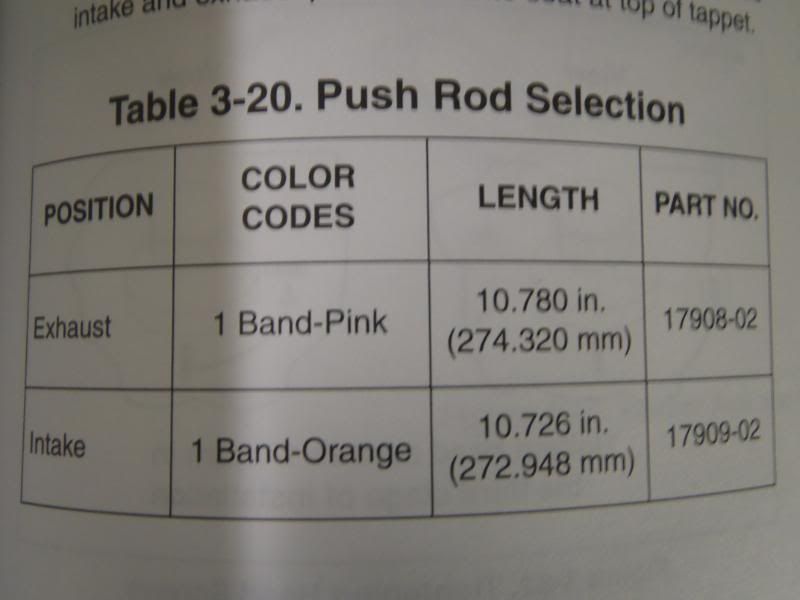
Good thing they mention the lengths are different.
 |
Rdkingryder
| | Posted on Monday, March 26, 2012 - 10:21 pm: |
|
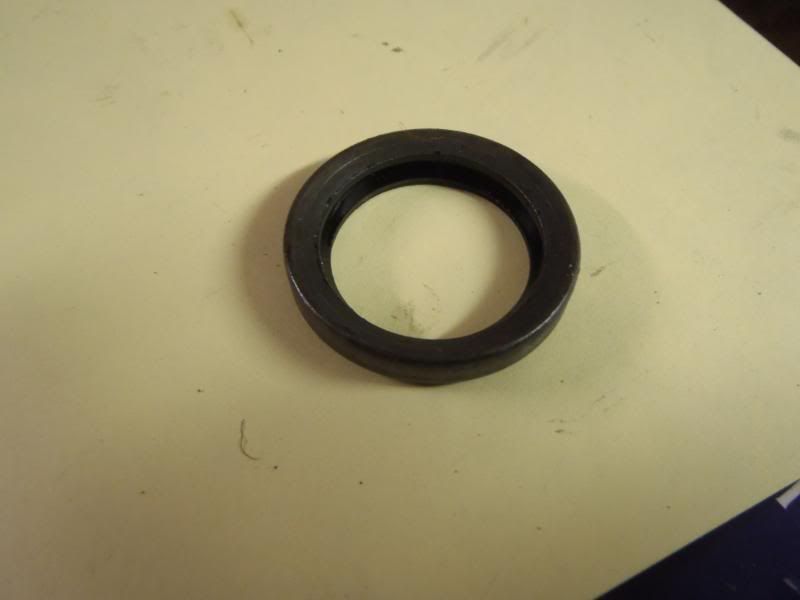
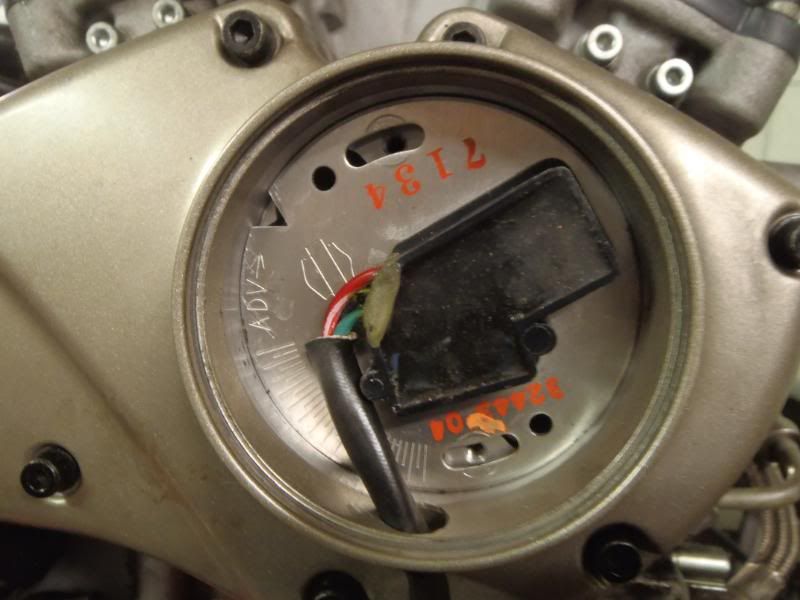
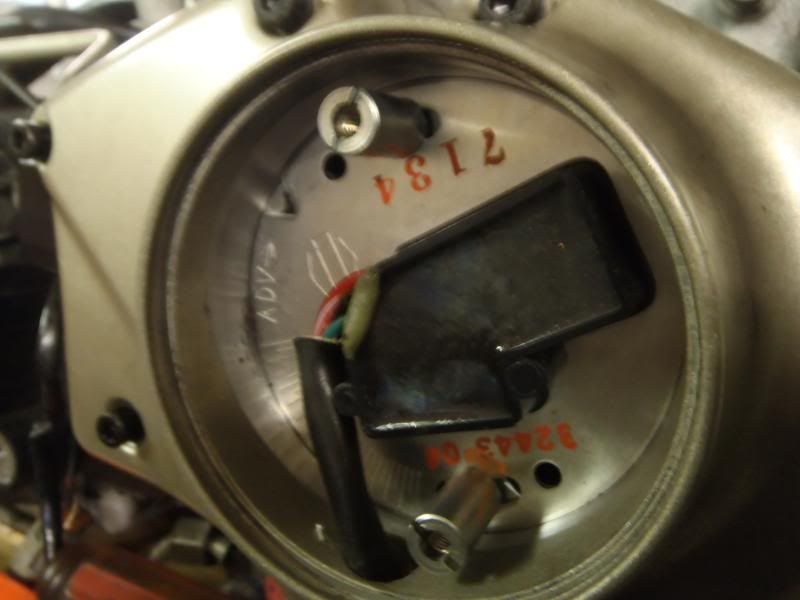
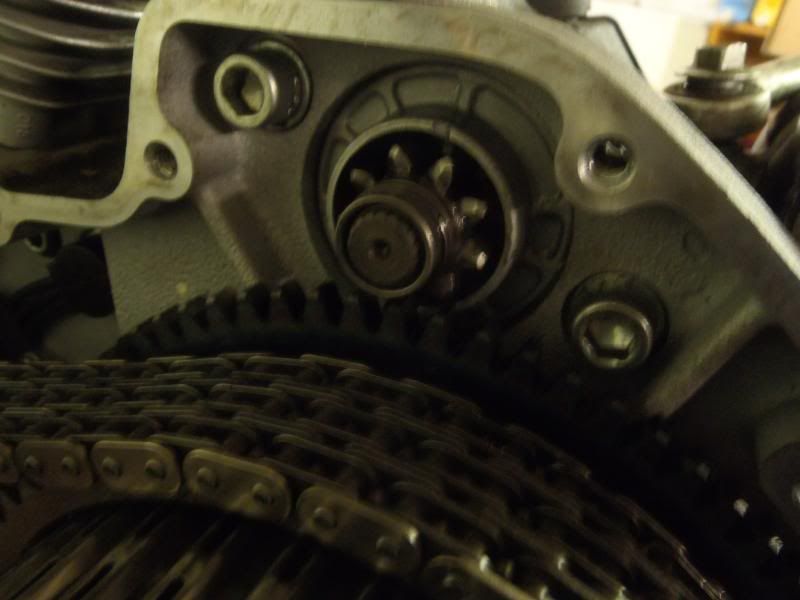
Cam cover..
Of course I replaced the seal and the old one was hammered in there and concaved. New one is flat.
Add blue loctite to the bolt holding the rotor.
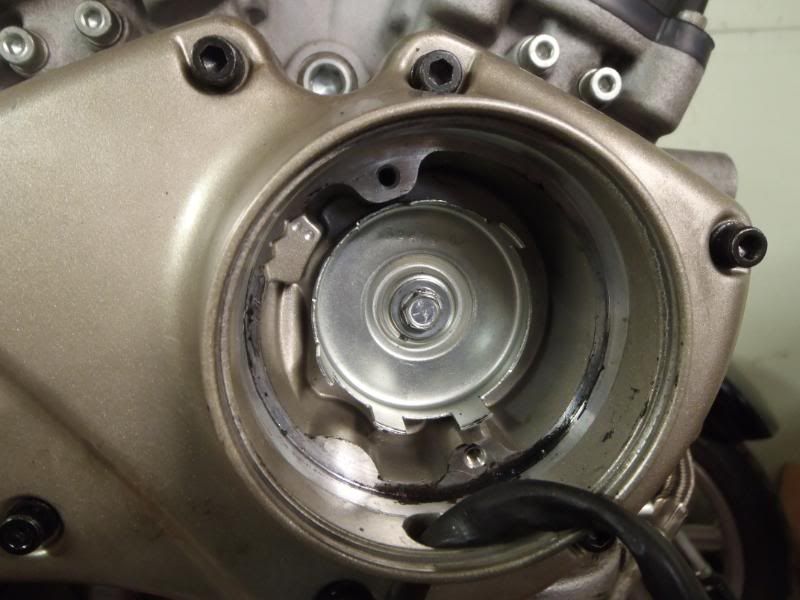
Didn't have to scribe the pickup plate as the old screws did that, just placed it in the same spot.
 |
Rdkingryder
| | Posted on Monday, March 26, 2012 - 10:29 pm: |
|
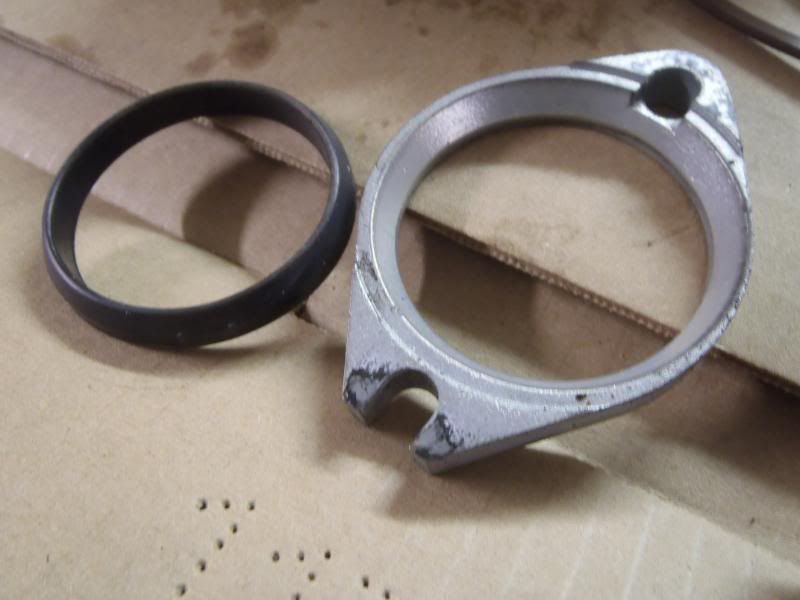
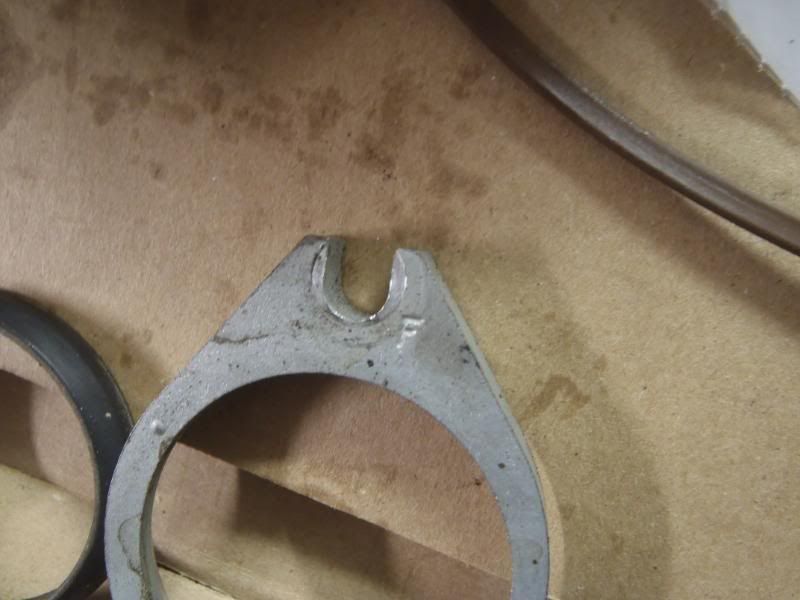
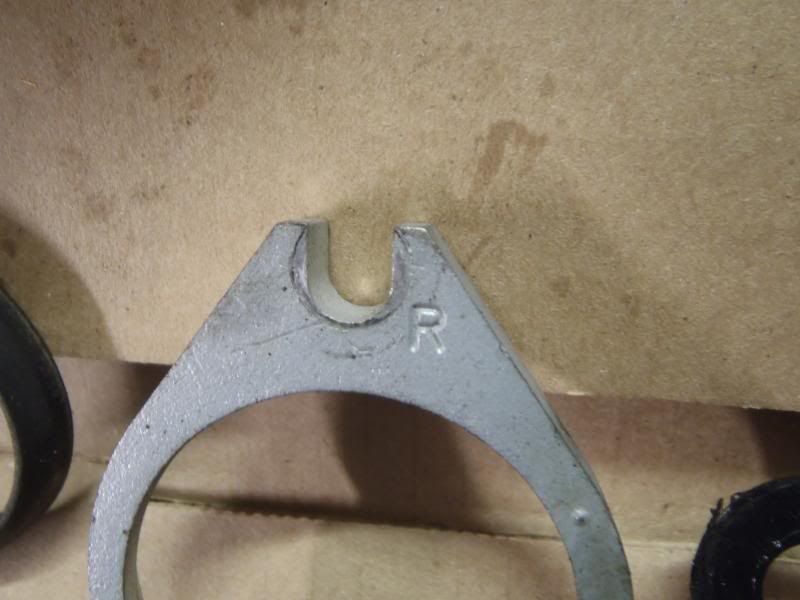
The rocker gaskets are specific. One side says front, flip it over and now it's for the rear head.
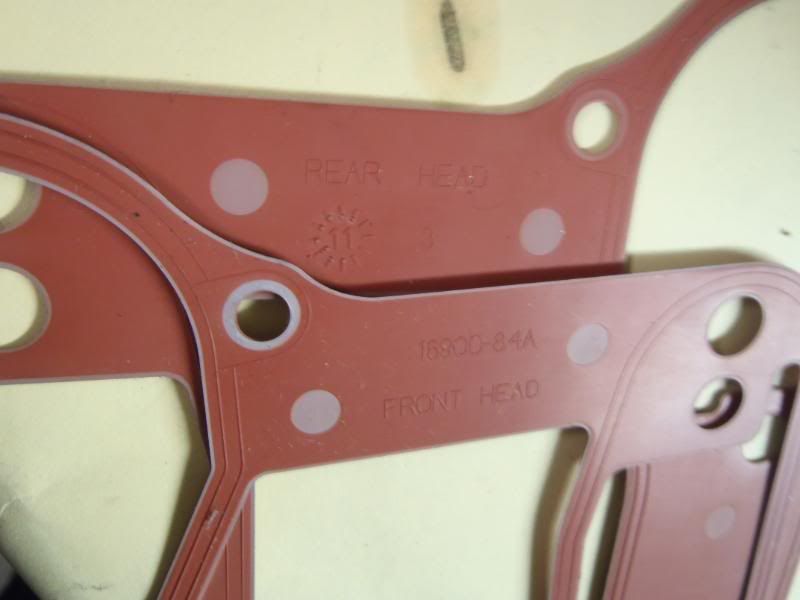
And it's on.

and the other one..
 |
Rdkingryder
| | Posted on Monday, March 26, 2012 - 10:34 pm: |
|
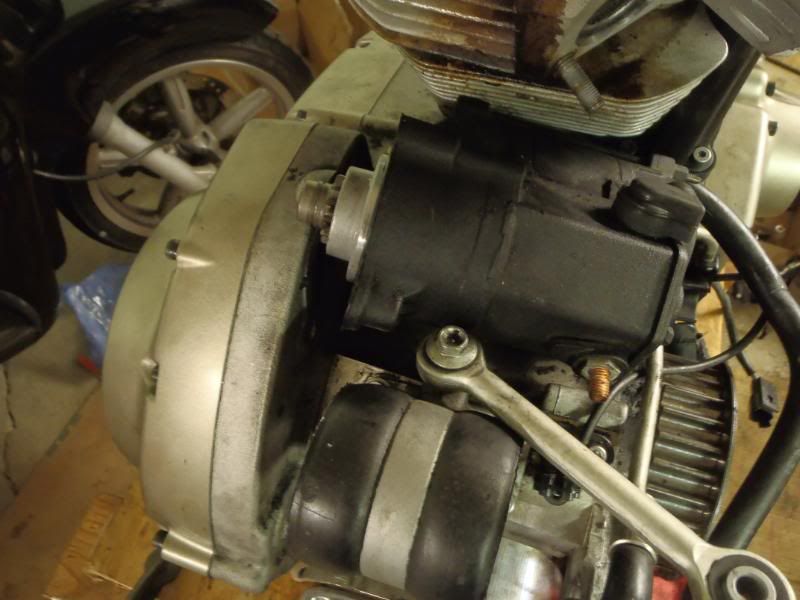
Doh, the starter needs to be installed before the primary cover. Bolts from inside.
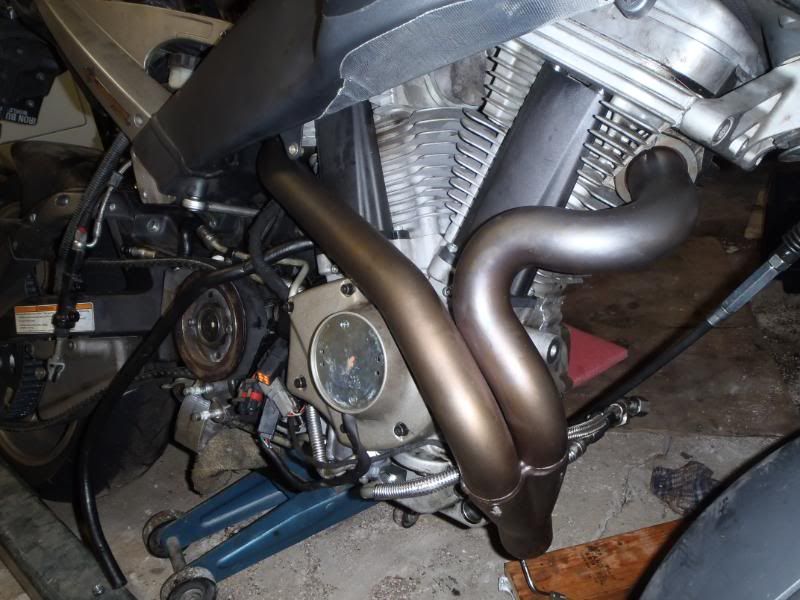
Throttle body next. Be careful as they flanges are concaved and directional.
Pretty simple to install. Throttle body and coil installed
 |
Rdkingryder
| | Posted on Monday, March 26, 2012 - 10:39 pm: |
|
Time to put the heat blanket on while the engine is out.
pattern:
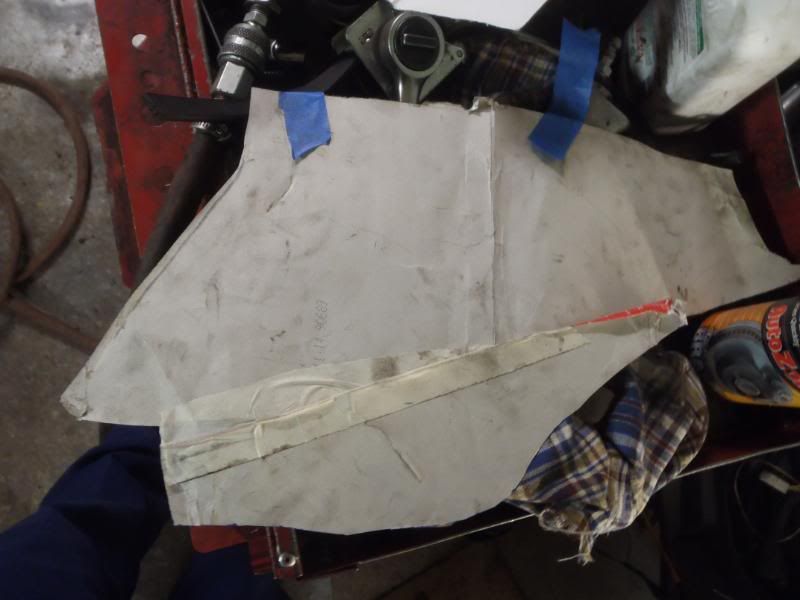
traced out:
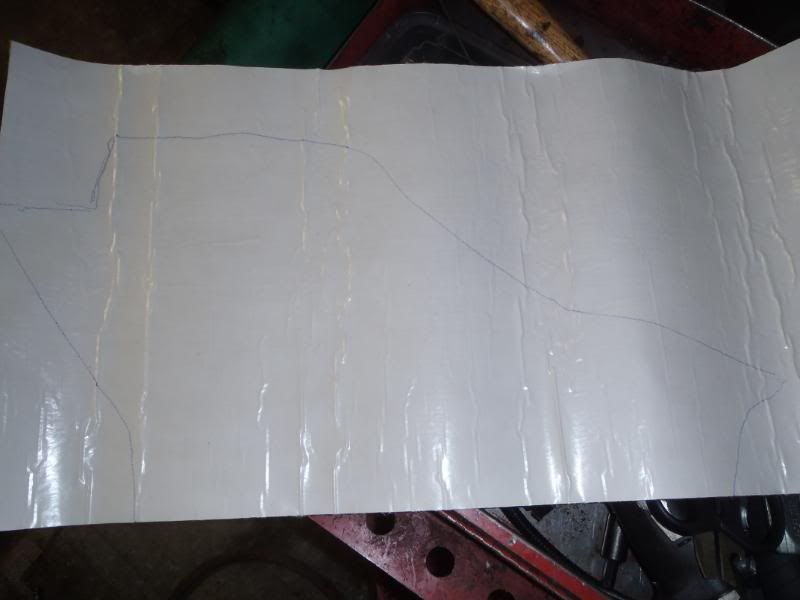
Before:
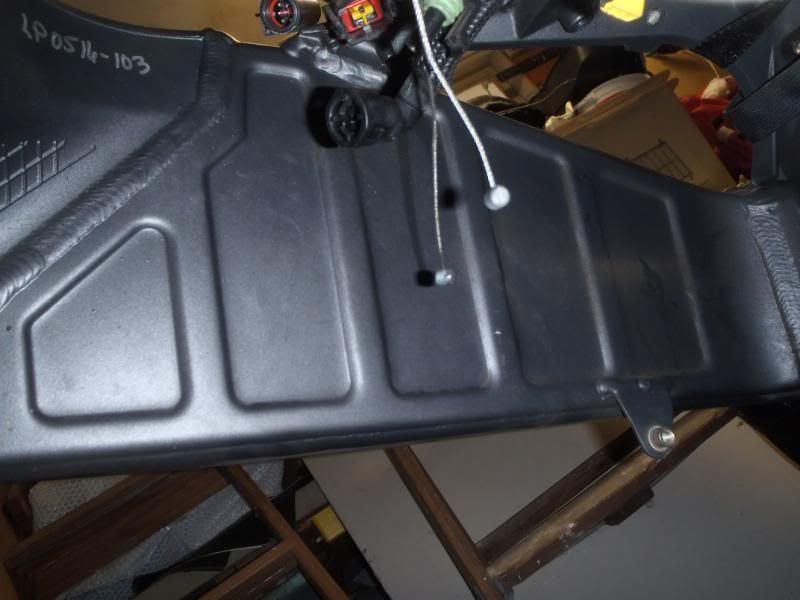
After:

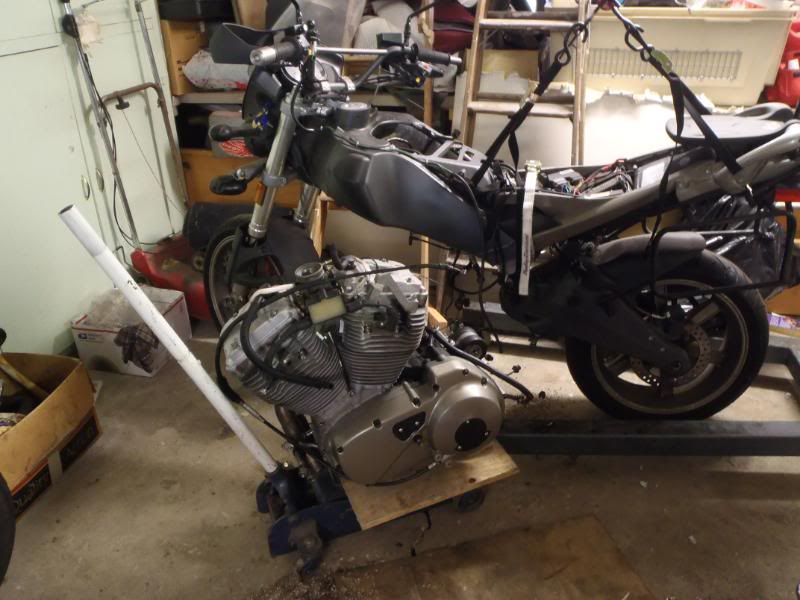
Almost done, but need to free up the hoist so I can move the engine onto the jack, getting too heavy for me to lift it.
 |
Rdkingryder
| | Posted on Tuesday, April 17, 2012 - 09:57 pm: |
|
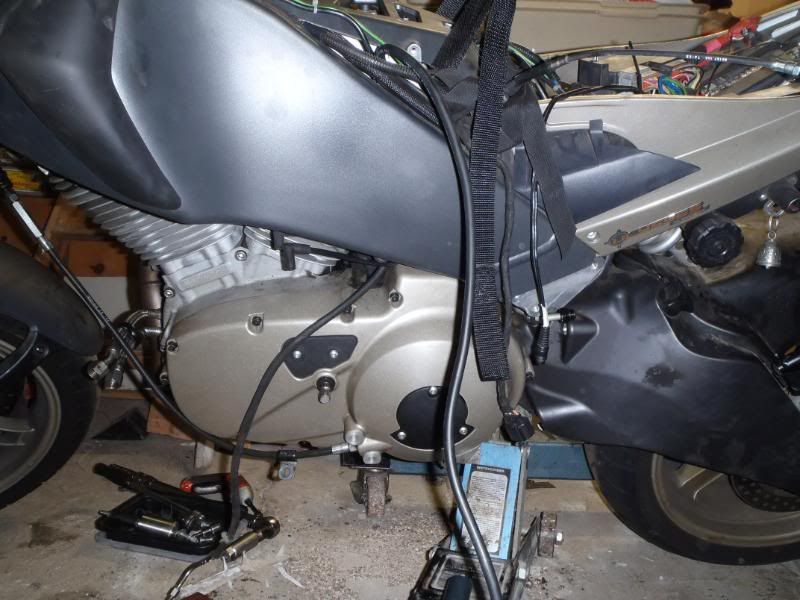
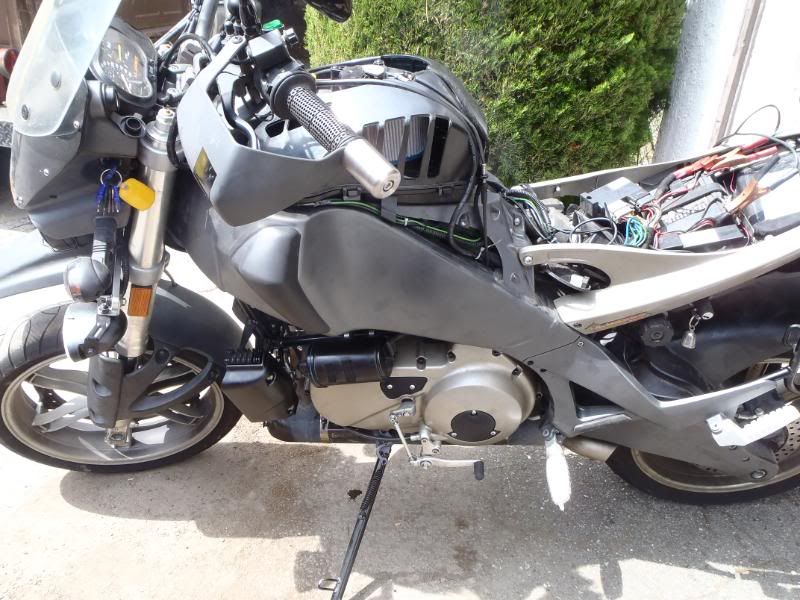
Progress:
 |
Rdkingryder
| | Posted on Tuesday, April 17, 2012 - 10:06 pm: |
|
Routing all the hoses and cables was really tedious, but in the end, I finally got things somewhat in place.
"Warning Will Robinson!" When putting the oil lines on the cheese soft swingarm, take the little screw collars off the lines. You don't need the special tool, a dental pick works. If you don't and screw it in with the line, you can end up falling down and laying in a fetal position like I did after you bung up the threads on the $wingarm.
Luckily, with lack of sleep and getting up at 3:30am the next day, I used a dental pick and cleaned up the coupled of dinged up threads. I also took the collars off, stupid easy too. Just be careful to not launch the little spring clip into your garage like a Korean missle.
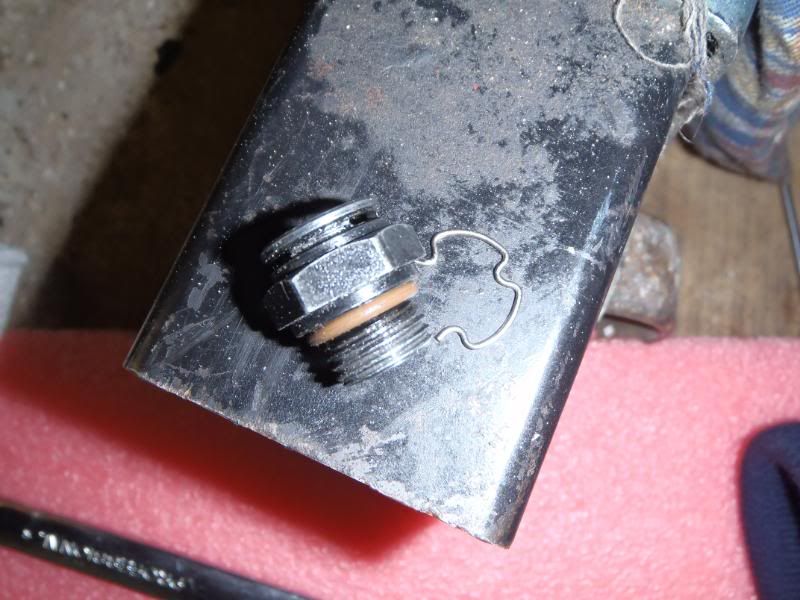
It snugged up nicely and the oil line just snaps in place.
Here we go!
 |
Rdkingryder
| | Posted on Tuesday, April 17, 2012 - 10:09 pm: |
|
http://youtu.be/wnMVlVswYE4
http://youtu.be/75UOli0IaYk |
|