| Author | Message | ||
Hughlysses |
Photos from engine removal yesterday: First think I had to "un-rotate" the engine by jacking it up back level. Then I suspended the front end with a tie-down strap so I could get my motorcycle jack under the engine for the removal process. 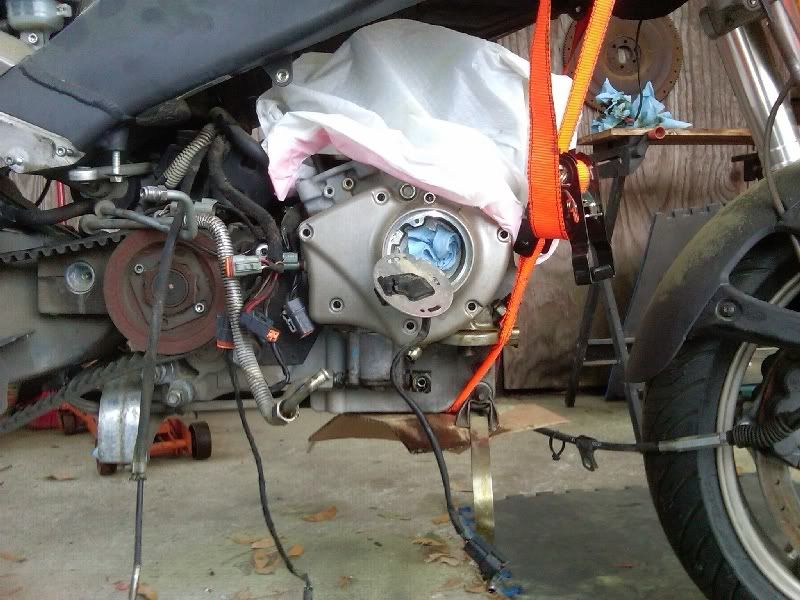 Motorcycle jack under engine: 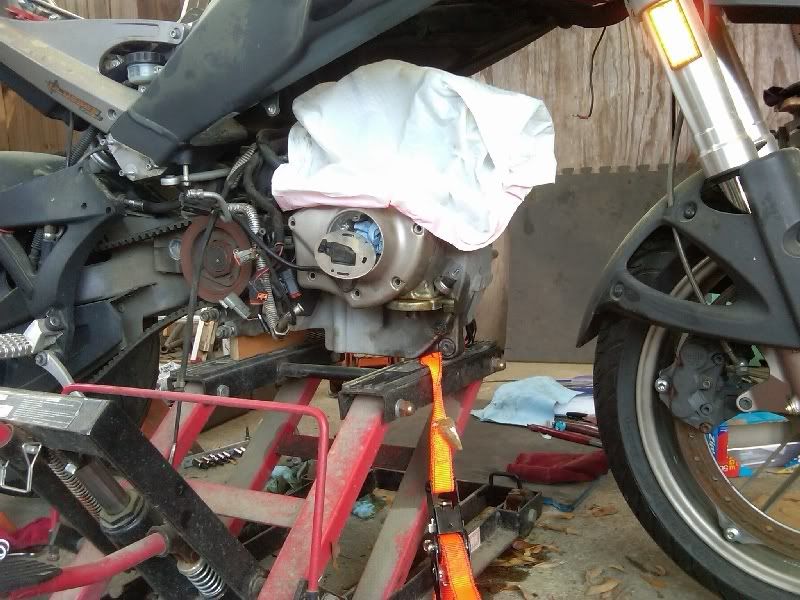 The front of the engine hangs a couple of inches lower than the rear, so I added a wood block under the back so it would sit level: 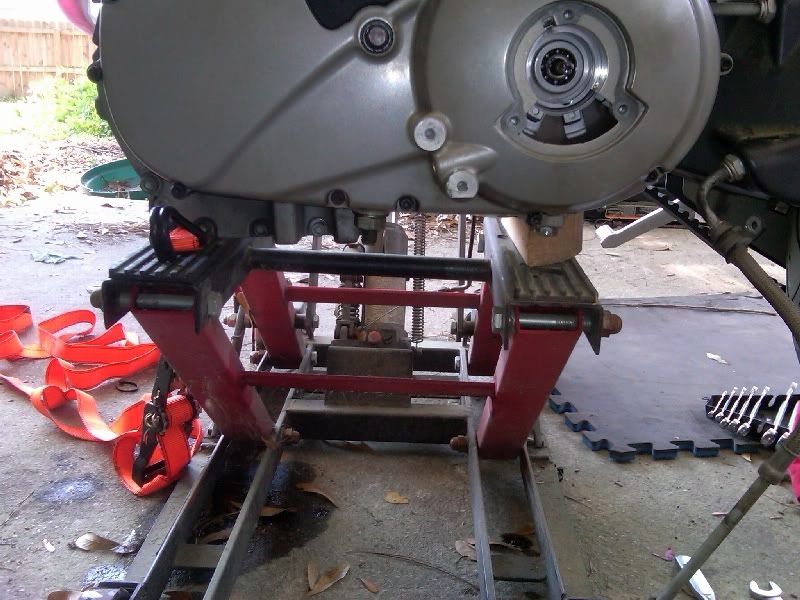 Before removing the engine, I figured it'd be a good idea to do some of the hard disassembly while the engine was still well-supported. Primary sprocket nut and clutch nut off; primary chain ready to come off: 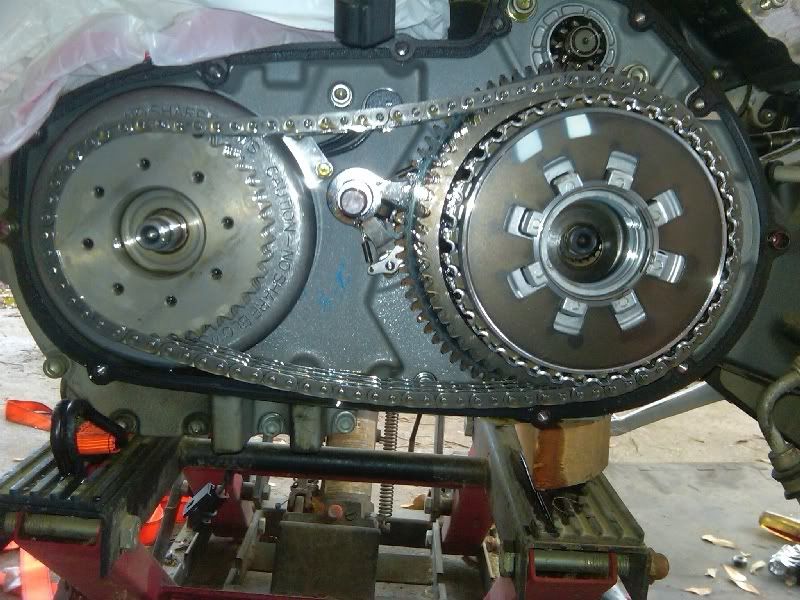 Primary chain and sprockets off: 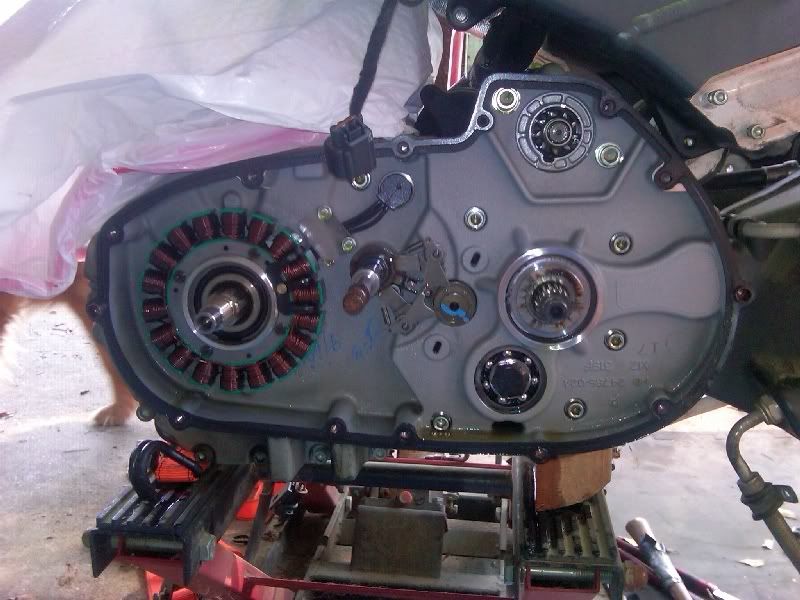 I also removed the transmission output sprocket- that was tough one. I had to buy a 1-7/8" socket for that, and coincidentally discovered that the local Tractor Supply had one in stock for a VERY low price. Engine out! 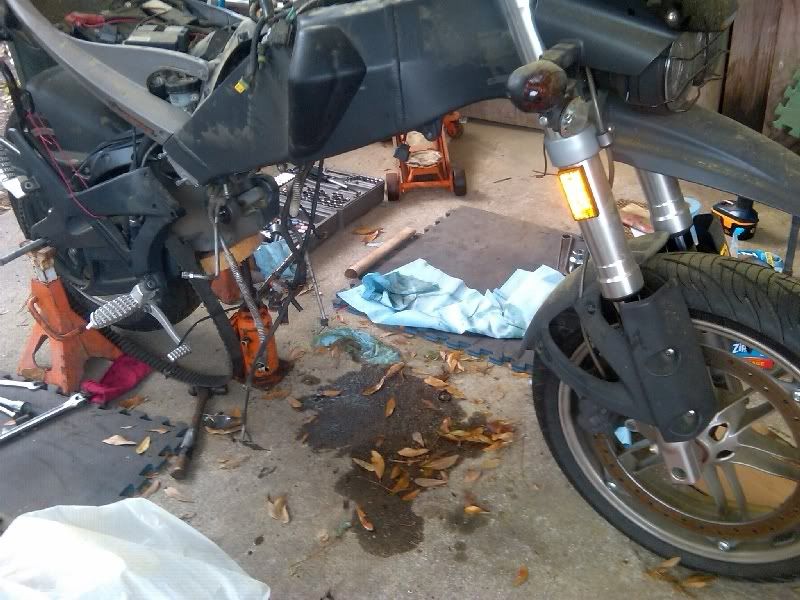 Bare engine: 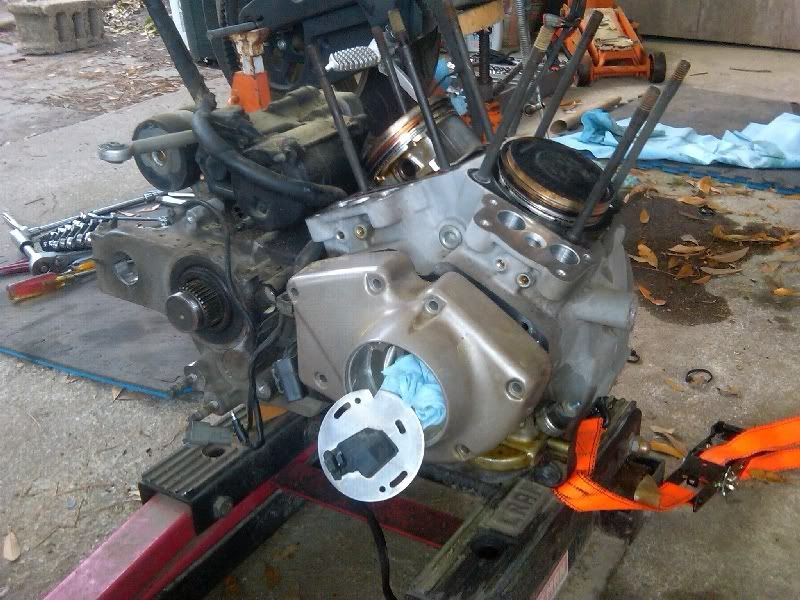 Bare engine again: 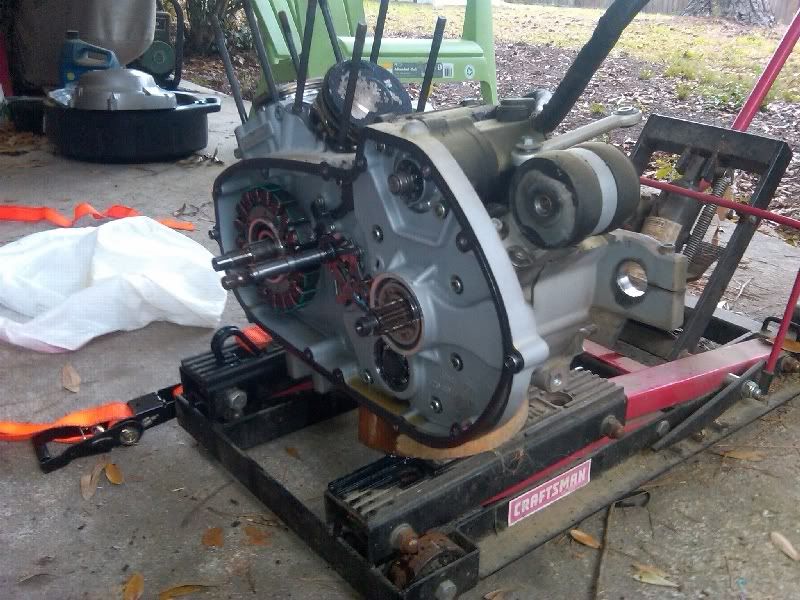 After this, I removed the starter and the rear isolator. I'll remove the stator later. This sucker is still pretty heavy, so I'll see what else I can take off. I'll have to see if I can split the cases and pull the crank myself before shipping it; that's probably the most weight I can remove from it. (Message edited by Hughlysses on March 27, 2011) | ||
Tootal |
Well done sir! From the pics it looks like the swing arm shaft is just held in by a clamp with a single bolt. Was the shaft fairly easy to remove? | ||
Hughlysses |
Yea, it was surprising how easily that screws out (especially after fighting that tranny sprocket nut). The swing arm shaft is similar to the axles, hollow and made of aluminum. It was hard to get the weight completely off of it but that didn't cause any significant problems. | ||
Someday |
Hummm? Axles made of aluminum? Could you check that out with a magnet and let us know for sure? | ||
Electraglider_1997 |
Hugh, Sure hope you can remember how to get that whole thing back together correctly. Quite an experience to go through. You'll never want to part with that ULY after being so intimate with it.  | ||
Hughlysses |
Someday- I apparently mis-spoke on the axle/swingarm shaft material; it's definitely magnetic. It had occurred to me that it was pretty unusual at the very least to make a highly stressed component like an axle or swingarm shaft out of aluminum. They sure LOOK like aluminum; my guess is they have an aluminum coating (as opposed to galvanizing). | ||
Someday |
I went out and checked mine and sure enough...magnetic. | ||
Luftkoph |
Hugh are you sending that ups? I sent a BMWs engine once put it in a nice wood box with arrows pointing up on all 4 sides,guess which way it was left at the buyers home  | ||
Hughlysses |
Doug- not sure yet. Darkhorse warned me about packing it properly. Yesterday's update- more engine stripping. First thing to come off was the stator: 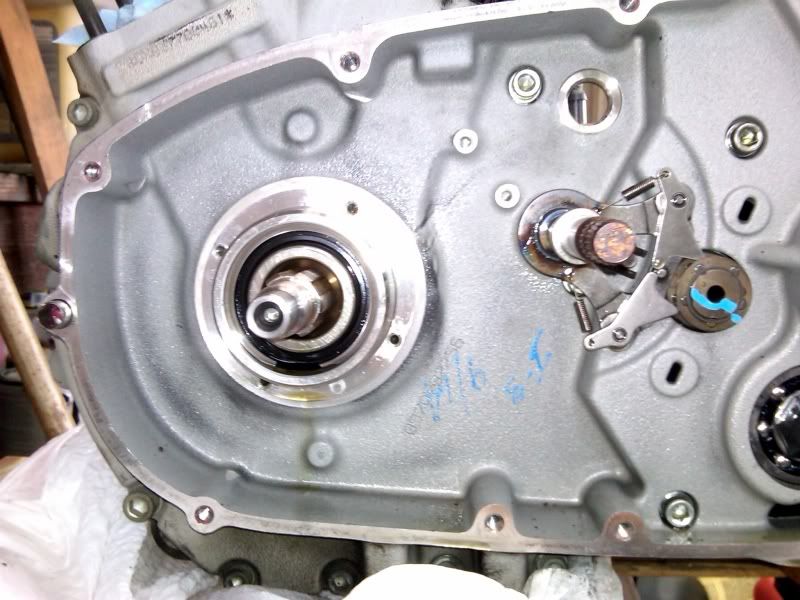 Next came the pistons. Front piston- note lots of carbon on top and hard coating on skirt almost completely worn away: 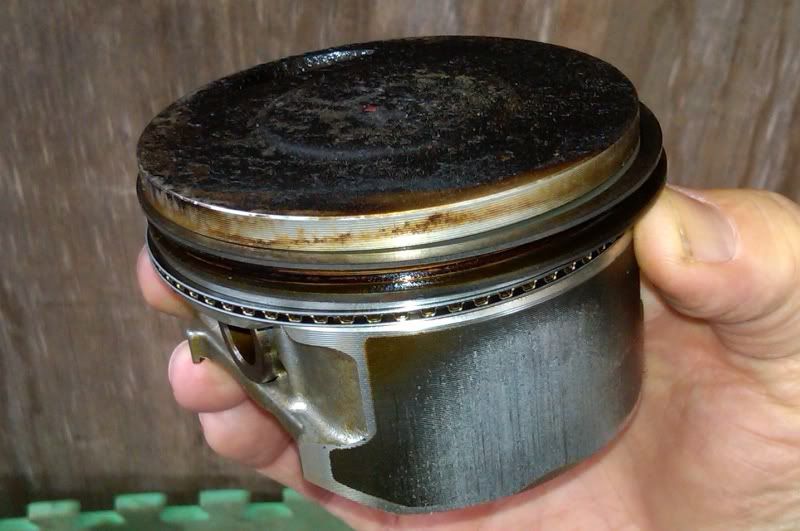 Here's the top of the rear piston prior to removal. Note the "STD" stamped on top, which would seem to indicate "standard bore". THAT in turn implies pistons are available in sizes other than standard bore, but the parts book just shows one part number. I'll have to investigate that a little further. New pistons are around $65 each, and it looks like the cost to bore out a cylinder is about $50. That compares to $280 for a new piston/cylinder assembly. $230 total to overbore vs. $560 to replace. 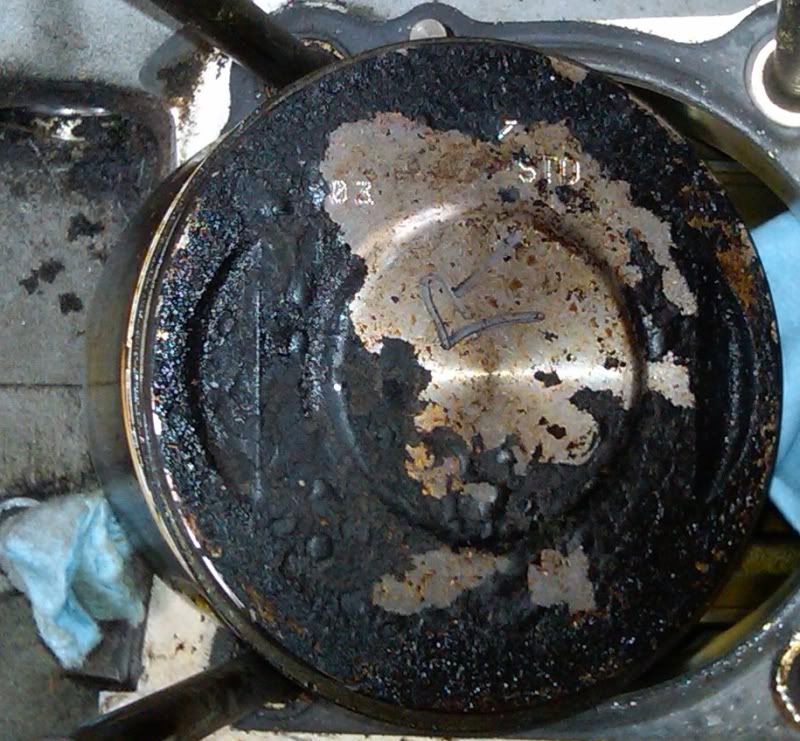 Here's the bottom of the removed rear piston. This pin was noticeably more difficult to get out than the front one and appears slightly discolored. I'm surprised to see that much discoloration on the back of the piston considering I've been running synthetic oil for 25,000 miles: 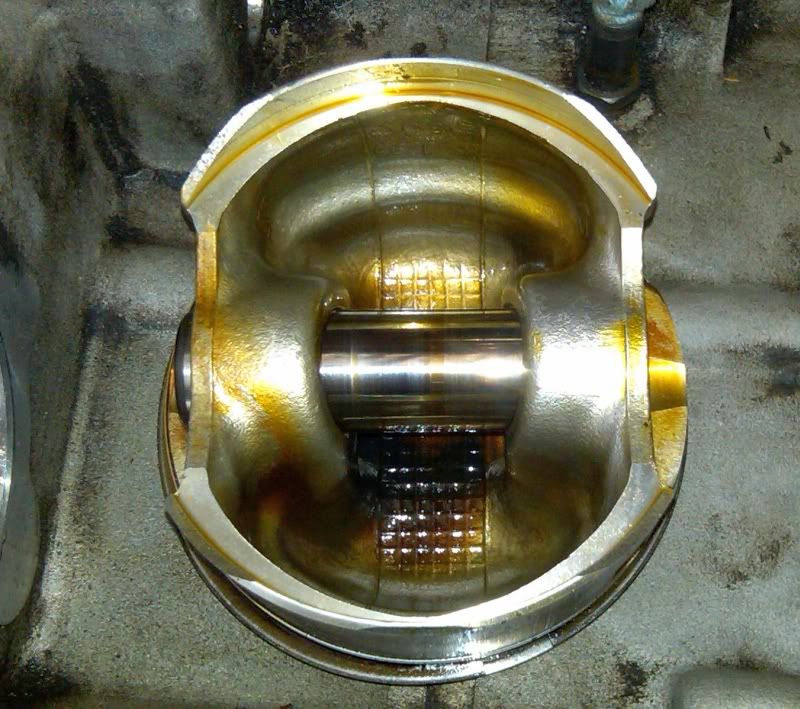 Here's a closeup of the front rod bushing. It looks like it may have gotten slightly scratched up from the debris: 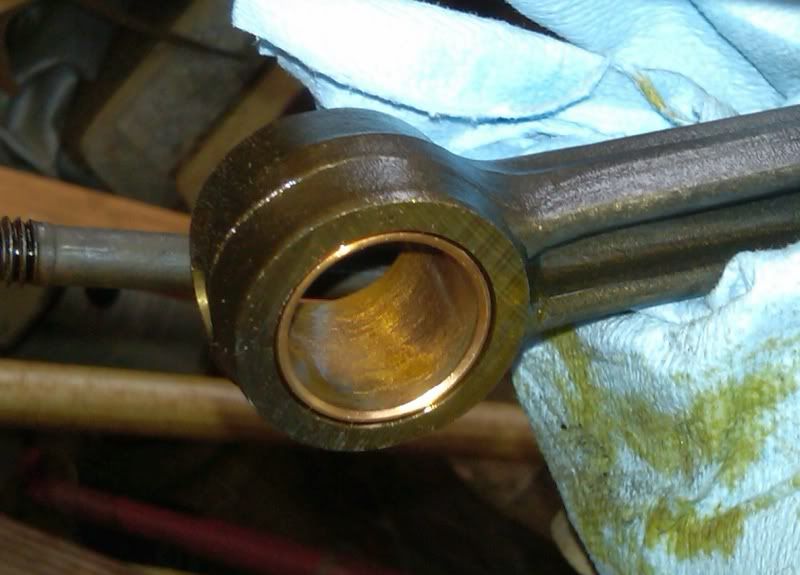 Here's the rear, same comment: 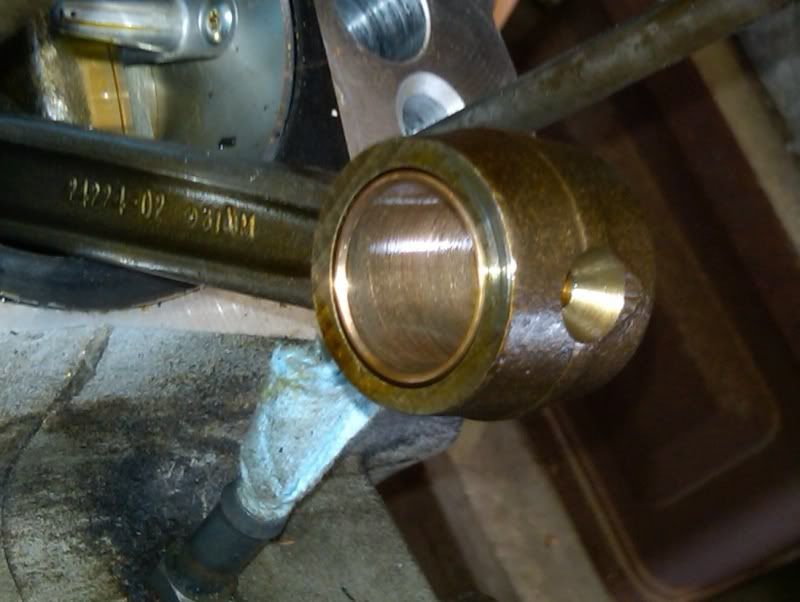 Last but not least, a closeup of the cause of all this mayhem, the front rod/crank bearing, front rod leaned to the rear. That little gizmo at the top of the crankcase bore is the piston-cooling oil jet: 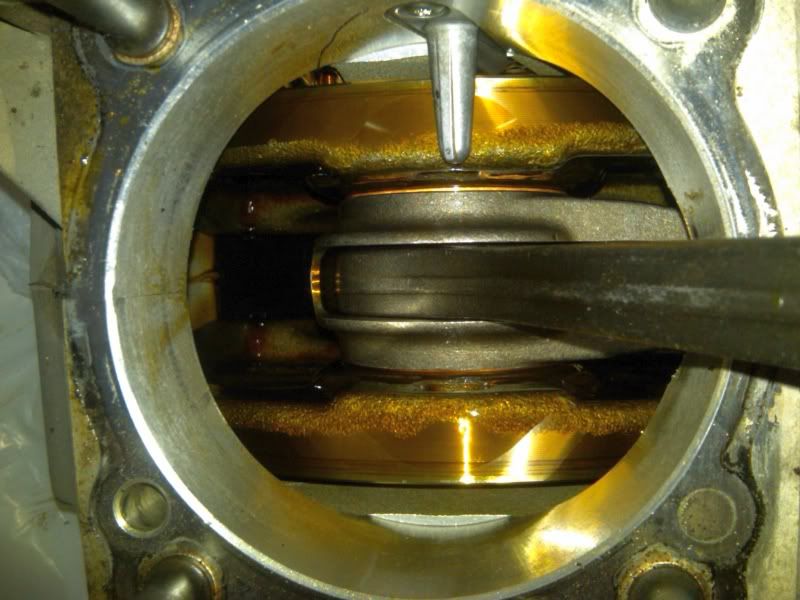 With front rod leaned to the front:  Still thinking about splitting the crankcase and pulling my old crank before I send it off. No need to pay for shipping ~25 lbs of scrap steel from SC to WI if I can avoid it. (Message edited by Hughlysses on March 28, 2011) | ||
Electraglider_1997 |
If you split the cases wouldn't you be able to change the gearing if that is something that can be done. Lower first gear. | ||
Motorbike |
Hughlysses, Nice job on the teardown and documentation for all of us to see. I hope I never see the inside of my engine like that but you are doing a fine job on yours! What happened to your idea about swapping in a 2009 XB engine? To me that would seem like a pretty good idea right about now. | ||
Hughlysses |
Craig- I don't know of any different internal gearing that's available, but I probably will go back with an XB9 primary sprocket and chain which lowers the overall gearing slightly. Splitting the crankcases appears to be no problem, but getting them back together apparently requires a "gear detent assembly aid, P/N B-45520". It appears to be just a small cylinder, probably something that could be made from scrap metal or wood. Worst case I guess (if I can't figure out how to put it back together) is I could ship the crankcase in two halves for the new crank install. | ||
Motorcyclemike |
Don't forget, you can always take the gear set out before you ship the cases. The transmission weighs a few pounds. | ||
Natexlh1000 |
I would suggest shipping the whole heavy lump to them so that they can make sure the crank bearings all line up pretty. | ||
Hughlysses |
Mike- removing the transmission guts would definitely save some weight, but as Nate suggests, I'd like to have Darkhorse install the new crank and button it up "permanently" before sending it back to me. I managed to find a catalog with a picture of the "gear detent assembly tool" in it: 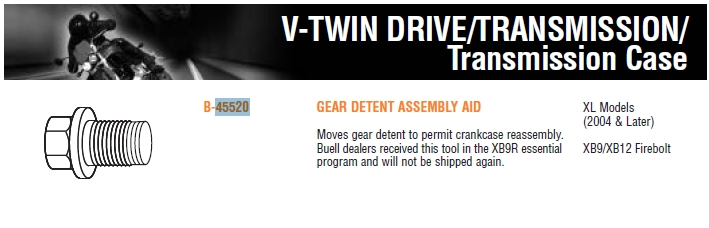 I think it's just a plastic bolt. Comparing this pic to the shop manual, it appears the "aid" is installed from the outside of the crankcase through the hole that the neutral switch normally occupies. It holds the spring-loaded gear detent assembly out of the way. Once the case halves are together, you pull it out. I'm pretty sure I can make up something that will work. | ||
Motorcyclemike |
The transmission is a cluster the comes out complete from the side door on the left side. No need to split the cases to remove the gear set. | ||
Hughlysses |
The transmission is a cluster the comes out complete from the side door on the left side. No need to split the cases to remove the gear set. Mike, that's true- on Tubers. Welcome to the world of XB's. Only access to transmission is to split the cases.  Note this photo from above: No transmission access. (Message edited by Hughlysses on March 28, 2011) | ||
Luftkoph |
Hey Hugh I know yo got a lot going on but if you take a rough measurement of the engine,and weigh it on the bathroom scales then look it up on ups you'll have a ballpark figure for cost. | ||
Electraglider_1997 |
How can you be certain if the piston cooling jet appendage is not blocked? | ||
Buellhusker |
All of the oiling system must be disassembled and cleaned of the small particles that were floating in the oiling system. That means removing the swing arm and flushing the oil tank and scrubbing the oil lines out with a stiff brushes, we used a rifle cleaning kit. Good luck with the rebuild. I am very experienced with this process when we were running dry sump engines in our sprint cars and would have a engine failure. | ||
Hughlysses |
Craig- the downstream side of the oil filter was clean as a whistle, so I don't believe anything got past it. I will test the jets with compressed air when I get the crankcase split; if there's any doubt, I'll replace them. According to the shop manual, if you remove the jets, you have to replace them, because they don't sell the gaskets separately from the jets. Jim- I will definitely clean everything as best I can. I don't believe I'll be able to get a rifle brush through the oil lines (some have permanent bends) but I should be able to rig something with piece of coat hanger wire and scraps of cloth. I'm sure all of the lines had stuff in them, the swingarm, the oil pump, and the oil cooler. There were no big particles in the oil drained from the swingarm; the biggest stuff was on the upstream side of the oil filter (found when I cut it open), and looked like tiny flakes. Inside the cam cover was completely clean with no evidence of any metal particles, which backs up the oil filter doing its job. I've already blown compressed air through some of the lines, plus I dumped some kerosene in the oil cooler and blew that out (reverse flow) and it seems clean. I'll blow compressed air through all the engine oil passages onto a rag and adjust my cleaning plans to suit. | ||
Etennuly |
I have been watching Hugh, doing a great job with your engine also with the posting. I'm curious about the heat that has caused the blackining of the bottom of the piston. It would have to get really hot to coke that synthetic oil according to what I have seen and read about the oil comparisons, as well as the wrist pin bluing. I wonder if that oil squirter plugged up with misc material as the engine was failing. | ||
Someday |
A trick I've used to clean bent pipes is to use weed eater line. Flatten one end like a nail head with a soldering iron. Then make a cloth swab that will fit through the pipe and poke the weed eater line through the center of the swab. Feed the weed eater line through the pipe and pull the swab thru. Keep pulling new swabs through until there is no debris on the swabs. | ||
Hughlysses |
Vern- Yea, I'm wondering about that too. The oil system appears to be clean but it wouldn't take much to clog one of those jets- the orifice looks tiny. Don- thanks, that's a great tip. I'll swear though, the more I cypher and wrench on this thing the better that 2009 XB12 engine looks on ebay. I may wind up with the world's only 2007/2009/2010 Uly. I guess I should find a 2008 part or two to throw in there to make it complete. | ||
Rwcfrank |
Hugh, great work, I am monitoring the thread and it's great info. FYI, to ship your block and or crank, I use an old plastic ice cooler. Find a used one thats beat up, drop the engine inside and pack it with apropriate padding, close the top and wrap the thing with shrink wrap or duct tape. They are double walled, very tuff and not very heavy. Good luck with the project. | ||
7873jake |
Take that cooler suggestion and, if you'd like, add this one to it for the ultimate in "W.T.H. is this?!?" protection: Bag the engine or big honkin' part in plastic, place in said cooler and suck out as much air from the bag as you can with a shop vac. I've used contractor grade clean-up bags (biggest mil thickness you can find) with great success. Go buy a can or two of the foam-fil and fill the gaps around the engine/part. They make one that doesn't super expand...use it if you can find it. Let it sit and cure, trimming any over expansion that comes out of the top of the cooler with a hacksaw or utility knife. If you want the recipient to use the same process when they go to return ship, include a fresh bag(s) and a fresh can of foam. (This assumes you are only shipping ground!) Do not do this without the item being wrapped in plastic and make it clear to your recipient that the item must be bagged as well for the return trip. DAMHIK. Its a little overkill but I've always had exceptional luck with everything from Triumph cranks to $250,000 worth of survey gear being shipped in and out of Central America repeatedly. | ||
Electraglider_1997 |
7873jake, I'll remember this method for other things, thanks. | ||
Hughlysses |
Frank & Jake- that's a great idea. I think I even have a surplus cooler that'd work well. I did a little tonight. I removed the cylinder studs which will make the cases a lot more compact for shipping and prevent the studs from getting stressed or bent while I'm doing further disassembly. I also moved the engine inside where it'll be cleaner and more convenient to work on: 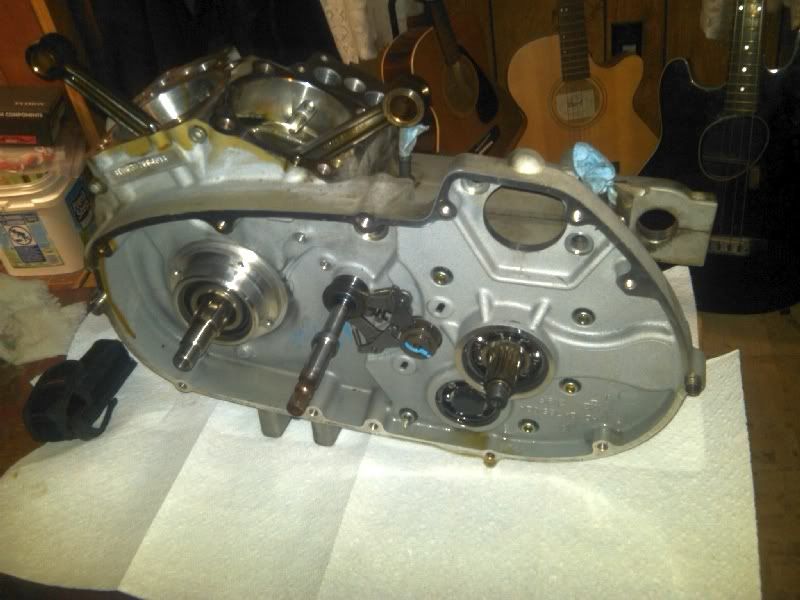 The engine holds a surprising amount of oil down in the crankcase sump. I inverted it over my oil pan before I brought it inside and got maybe another 1/2 cup out of it. You can see a few shiny bits floating around in the remaining oil in the bottom: 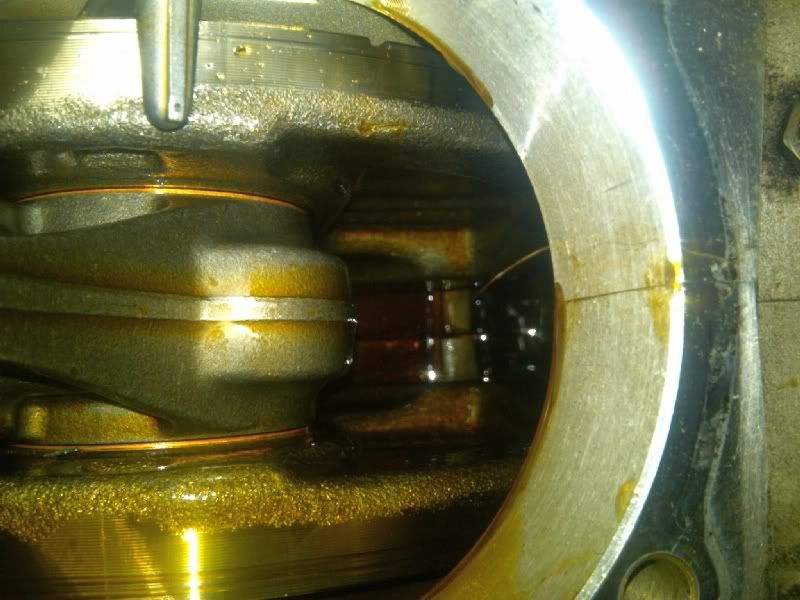 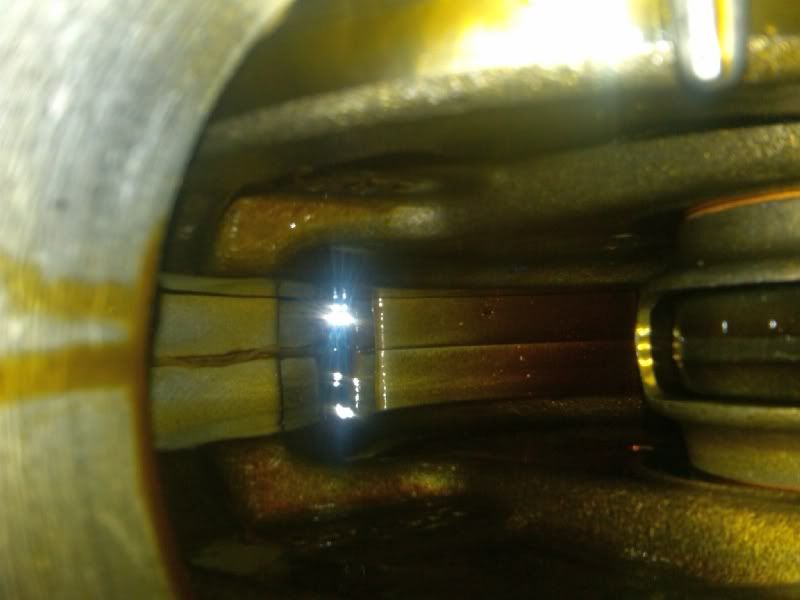 | ||
Rdkingryder |
Hugh and gang, did your engine start out sounding like this? '07, ~30K HD synthetic since 5K http://www.youtube.com/watch?v=EDqI1mgtiRw  | ||
Skifastbadly |
Rdkingryder Uh....that sounds like mine sounded almost exactly. With exactly the same miles too. This is turning into an epidemic. |