| Author | Message | ||
Mattmcc00 |
Hi all, Here is another step by step, this time it is for the installation of Precision Engineering Shifter, Brake Pedal, and passenger foor pegs, to match my Precision Engineering driver foot pegs that I like so much. I got the 2" dropped (1" lower than stocks which are already 1" dropped) PE driver pegs a while back (I posted a step by step for those too) and I love them. Bigger, grippier, and they provide excellent stability standing on them offroad. In fact my wife loved them too and wanted a set for her in the back. So I splurged and decided to change the foot controls too so it would all match. I haven't been disapointed. THe PE equipment is too quality and loooks GREAT! The shifter pedal in particular is very well done. I say this because I find the controls much more precise. thier is no loose play at all in them. Makes finding neutral a brezze and shifting feel much tighter. Granted I am not sure if this is due to the PE shifter or just the fact that when I installed them I ended up tightening the too?? Anyhow, work better than it ever did. Back to the installation. THis was such an easy instal that I had the shifter on the bike before I even remembered to take a photo. 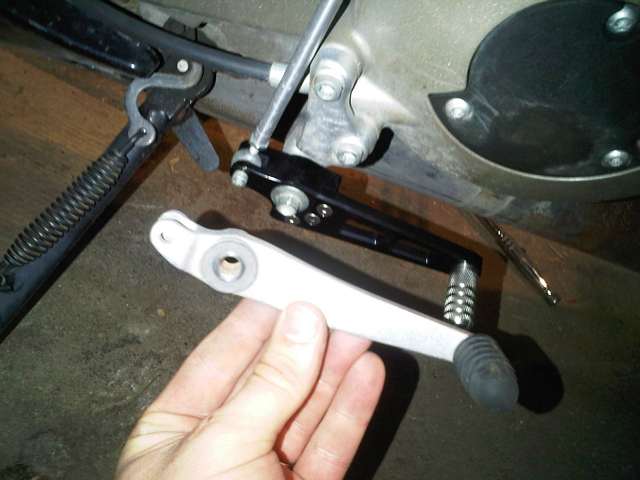 Too put the shifdter on all that is needed is to unscrew these 2 bolts: 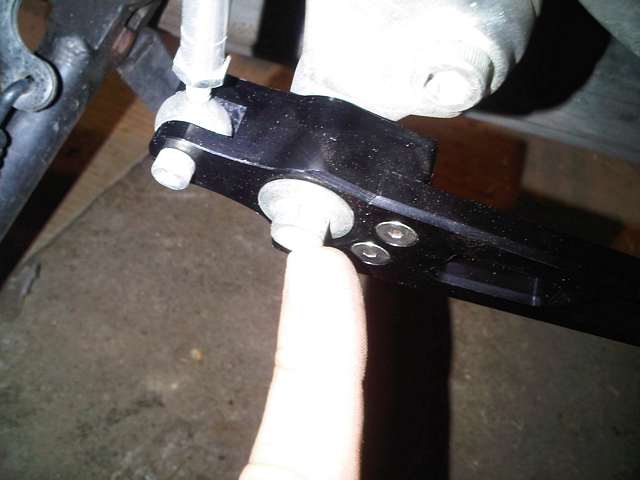  Then install the new shifter with the same hardware and your done. 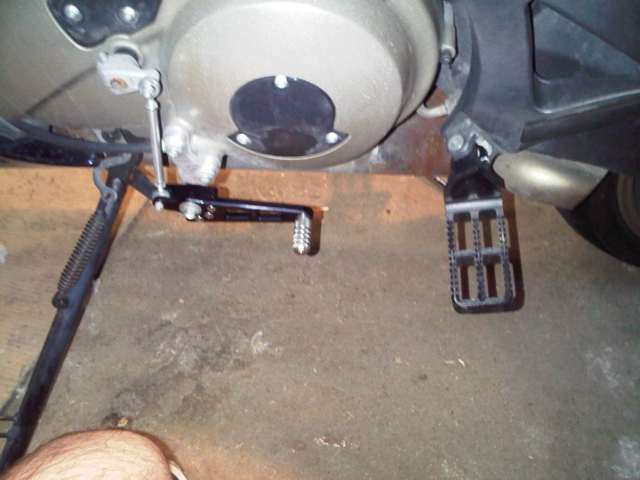  *********************************** For Brake pedal is nearly as easy. First you need to unscrew the main bolt, to make things easier I held the peg bent back with my knee.  Then behind the peg thier is a retention pin held in place with a cotter pin. Just pull out the cotter pin (make sure you go easy with it if you do not have a replacement pin) and pull out the retention pin. 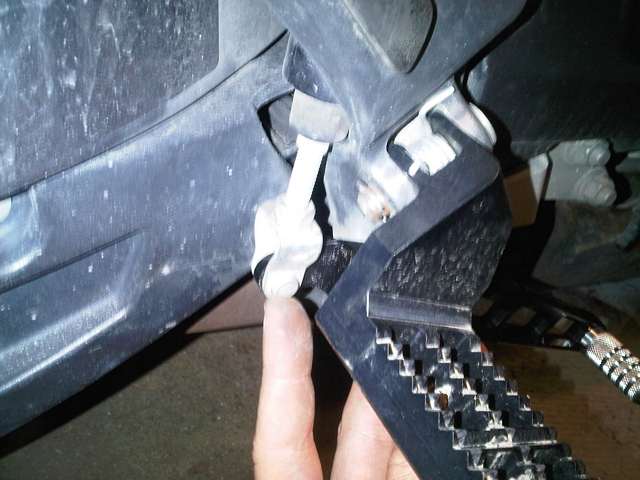  Now all you need to do is install the new brake pedal, don't forget to bend the cotter pin a little so it won't vibrate out, and screw the main bolt back in place. 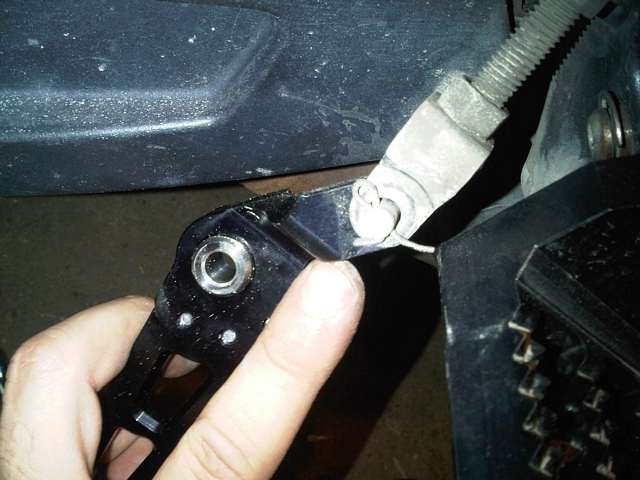  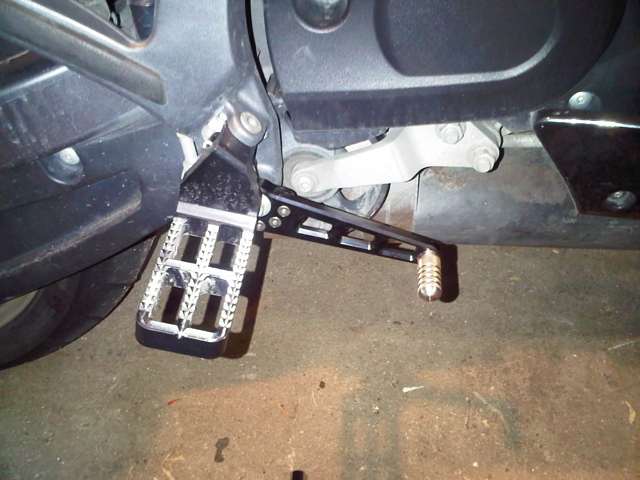 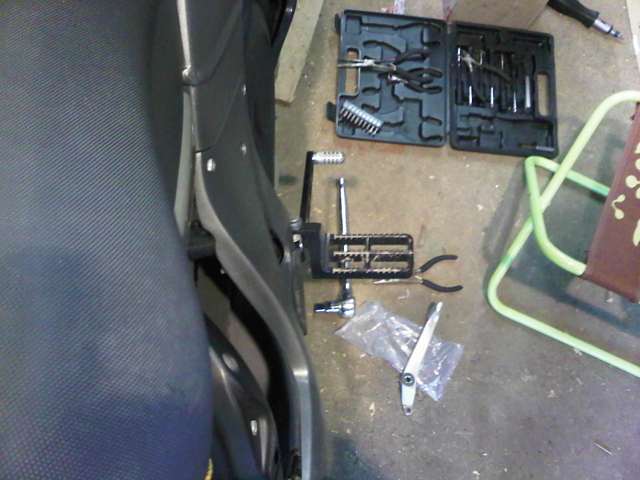 *********************************** Now for the passenger pegs. These do have a tricky bit. 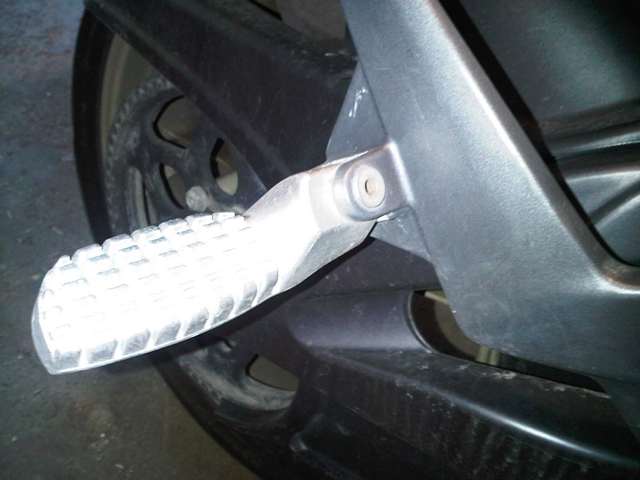 First remove the E-clamp on the retention pin. 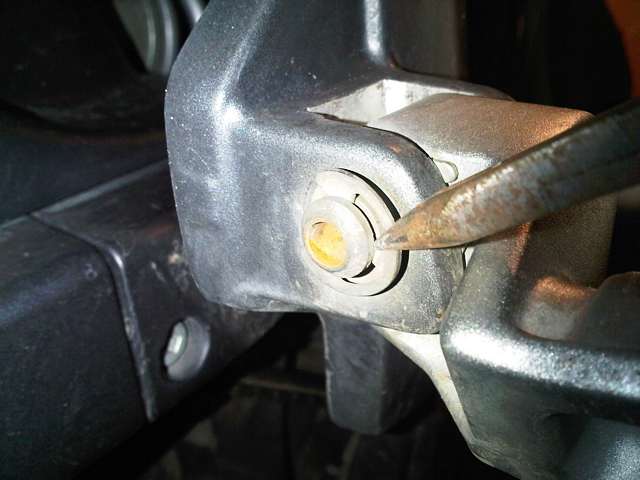 And pull out the rentention pin.  So here is the tricky bit. When pulling out the peg you need to be carefull because there is a spring loaded ballbearing on the under side that will fall out. This happend to me on the first peg and I was never able to find it. The result is that I do not have any tension on the passanger footpeg and so they do not stay folded up. Thier is also a thin piece of metal that you need to remember the orientation of when pulling out the peg. (note that I am not sure if this is the correct orientation in this pic). 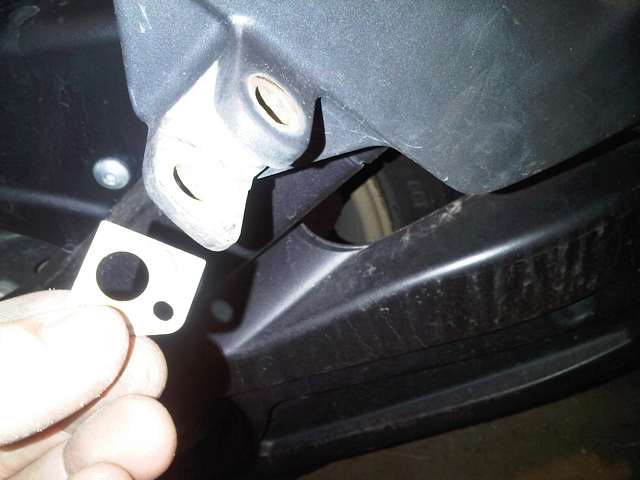  Slip in the sping into the new peg.  Top off the sping with the ballbearing. 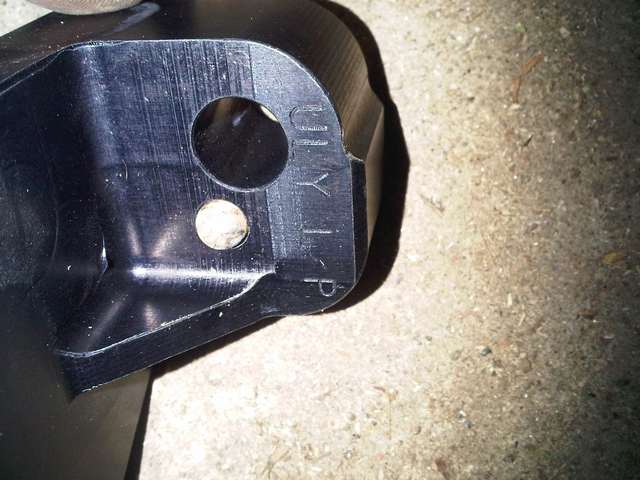 Then install it on the bike remembering to properly orient the metal shim, and to clip the E-clamp back on the end of the retension pin. | ||
Mattmcc00 |
Installed pics.   | ||
Hooper |
Any chance you can send the link to your steps to installing the forward pegs? Just got mine and would love to see some photos of the install before I try it. Great stuff! Thanks! |