| Author | Message | ||
Mattmcc00 |
Hi all, Here is a step-by-step of my super easy Spare gas install. I used a Touratech 66oz solution that was about the same as if I'd had gone with tooltubes. Tooltubes: 2 x 5$ MSR fuel bottles: 2 x 20$ Shipping: 10$ Misc. screws etc: 5$ Total cost for 66oz: 65$ Touratech gas can: 20$ Touratech mountings: 40$ Misc. washers etc: 1$ Total cost for 66oz: 61$ Also, good thing about the touratech mounting is that you can replace the gas can for just about anything, tupperware, various bike bags, etc. (of cource they would get really dirty given the place I mounted it). So here are the pics and guide (LEAVE YOUR MOUSE OVER THE IMAGES TO SEE THE TEXT NOTES): First need the get the essentials 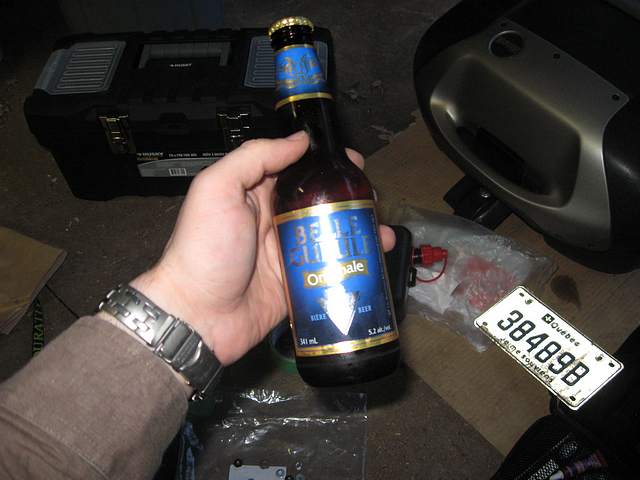 Ok now for the the job. Here is a pic of the parts 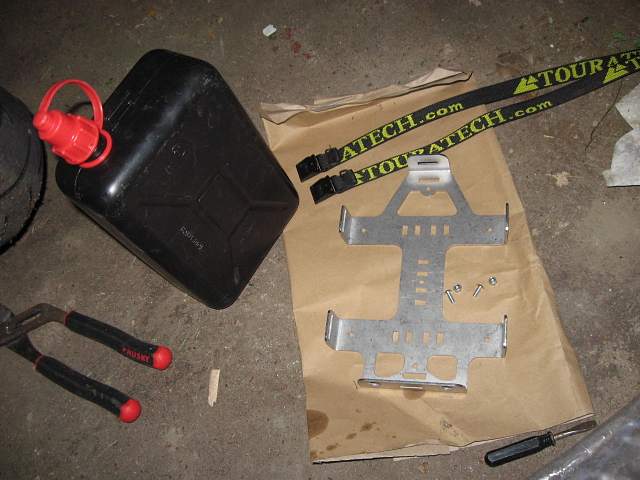 I will be mounting this behind the licence plate. So the first step is removing the licence plate and unscrewing the reflector. 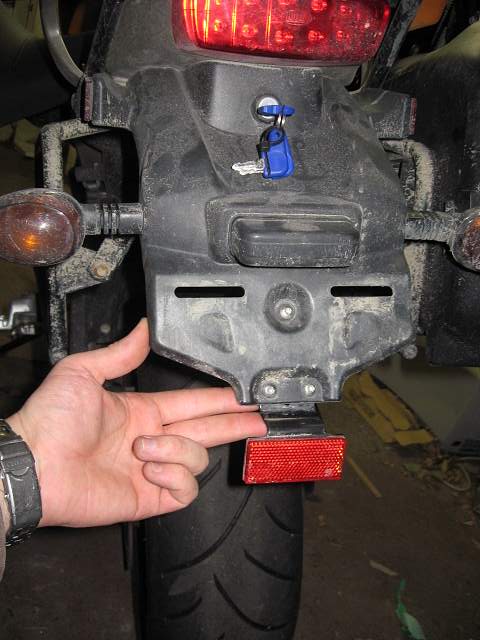 When you loosen the reflector it will slide down 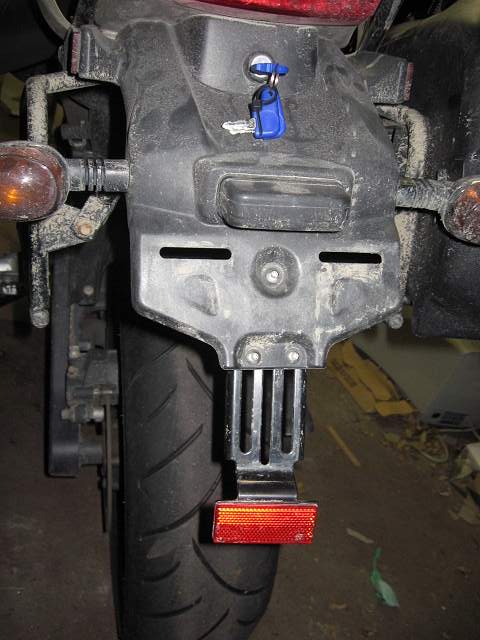 Then come right off. 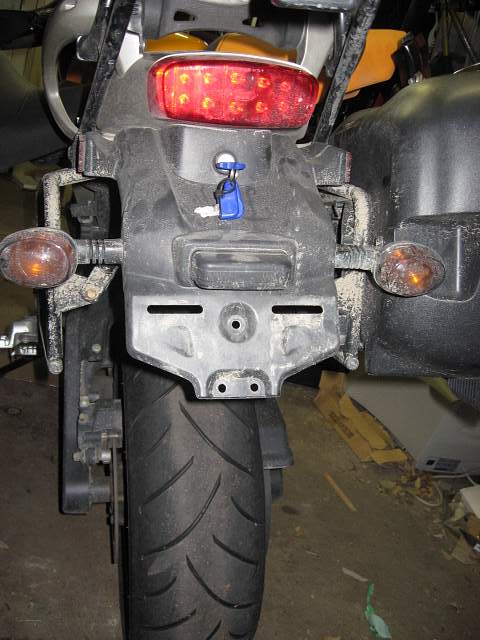 Next step is to measure the approximate place to screw in the Mountings to the removed reflector. You want to leave a little space above the original reflector mounting screws. 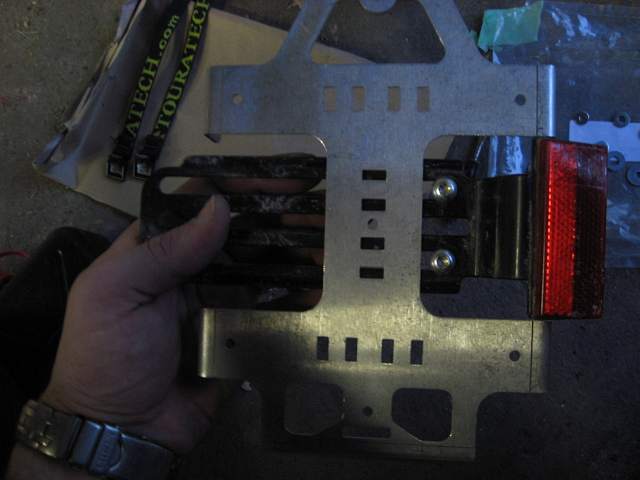 Make sure the mounting is facing such that the gas can will be mounting opposite the direction of the reflector. Using the original screws and lock nuts in the Touratech kit, screw the mounting to the reflector 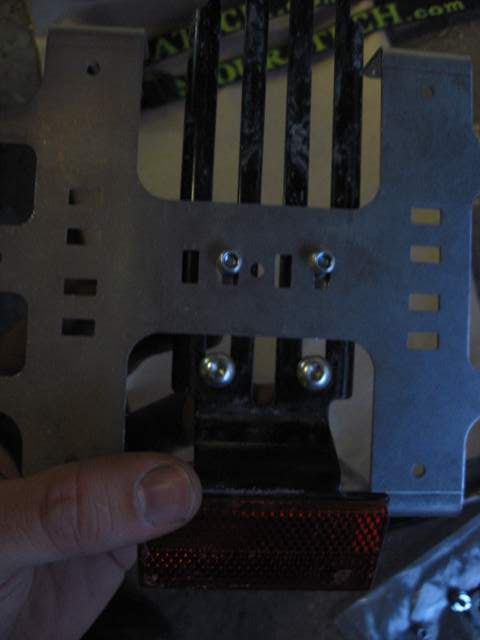 Notice that I had to use some new wing washers for the backside 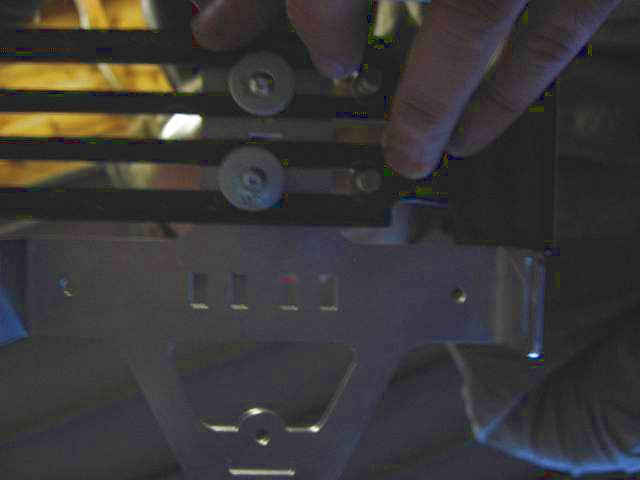 Here is a pic of the hardware used. The screws and lock nuts came with the mounting, but the 2 wing washer I got at the hardware store. I beleive they are 3/16 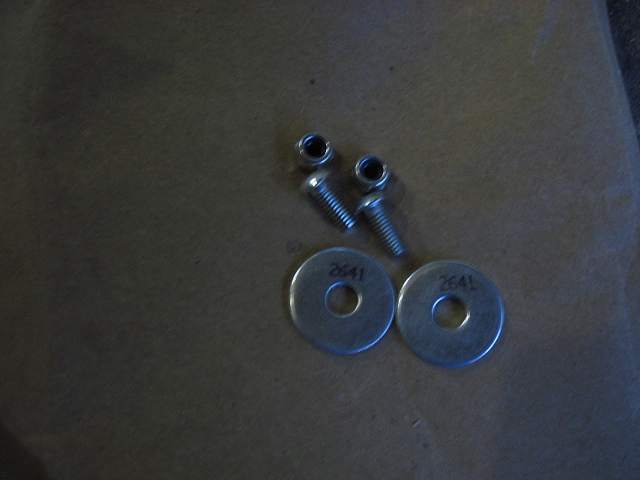 The next step is to mount the reflector with the gas can mounting screwed into it back onto the bike. To do so I started by screwing in the original bottom two screws. 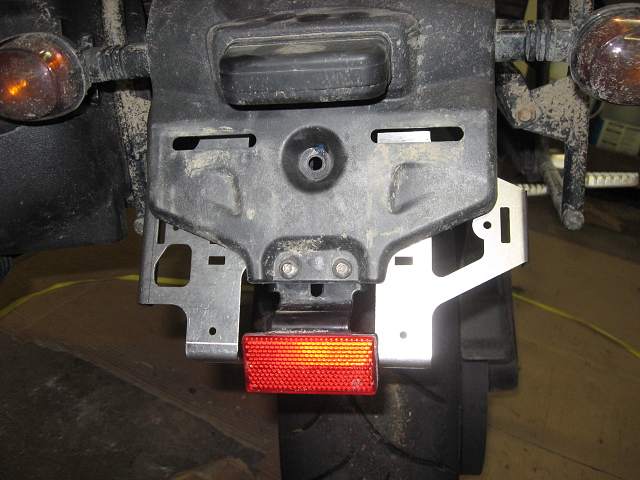 From the inside it looks like this 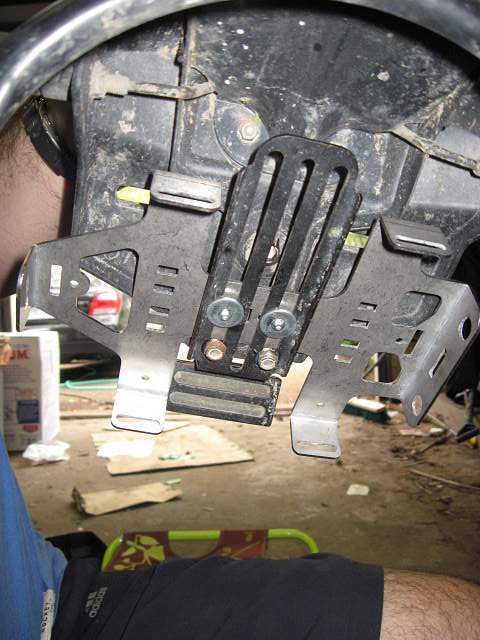 Now to get the third screw in needed a little creativity due to the added thickness of the mounting rack which is being sandwiched between the reflector and the tail. Note that you don't want to go the easy way here and just use a linger screw because it will interfere with the gas can fitting in the mounting. So what I did is used my onehanded grippers (LOVE these things they come in handy for just about anything). In this case I used a block of wood that was laying around and the grips to pull the reflector back far enough for me to screw in the third screw's lock nut  here is side view of the grips in action  here is a pic with the third screw in place  from the side 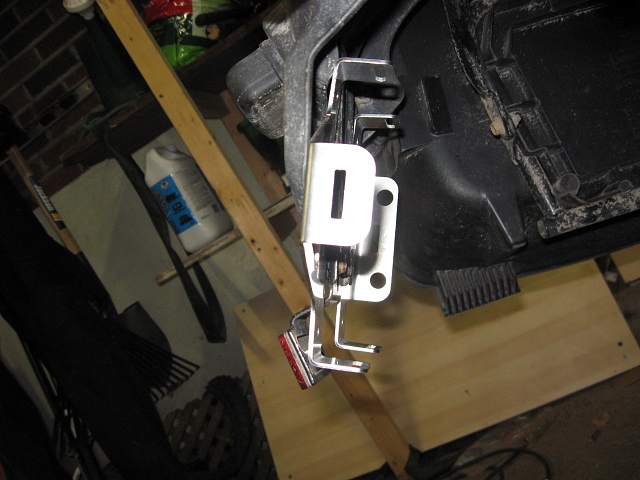 from the back 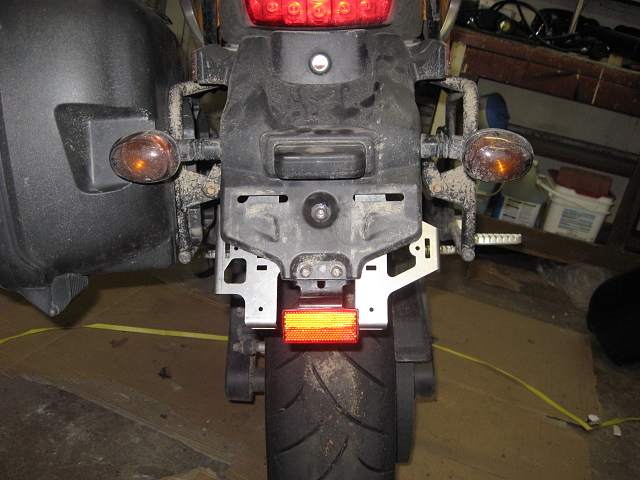 Then all that is left is the thread the straps and insert the gas can 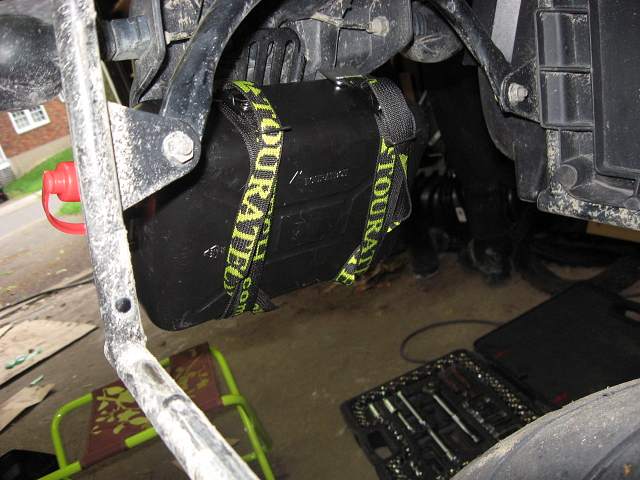 Here is what the mounted can looks like on the bike, note that the licence plate will cover most of that up 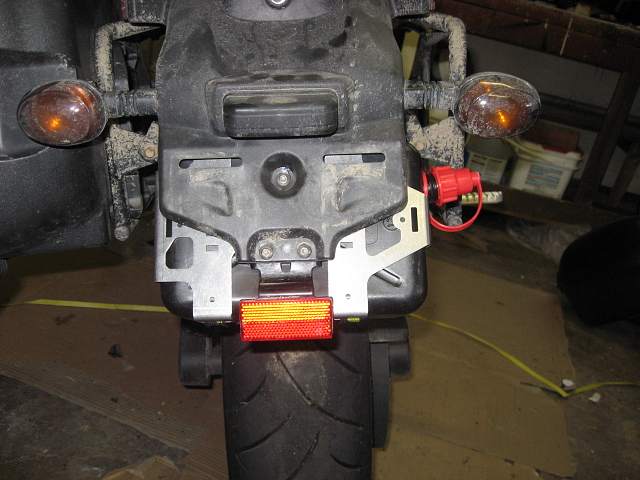 All done, only licence plate left to put on.  (Message edited by mattmcc00 on May 07, 2010) (Message edited by mattmcc00 on May 07, 2010) | ||
Electraglider_1997 |
That weight is way out of the mass centralization area. Wheely time. | ||
Mattmcc00 |
Here is the real from the back pic of the can mounted and installed. 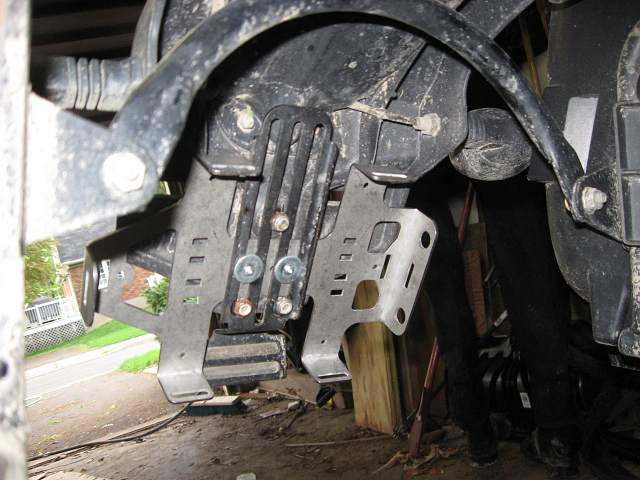 | ||
Mattmcc00 |
Not really that big of an issue. As a verticle line it is directly under the back of the top case (that is right behind the backrest). You can see it in this pic. look at inside the wheel well of the back tail and it is kindof between the backrest and the top case.  Also, if you are poping too many wheelies stiffen up your rear suspenssion. I have, and now if I want to wheelie I have to try to wheelie... no more surprises. | ||
Reepicheep |
Never thought about that! But that explains it... my first ride on the Uly I bought and the thing wouldn't keep the front down. Stopped being a problem after the long ride home, I assumed I just got used to it and avoided it. But the first night, after that test ride, I cranked the rear suspension full stiff. (must resist temptation to soften suspension  ) ) | ||
Wolfridgerider |
must resist temptation to soften suspension hell with that!... I'm gonna run home and soften up the suspension on the TT and.... Nice gas can install, looks pretty good! | ||
Itileman |
Nice idea and install. Leaves me thinking of other good stuff that I could put there since I have my extra fuel issue taken care of. I think I'd put a shield of some sort over the exposed side of the fuel bottle though. | ||
Biffdotorg |
Nice install, good work! Is that an approved fuel container in Canada? Black? I don't make the laws, so I couldn't tell you. Thanks for the write-up | ||
Mattmcc00 |
Well the BMW was selling it as a gas can and I beleive it it written gas on it. In anyevent it has a gas spout/spiget or what ever that is called. Don't think we have an official colour code but i don't know. | ||
Bzrider |
that loks really good .i was trying to figure out how o build a alum. one under he seat and the gap between the side case mounts we compressed the shock all the way and there is still room to plum i to the pump .. just a idea | ||
Drunk_uncle |
Touratech is now saying it is an oil bottle. The sales girl said that in direct heat it could go soft and distort and possibly leak. So I got the MSR bottles instead, but only two because that was all they had left. So I carry a quart of oil and bottle of octane boost on the other side. Got caught at a gas station with only 87 octane. It was already pinging with super so I bought a bottle of octane boost. Helped out, pinging a little less on that stuff. | ||
Riding_tall |
Nice. Planning on doing some type of spare fuel bottle. Drunk_uncle - I've pulled the timing back a little, per a thread somewhere on here and now I run 87 all the time unless I'm riding 2up. | ||
Mattmcc00 |
Oil bottle? distort? i dunno? Anyhow time will tell. On a side note I completed my BMW offroad class this weekend (in the rain) with the gas can on. No issues, although it is COVERED in mud! | ||
Eulysses |
Matt...will those nuts on the bracket chew a hole in your bottle over time? | ||
Mattmcc00 |
Yes I thought of that, but i don't think so, the nuts are rounded. so far no wear, but that might change with rust. |