| Author | Message | ||
Mrsnuggles |
I took a look at the inside of my belt, and noticed cracking between the teeth & what looks like a rock scar. I only have 20k on it, but I went ahead and ordered a belt. I haven't decided to install it yet, but this brought on a couple of questions. 1) Is the cracking between the teeth normal, or is it indicative of needing replacement? 2) I'm about to build a lift for my garage using the template I found on this forum, but this got me to thinking... If you were to take a long trip, carrying a spare belt, and run into a failure, how would you go about replacing the belt on the side of the rode? Would you just lay it over on the side & go to town, or is there a better method? | ||
Gamdh |
You can remove part of the swing arm (remove tensioner if needed) .. loosen the axel to take tension off.. then it should come off. (Message edited by gamdh on September 24, 2009) | ||
Etennuly |
For the X, all you would need in a pinch is a standard 8" cement block with a standard 1" board(3/4")for the XT leave out the board. Lean the bike up on to the side stand, pulling forward, because the front is lighter, push the block and board under the back of the muffler with your foot while you have it leaned up. Loosen the rear axle until it comes out to the narrowed taper part. Take off the covers and swing arm section as needed. I loosened the idler pulley nuts, slide it out but do not let it come off the studs. Work the belt on, align the idler pulley, put the swing arm brace back in, then put the rear axle back in. Torque as best you can, lock bolt tightened, covers back on. If I remembered everything correctly, you should be able to ride away! At this point you will be glad you saved your old belt for a spare. Those new ones are quite tight and may cause undue stress for you on a road side repair, it could be raining or a bad area to do it in. (Message edited by etennuly on September 24, 2009) | ||
Tootal |
+1 on changing your belt now in the comfort and convenience of your own garage. I just did mine and am glad my spare is used. It was really tight getting a new one on. | ||
Lduly |
It took me about 20 minutes on the side of the road. Gently lay it on it's side and go to work. 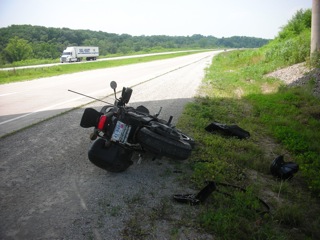 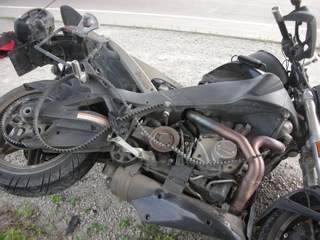 | ||
Dr_greg |
What am I missing here? Lay the bike down? Huh!? It's quite easy to R&R the belt with the Uly firmly sitting on its sidestand. I generally do remove the tensioner since it makes things easier. Just back out the rear axle, remove tensioner, and remove the belt (without turning rear wheel); it just slides off. If yours just broke, it's even easier! Oh yeah, remove the swingarm segment to get it off. The new one will be tight; here's where tensioner removal is (IMHO) necessary. Carefully slide the new belt on, reinstall swingarm segment and tensioner, and retorque axle. The bike hasn't moved an inch. When my belt failed at 50K miles (due to a tipover; I'm convinced it would have lasted far longer) I changed it by the side of the road and was on my way in 30 minutes. --Doc | ||
Gamdh |
Thats what I was saying... just without the detailed explanation  | ||
Mrsnuggles |
Took me about 30 minutes. I had to charge up the compressor and use the impact wrench to get the axle bolt loose. Pretty easy. I can see doing this on the side of the road without needing to prop up the rear. Thanks for the pointers. Getting the belt over the tensioner was pretty simple - just role the wheel backwards and tap tensionor mount in place. |