| Author | Message | ||
4_pete_sake |
First off I want to thank the fellow's at Bumpus Harley Davidson/ BUELL of Collierville,TN... JEFF and Shane and Daniel for there help today in clearing up some minor misinterpretations... I am lucky that I have a great dealership near me and I have a great relationship with it's GM - Jeff ... big nod .... HE ACTUALLY LIKES BUELLS!!! Today started with plans of riding with my usual Uly buddy, when mother nature had other ideas.... rain, rain and 30mph winds... soooo ... plans change... rear tire needs replacing.. finally down to wear bars. I orginally purchased a new rear tire after owning the Uly for 800 joy filled miles... when I picked up a nail.... the debate was had as to replace or plug.... I first chose to replace and ordered tire... then searched and searched on badweb for the topic and found the fence split... so I posted and same results... in the end I plugged and checked daily for leaks for a couple of weeks... nothing... so I just rode as normal.... 6518 miles later... (today)... Motorcycle Jack from Sears...check Service Manual ....................check Wooden exhaust jig.............check time on my hands...............check.... wife out of town.... up we go 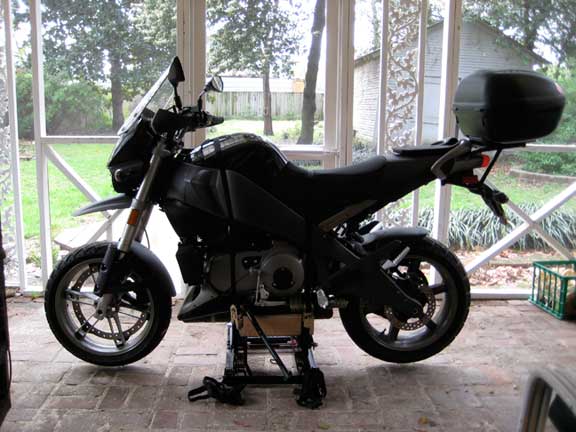 service manual is straight forward on all of this... 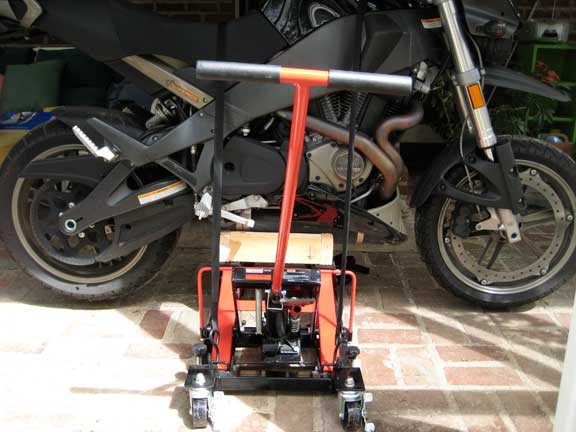 manual says 15 turns, then take belt off ... I did 17 after searching ... no problem then the manual simply says remove axe.... pull but nothing... pull again ..nothing... huh???? "remove axe" ... I am too literal I realize and turn axe nut 24 turns and axe then removable .... okay??? 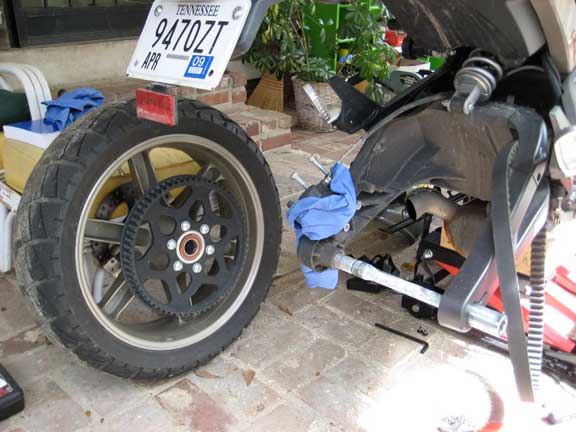 blue shop towel in place to prevent scratching... another badweb search result... go online look up Bumpus phone number and call... "Can up guys swap a tire off the bike today real quick ?" "yeah no problem we will do it while up wait." run to Bumpus.... its there 4th Anniversary ... lots of people... oops.... this might not happen... "no problem... grab something to eat and listen to some music ... we'll come get you in a few..." Free lunch... sort of ... had to pay for the mount and balance... so we'll call it even ... I would have gone out for lunch today anyway had I gone riding... talk with the boys... Jeff total runs back and references there service manual ... (same as ours) ... and shows me 2 pages later that it gives the torque setting for reassembly... ohhhh.... that was my issue... stopped reading after disassembly... assuming it was backwards for reassembly.... "but how tight???" (48-52 lbs) Again ... Thanks Jeff... home again... and 20 minutes later... 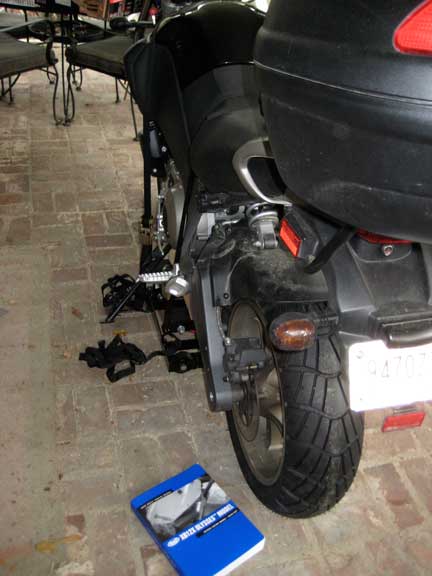 reassembly was much much faster than disassembly... lock tight .... and anti-seize in place... (messy stuff that anti-seize stuff is... ) oh yeah ... plug after 5700 miles... 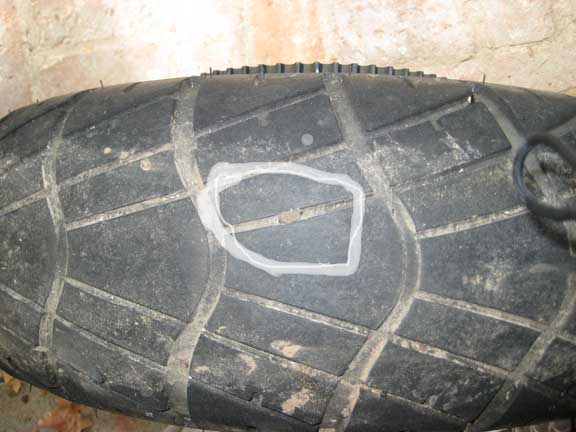 This was so easy, yet seemed like such a huge ordeal in my head... beside organizing everything so that all tools and lube were ready .... no problem... I would like to also nod to Dr Greg... his posting on everything brought on this lengthy post ... but maybe it will help someone... These bikes "are" easy to work on ... service manual helps... but I have to say that I enjoy my local dealer and I am always happy to support them also... 10000 mile check up is going to them... My one year anniversary was this week... still in love!!! Cheers all -pete | ||
Ft_bstrd |
I have yet to have a bad experience at a Bumpus dealership. They are ALL fantastic people and support ALL the bikes they sell. | ||
4_pete_sake |
Ft_B - they have a Red and a Black CR at Collierville... just a quick FYI.... | ||
Ft_bstrd |
I know. I sat on both.  | ||
Rdkingryder |
Congrats! Yep, pretty easy to do. Just changed my rear tire last weekend, total 2 1/2 hours mounted and garage door closed, lights off. That included me removing and replacing the tire. Struggling with breaking the beads down took along time though. I did not remove the rear fender, tensioner or rear caliper in my tire swap. Just made sure the rotor lined up with the pads. (Message edited by rdkingryder on March 29, 2009) | ||
Hardlya |
Redneck way to break the bead on a m/c tire: 8 ft 2x4 and 6" 2x4 and the family sedan. Pull the car up on the drive and turn the wheels to the right so you can wedge the end of the 8 footer under the tire. Lay the guilty wheel on the driveway at the appropriate distance away and hold the 6 incher at the edge of the rim. Now pull down on the 8 footer onto the 6 incher at the bead and presto! The bead is broken loose. Flip the wheel over and repeat. Works as good as any tire machine in the world once you have tried it!! | ||
Armymedic |
+1 on the redneck way. I even have the 6-8" piece hinged on the long piece. Works great. | ||
Wbrisett |
> Wooden exhaust jig.............check ??? What does this look like? I just put on the Touratech bash plates (upper and lower) and you can't lift the bike with them on. I'm wondering if I could adapt this method. What does the jig look like? Wayne | ||
Chadhargis |
Fatty....good to see you made it home on that green tire through the tornadoes.  | ||
4_pete_sake |
Wayne- 2x4 cut to match shape of exhaust... http://www.badweatherbikers.com/buell/messages/142 838/159410.html#POST546023 pdf file.... I'll quote FT_B "search is your friend..." I screwed the two together for stability, the distance noted on exhaust, fudging to make sure it worked with the jack... Wore a few nubs off on the way to work today... Cheers-pete | ||
Tginnh |
Thanks. I had seen the template before, but could not find it by searching. Guess a search is only as good as the hints you feed it, right? I saved the template this time around. | ||
4_pete_sake |
I guess a nod should go to SpeedStar, although he hasn't been active since 2007.... the cradle/jig works great... took some creative use of cardboard for a template.... I couldn't get the template to print out for some reason.... (this makes sense in my head...but I have reread it twice and I am not sure its coming through.... cardboard template to trace around)... (there..better) the cradle if too long (greater than 10.5 inches) will hit kick stand .. take my word for it... oh yeah and pre-drill your holes .... always pre-drill your holes... splitting is easily avoided with a simple drill.... (when will I learn).... -pete | ||
Choyashi |
Cedar fence nailers, one on each leg of the lift. And, a strap across the seat so it won't roll to the side. Which it will! 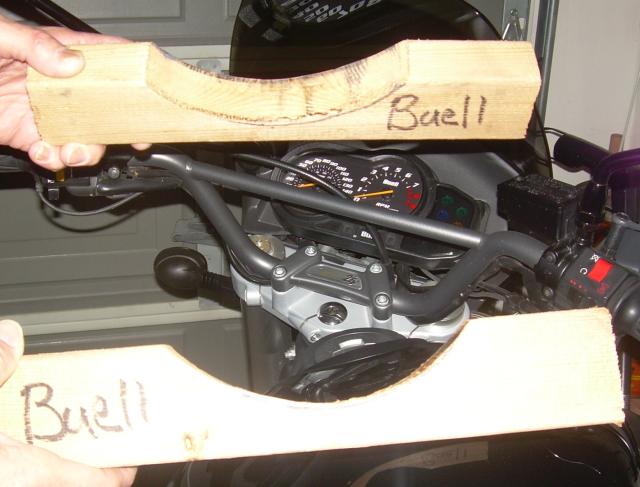 | ||
Ksc12c |
Good Job! 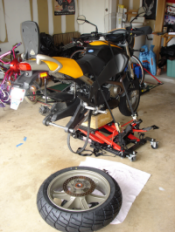 |